
部署
部署
注意
目前作者使用的部署方式已改为 vercel (opens new window),部署方法参考 这里 (opens new window)。(2022.01.01) 更多 部署方式(opens new window)
本项目内置了两种自动部署脚本,用于一键部署到 GitHub Pages 或 国内访问速度更快的Coding Pages
1.使用deploy.sh脚本部署
第一步,修改deploy.sh脚本内的仓库地址为你的仓库,如有自定义域名则一并修改,没有则注释
# 如果是发布到自定义域名echo'xugaoyi.com'>CNAME# 如果发布到 https:# git push -f git@github.com:<USERNAME>/<USERNAME>.github.io.git master# 如果发布到 https:# git push -f git@github.com:<USERNAME>/<REPO>.git master:gh-pages第二步,一键部署命令
npmrundeploywindows系统下使用bash命令窗
第三步,设置仓库的GitHub Pages。
deploy.sh文件看 这里 (opens new window)看不懂shell代码? 参考:shell教程(opens new window)
2. 使用GitHub Action自动持续集成
第一步,按照官方文档 (opens new window),生成一个github token (令牌)。
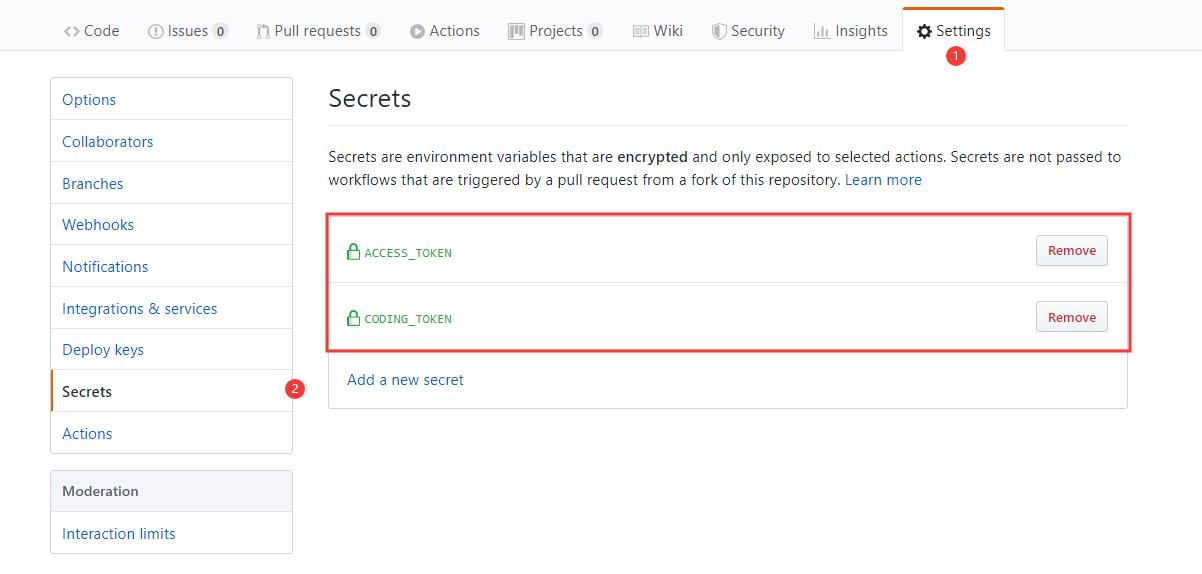
第二步,将这个密钥储存到当前仓库的Settings/Secrets里面。
Settings/Secrets是储存秘密的环境变量的地方。环境变量的名字可以随便起,这里用的是ACCESS_TOKEN。如果你不用这个名字,.github/workflows/ci.yml脚本里的变量名也要跟着改。
第三步,push提交代码到GitHub仓库master分支。
第四步,设置仓库的GitHub Pages
参考 GitHub Action实现自动部署静态博客 (opens new window)
ci.yml文件看 这里 (opens new window)看不懂yaml代码? 参考:yaml教程(opens new window)
部署升级:同时部署到github和coding
为了让博客站能够让百度收录,因此我把博客部署到了coding。相关文章 (opens new window)。
在原有部署方式上做了升级,主要修改代码文件有下面这两个:
使用前先将github token (令牌) (opens new window)和coding token (令牌) (opens new window)同时设置到github仓库的Settings/Secrets位置。
部署方式有两种:
1) 、使用如下命令一键部署到github和coding
npmrundeploy2)、使用GitHub Action自动部署到github和coding
只需要push提交代码到github仓库master分支即可。