00:00:00
实战-OpenResty安装实践-20250118(测试成功)
实战:OpenResty安装实践-2025.1.18(测试成功)
版权
本内容来自:《极客时间:Nginx 核心知识 150 讲》,版权归原作者所有,这里仅记录自己的学习笔记。
环境
bash
openresty-1.13.6.2
nginx1.13.6
centos7源码
官网下载源码包:
https://openresty.org/download/openresty-1.13.6.2.tar.gz
自己百度云盘:
openresty-1.13.6.2.tar.gz
前提
bash
#准备下环境(检查系统是否安装了如下包,如果没,直接安装)
yum install -y gcc-c++ openssl openssl-devel pcre pcre-devel zlib zlib-devel -y #如果你用的是CentOS,那么搭环境非常简单,安装这些包后,make就能准备好nginx编译的基本环境1、下载
下载源码包:
bash
cd /root/
wget https://openresty.org/download/openresty-1.13.6.2.tar.gz
tar xf openresty-1.13.6.2.tar.gz
cd openresty-1.13.6.22、编译
bash
#在openresty-1.13.6.2目录下执行
./configure
make
make install3、配置
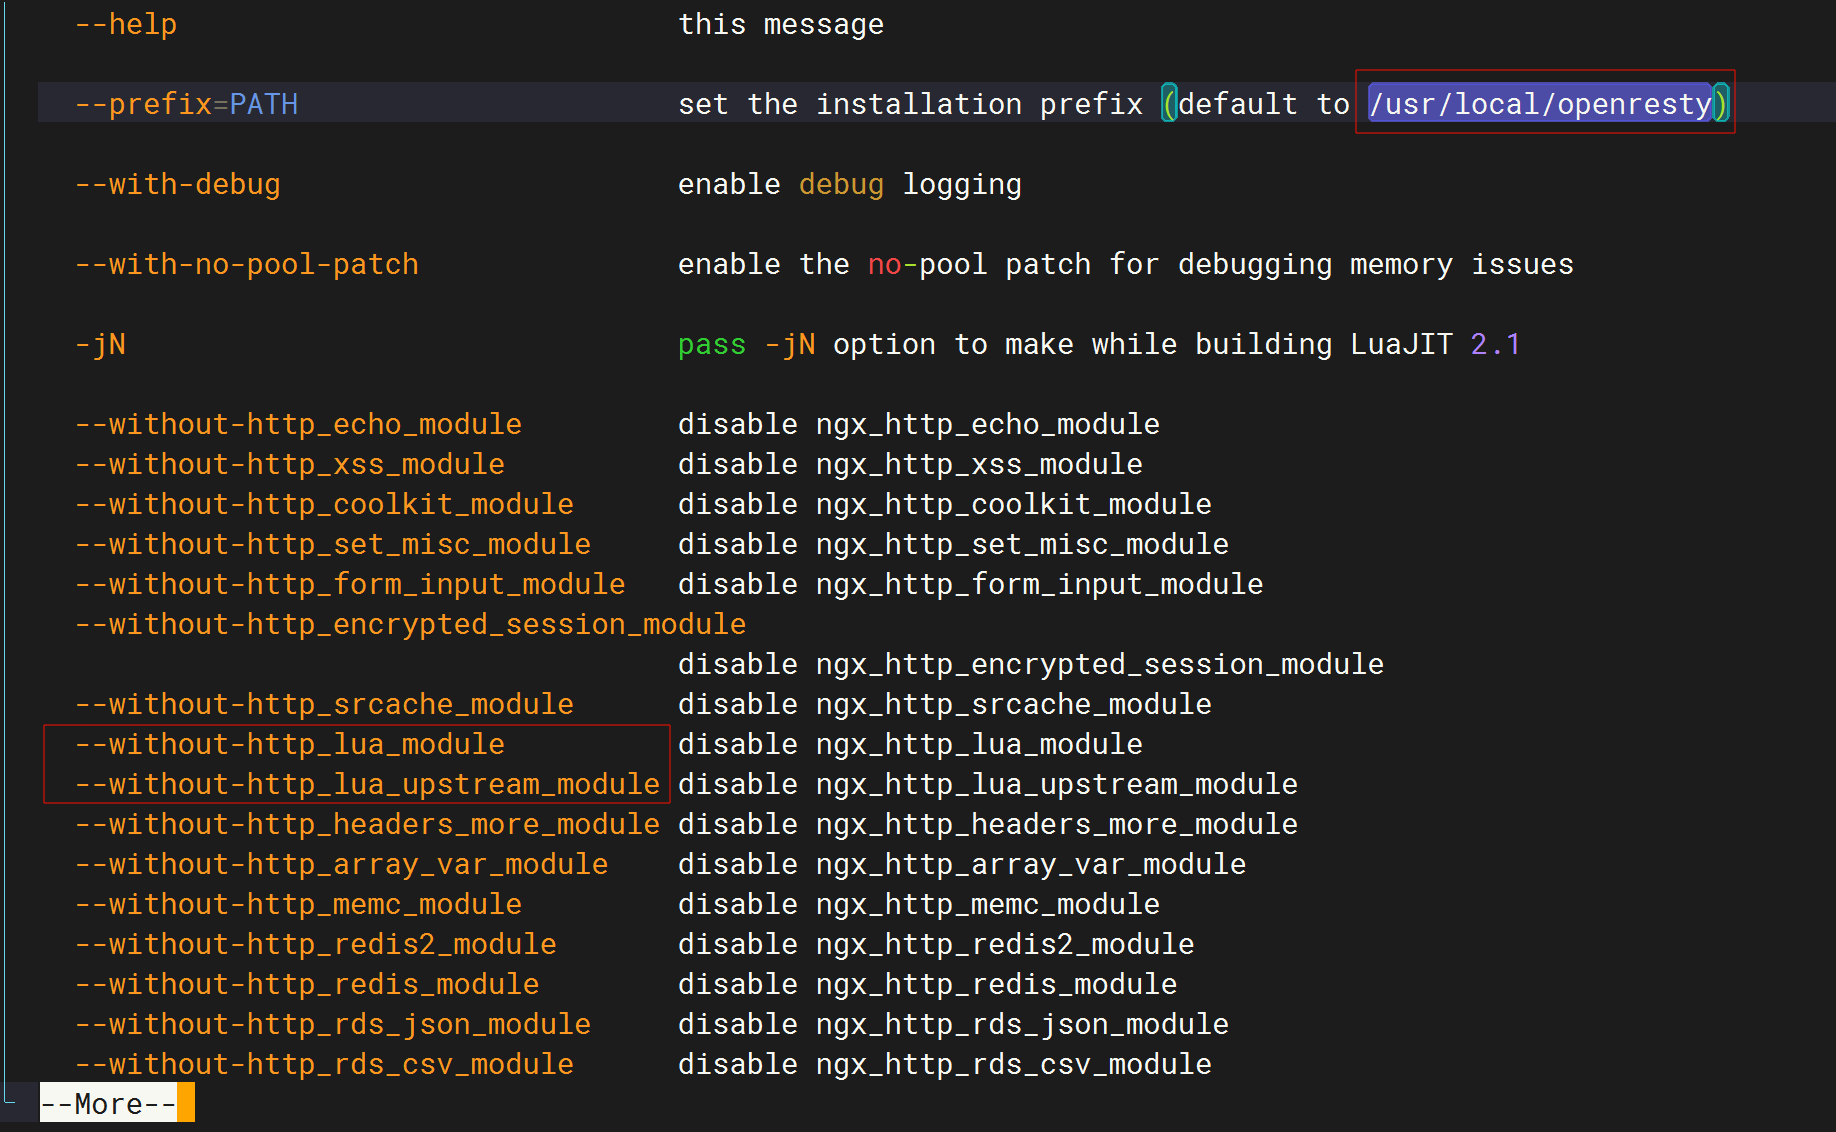
查看下默认openresty的配置文件在哪里?
bash
[root@localhost openresty-1.13.6.2]# ./configure --help|more
--prefix=PATH                      set the installation prefix (default to /usr/local/openresty)
- 配置:(添加如下代码)
bash
[root@localhost ~]# vim /usr/local/openresty/nginx/conf/nginx.conf
……
        server_name  test.one.cn;

        location /lua {
            default_type text/html;
            content_by_lua '
            ngx.say("User-Agent:",ngx.req.get_headers()["User-Agent"])
            ';
        }
……
- 启动nginx:
bash
[root@localhost openresty]# /usr/local/openresty/nginx/sbin/nginx
[root@localhost openresty]# ps -ef|grep nginx
root      18258      1  0 07:56 ?        00:00:00 nginx: master process /usr/local/openresty/nginx/sbin/nginx
nobody    18259  18258  0 07:56 ?        00:00:00 nginx: worker process
root      18261   9690  0 07:57 pts/0    00:00:00 grep --color=auto nginx
[root@localhost openresty]#

#重载nginx:
/usr/local/openresty/nginx/sbin/nginx -s reload4、验证
- 验证前,先在自己pc上做下域名解析:
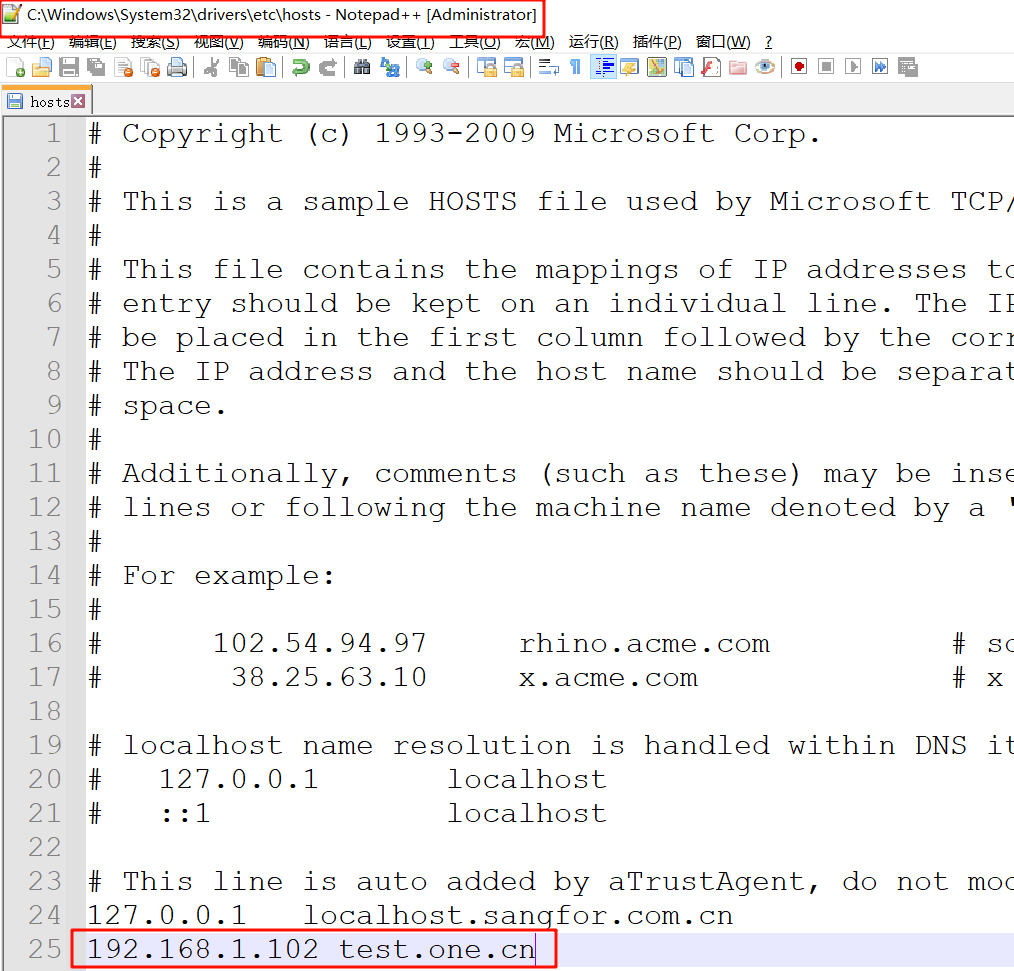
192.168.1.102 test.one.cn
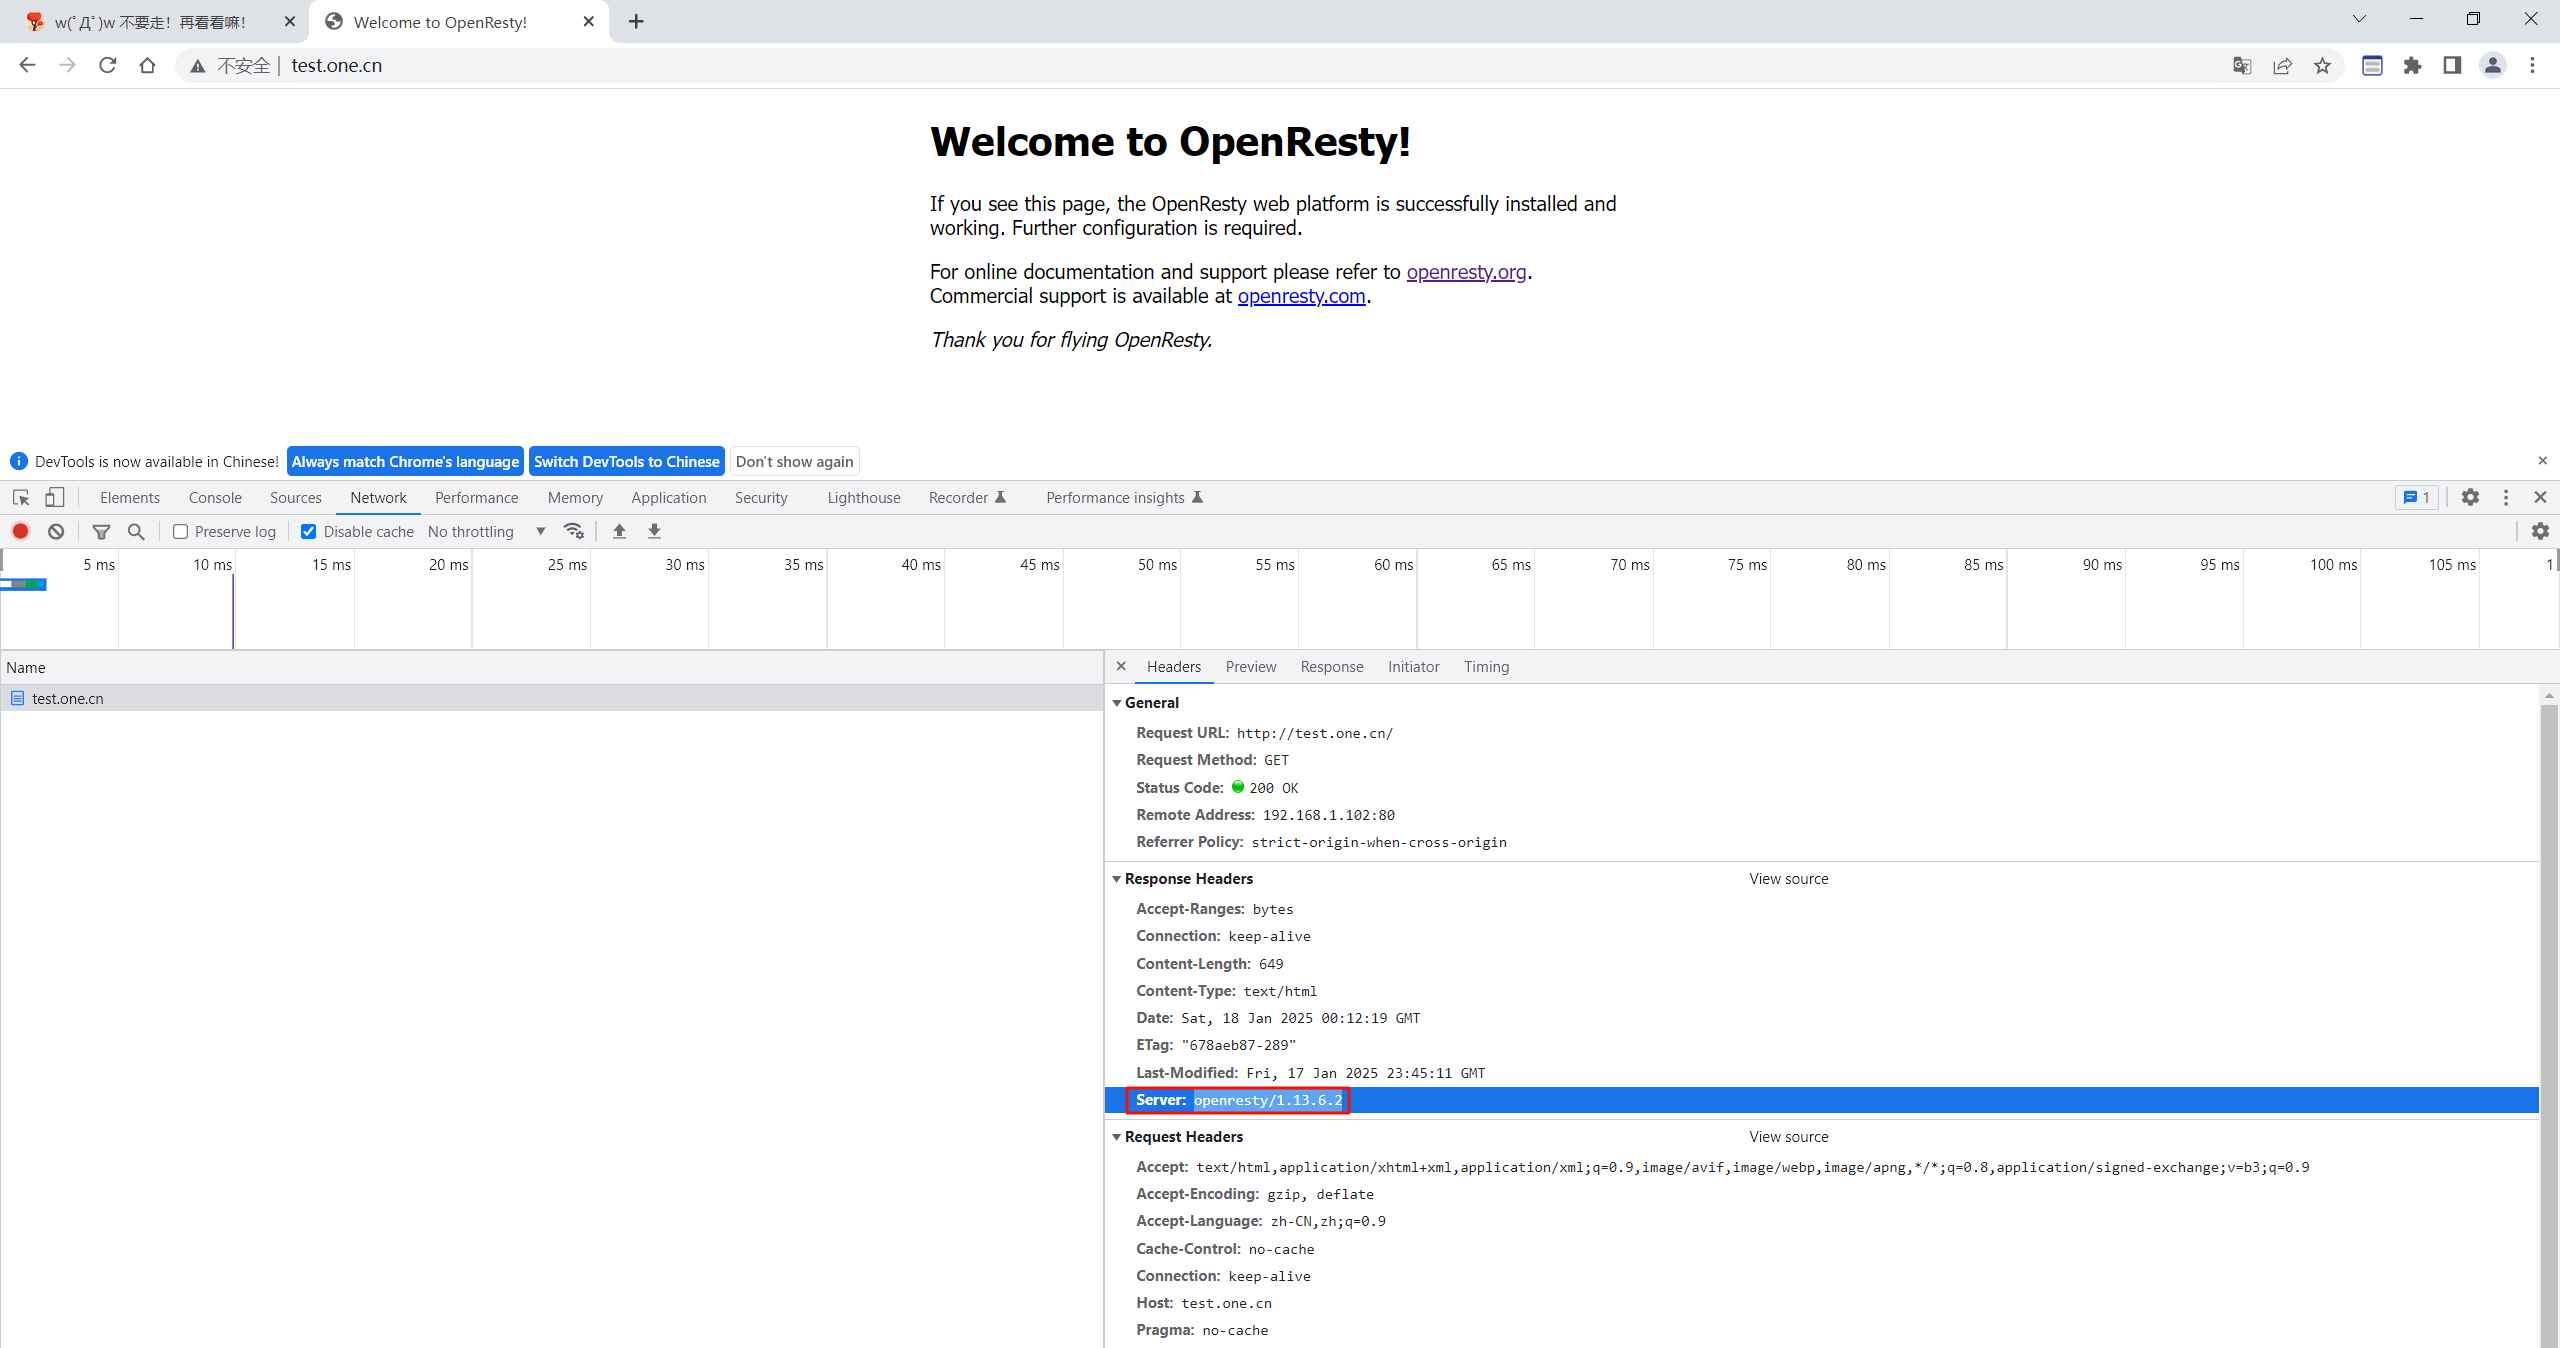
- 验证
浏览器输入域名:(可以看到OpenResty界面了,另外通过f12检查可以看到响应头里Server是openresty/1.13.6.2了。)
- 输入
\lua再次验证
正常就可以看到OpenResty返回给我们的数据了。

结束。
FAQ
源码包结构

bundle目录:
nginx的第三方模块(c语言写的);
lua模块(lua语言写的);
查看帮助
[root@localhost openresty-1.13.6.2]# ./configure --help|more 查看帮助
关于我
我的博客主旨:
- 排版美观,语言精炼;
- 文档即手册,步骤明细,拒绝埋坑,提供源码;
- 本人实战文档都是亲测成功的,各位小伙伴在实际操作过程中如有什么疑问,可随时联系本人帮您解决问题,让我们一起进步!
🍀 个人网站
🍀 微信二维码
x2675263825 (舍得), qq:2675263825。

🍀 微信公众号
《云原生架构师实战》

🍀 csdn
https://blog.csdn.net/weixin_39246554?spm=1010.2135.3001.5421
🍀 知乎
https://www.zhihu.com/people/foryouone
最后
如果你还有疑惑,可以去我的网站查看更多内容或者联系我帮忙查看。
如果你有更好的方式,评论区留言告诉我。谢谢!
好了,本次就到这里了,感谢大家阅读,最后祝大家生活快乐,每天都过的有意义哦,我们下期见!