
v2
网站核心配置

目录
[toc]
1、基础环境配置
1.初始化环境
适用于centos7.x;
bash
#关闭且禁用如下服务:firewalld、NetworkManager、selinux
systemctl stop firewalld && systemctl disable  firewalld
systemctl stop NetworkManager && systemctl disable  NetworkManager

setenforce 0
sed -i s/SELINUX=enforcing/SELINUX=disabled/ /etc/selinux/config

#网络yum配置及常用软件安装
cd /etc/yum.repos.d/
mkdir backup-`date +%F`
mv * !$
#wget -O /etc/yum.repos.d/CentOS-Base.repo http://mirrors.aliyun.com/repo/Centos-7.repo
curl -o /etc/yum.repos.d/CentOS-Base.repo https://img.onedayxyy.cn/images/Centos-7.repo
yum clean all
yum makecache

yum install -y epel-release

yum install -y net-tools
yum install -y vim
yum install -y wget
yum install -y lrzsz
yum install -y tree
yum install -y sl

#配置命令行提示颜色
echo 'PS1="\[\e[1;32m\][\[\e[1;33m\]\u\[\e[35m\]@\h\[\e[1;31m\] \W\[\e[1;32m\]]\[\e[0m\]\\$"' > /etc/profile.d/env.sh

##关闭UseDNS
sed -i 's/^#UseDNS yes/UseDNS no/' /etc/ssh/sshd_config


##配置.vimrc
tee -a ~/.vimrc << 'EOF'
set ts=4
set expandtab
set ignorecase
set cursorline
set autoindent
set paste
autocmd BufNewFile *.sh exec ":call SetTitle()"
func SetTitle()
    if expand("%:e") == 'sh'
    call setline(1,"#!/bin/bash")
    call setline(2,"#")
    call setline(3,"#***************************************************************")
    call setline(4,"#Author:                hg" )
    call setline(5,"#QQ:                    2675263825")
    call setline(6,"#Date:                  ".strftime("%Y-%m-%d"))
    call setline(7,"#FileName:              ".expand("%"))
    call setline(8,"#URL:                   https://www.onedayxyy.cn")
    call setline(9,"#Description:           The test script" )
    call setline(10,"#Copyright (c) :       ".strftime("%Y")." All rights reserved")
    call setline(11,"#***************************************************************")
    call setline(12,"")
    endif
endfunc
autocmd BufNewFile * normal G
EOF


##配置查找有效配置别名
echo "alias gg='grep ^[^#]'" >> /etc/profile #只查找有效配置
source /etc/profile
gg /etc/profile2.安装docker
适用于centos7.x;
bash
##部署docker
yum remove docker \
                  docker-client \
                  docker-client-latest \
                  docker-common \
                  docker-latest \
                  docker-latest-logrotate \
                  docker-logrotate \
                  docker-engine

yum install -y yum-utils device-mapper-persistent-data lvm2
yum-config-manager --add-repo http://mirrors.aliyun.com/docker-ce/linux/centos/docker-ce.repo
yum makecache

#yum install docker-ce -y
yum install -y yum install docker-ce-19.03.9 docker-ce-cli-19.03.9 containerd.io #指定需要安装的版本号
systemctl start docker && systemctl enable docker

docker version
docker info


sudo mkdir -p /etc/docker
sudo tee /etc/docker/daemon.json <<EOF
{
    "registry-mirrors": [
    	"https://docker.xuanyuan.me",
        "https://hub.uuuadc.top",
        "https://docker.anyhub.us.kg",
        "https://dockerhub.jobcher.com",
        "https://dockerhub.icu",
        "https://docker.ckyl.me",
        "https://docker.awsl9527.cn",
        "https://docker.1ms.run",
        "https://docker.m.daocloud.io",
        "https://docker.1panel.top"
    ]
}
EOF


cat /proc/sys/net/ipv4/ip_forward
echo "net.ipv4.ip_forward = 1" >> /etc/sysctl.conf
sysctl -p
cat /proc/sys/net/ipv4/ip_forward

systemctl daemon-reload
systemctl restart docker3.安装docker-compose
适用于centos7.x;
bash
##部署docker-compose
#手动上传这个安装包 (从自己百度盘获取)
#docker-compose-linux-x86_64

mv docker-compose-linux-x86_64 /usr/local/bin/docker-compose
chmod +x /usr/local/bin/docker-compose #添加执行权限

docker-compose --version
#Docker Compose version v2.23.04.安装rsync
适用于centos7.x;
linux和winodw都得安装下rsync:
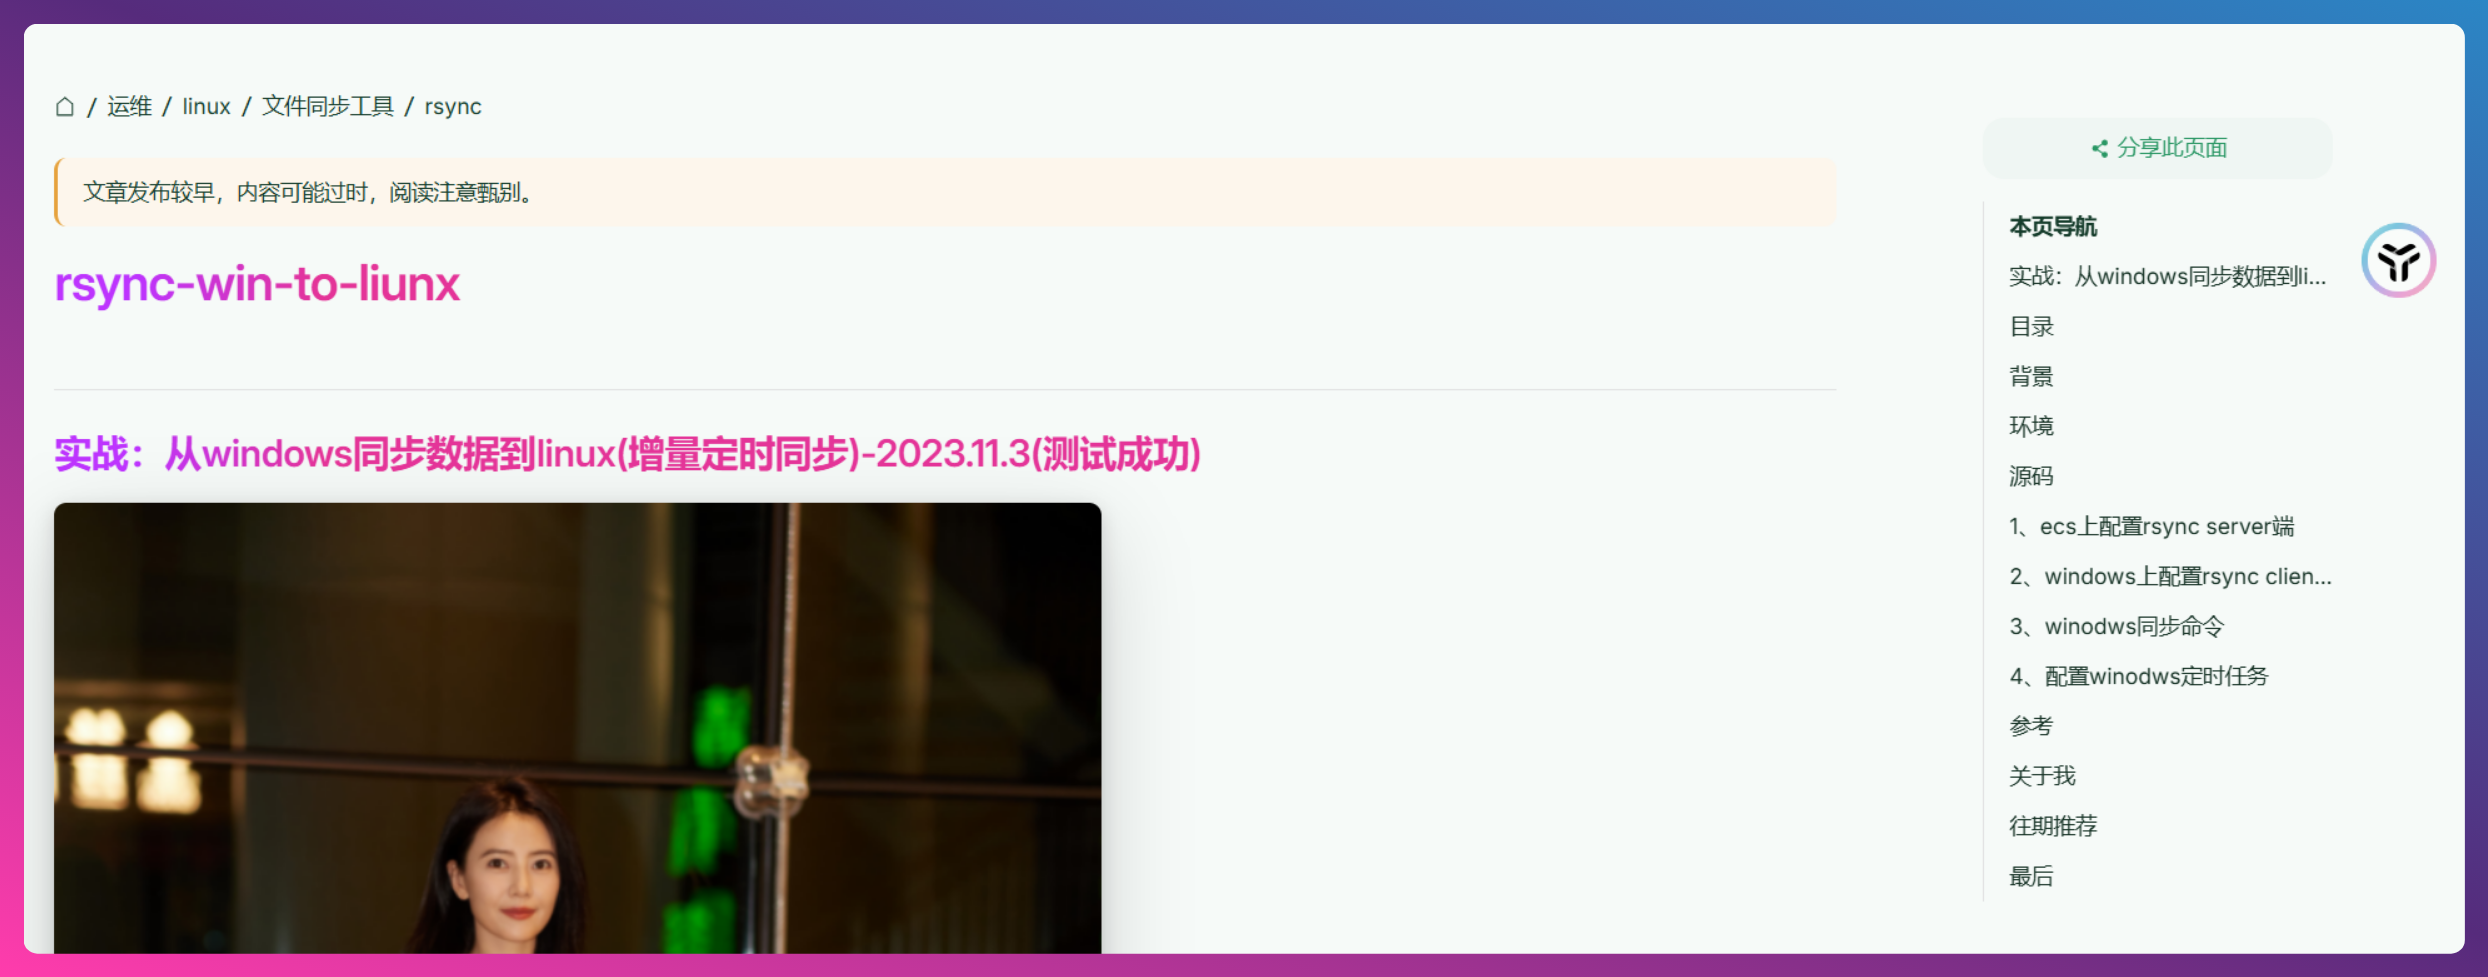
具体安装步骤见如下文章:
《实战:从windows同步数据到linux(增量定时同步)-2023.11.3(测试成功)》https://onedayxyy.cn/pages/a8eb60
2、Nginx图床
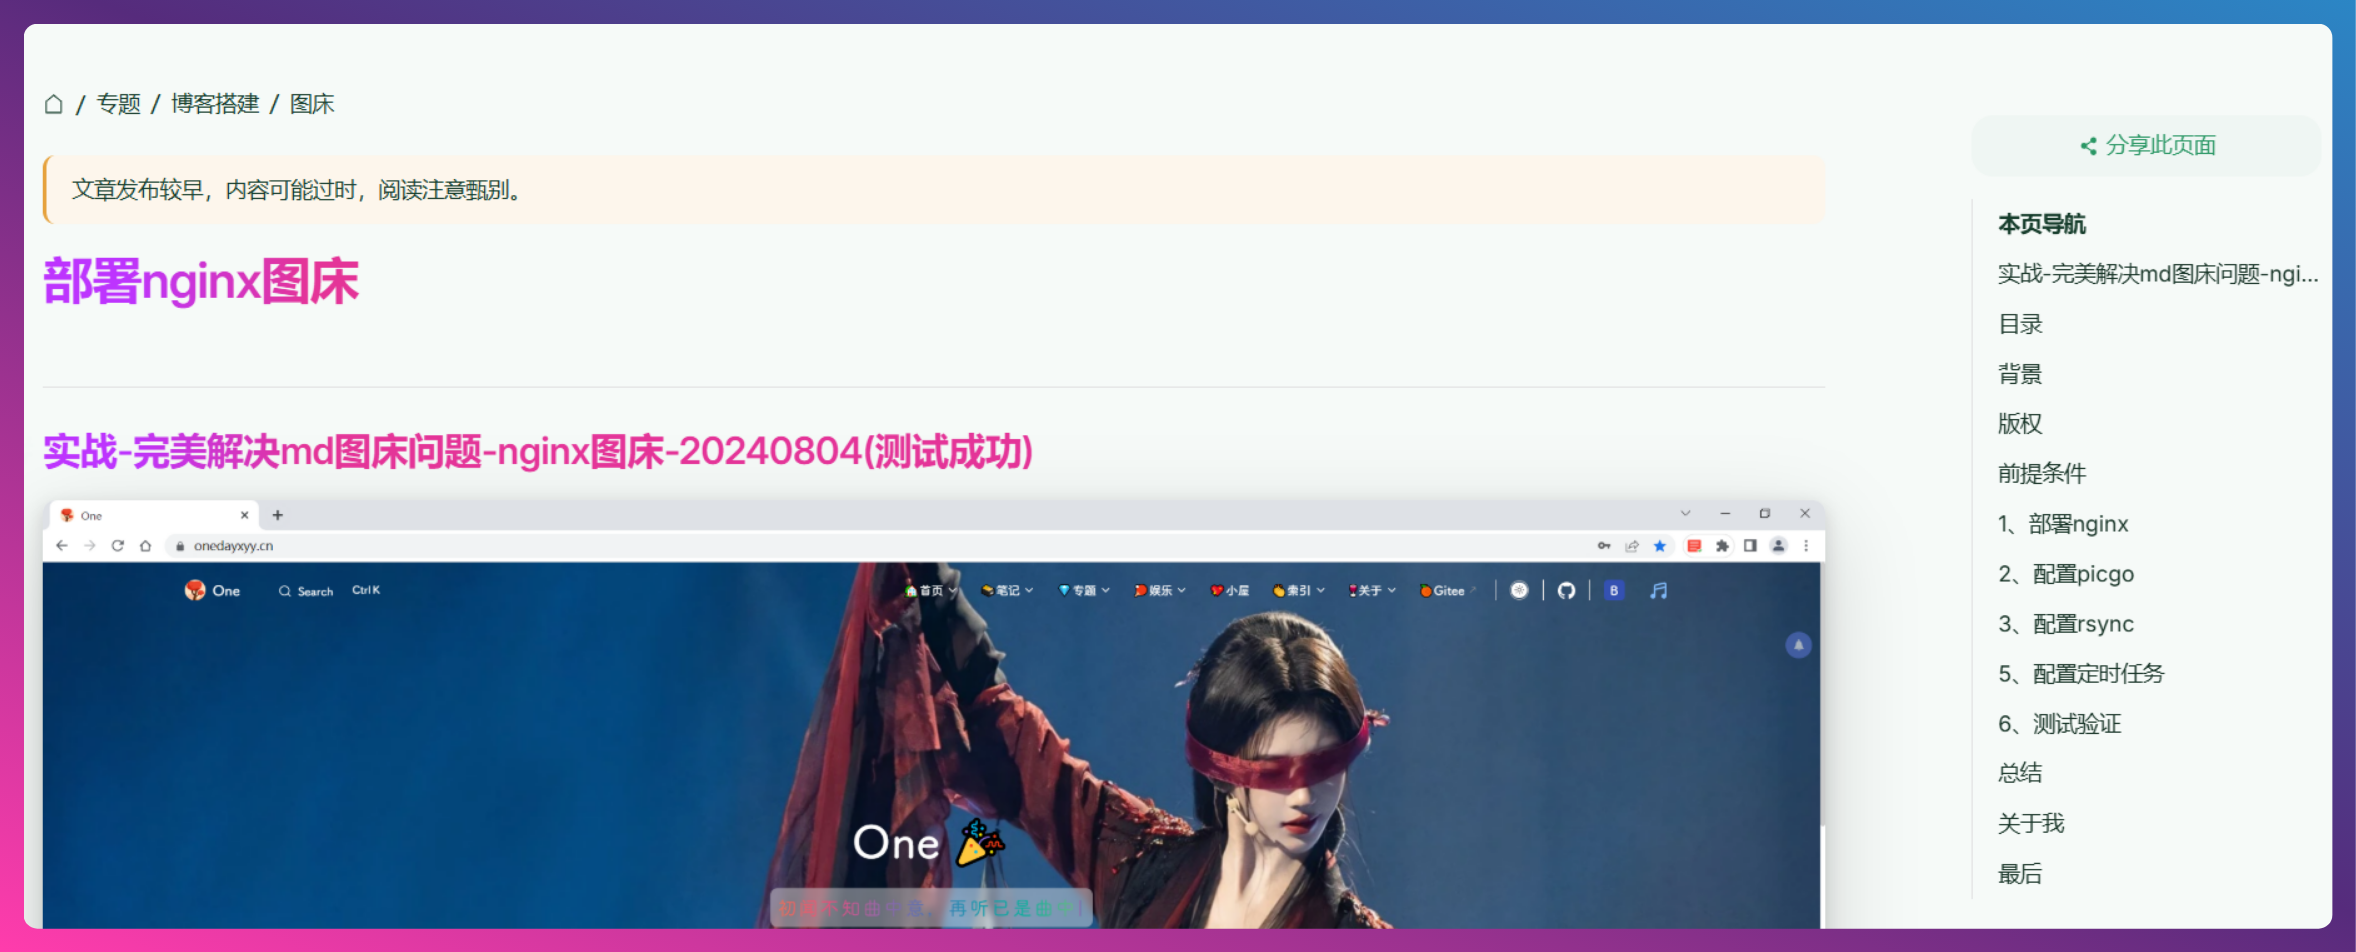
重要数据。
具体部署方式见如下文章: 《实战-完美解决md图床问题-nginx图床-20240804(测试成功)》https://onedayxyy.cn/nginx-tuchuang
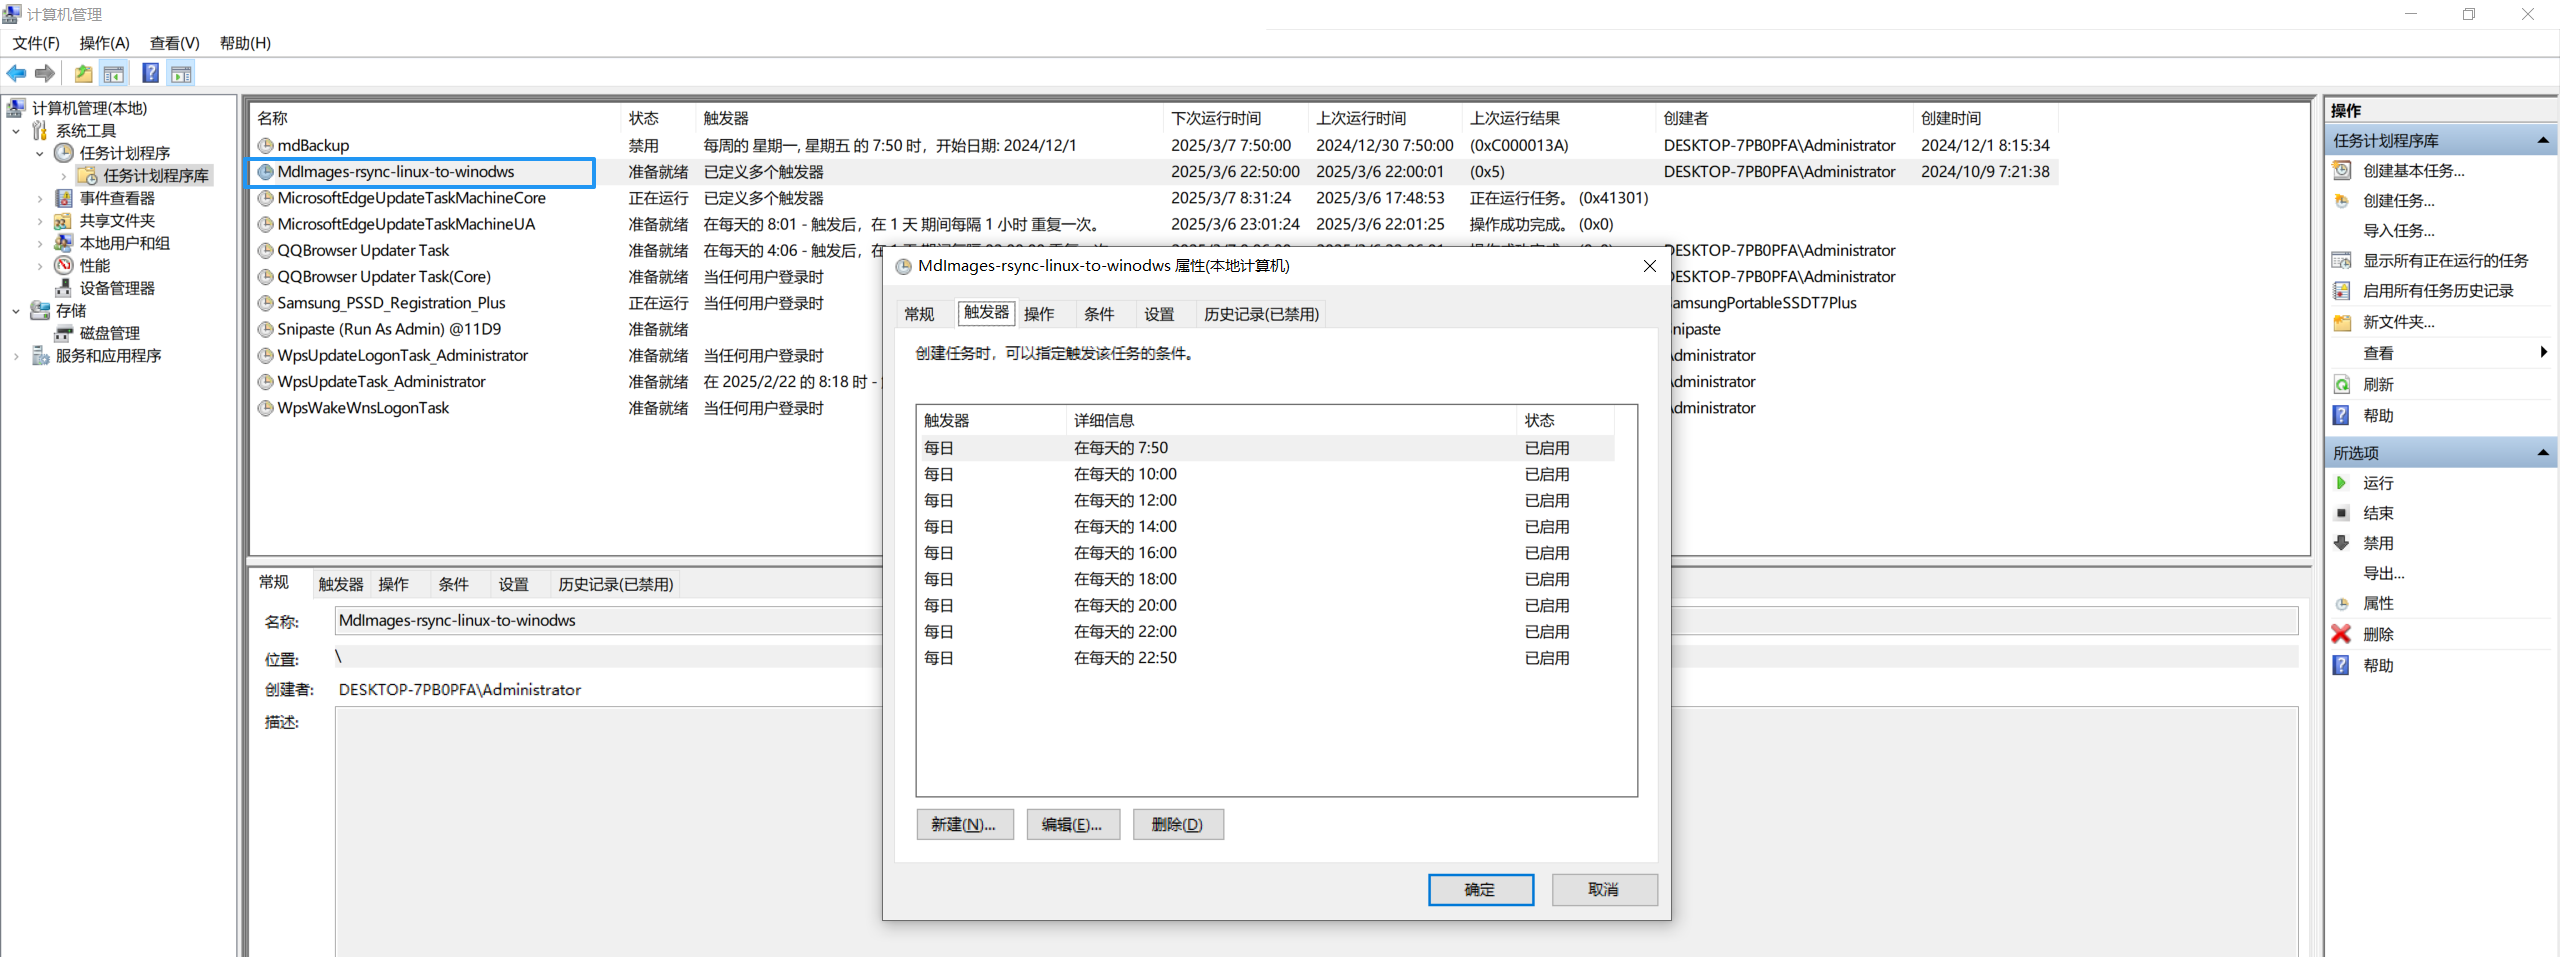
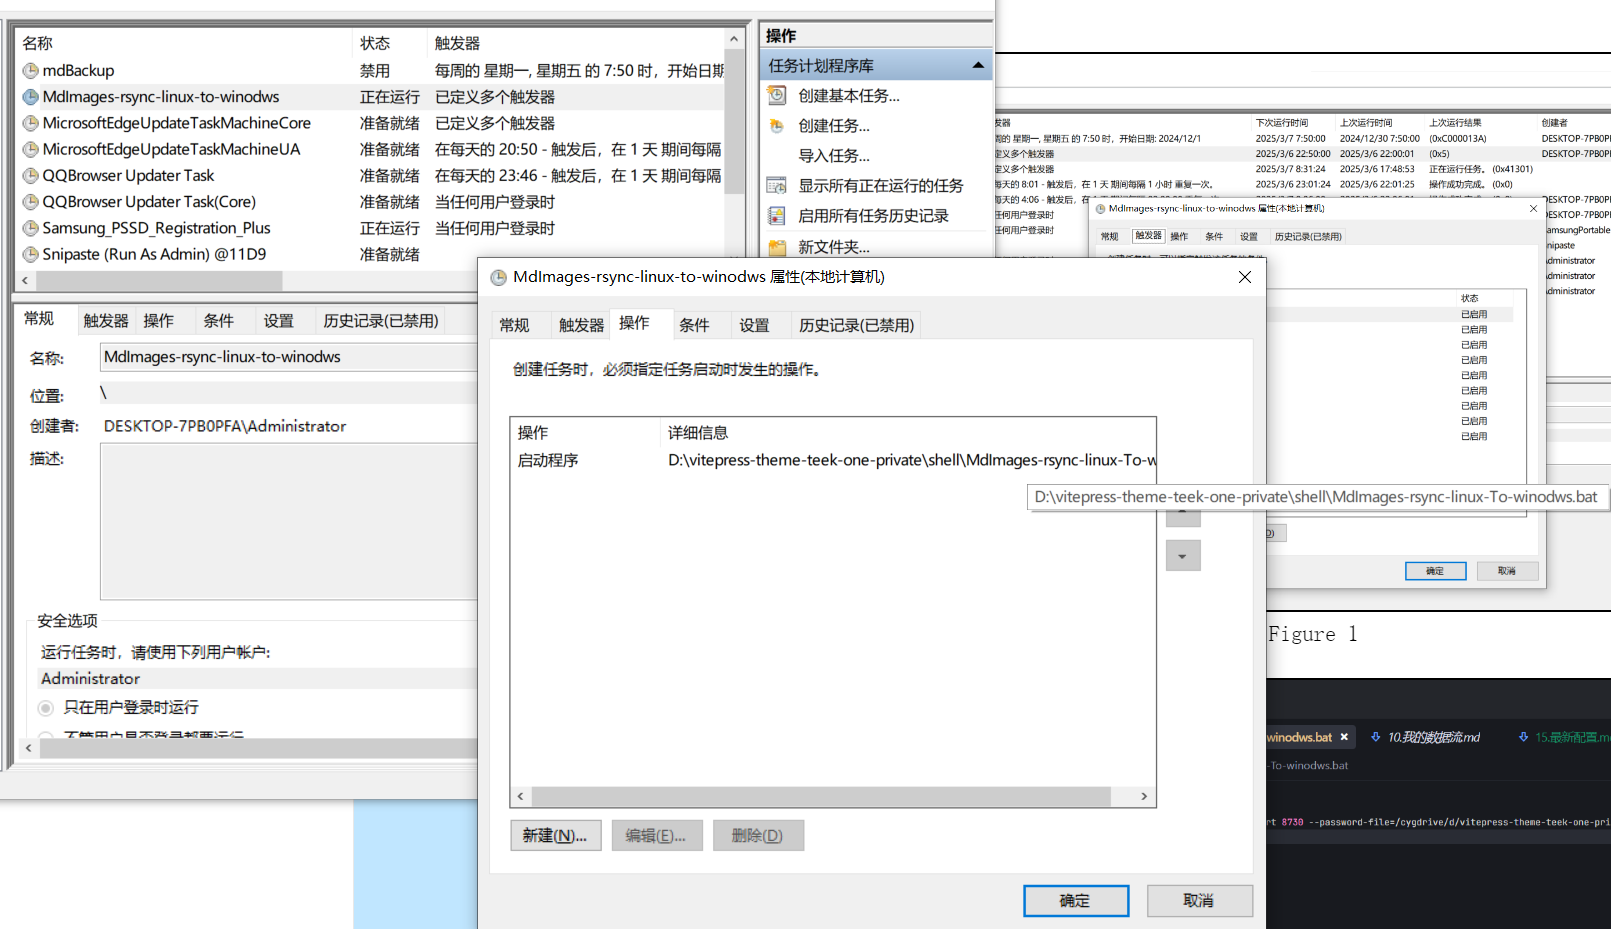
1.定时备份
从云服务器定时备份到本地。
bash
#本地目录
D:\images
#云服务器目录
/images
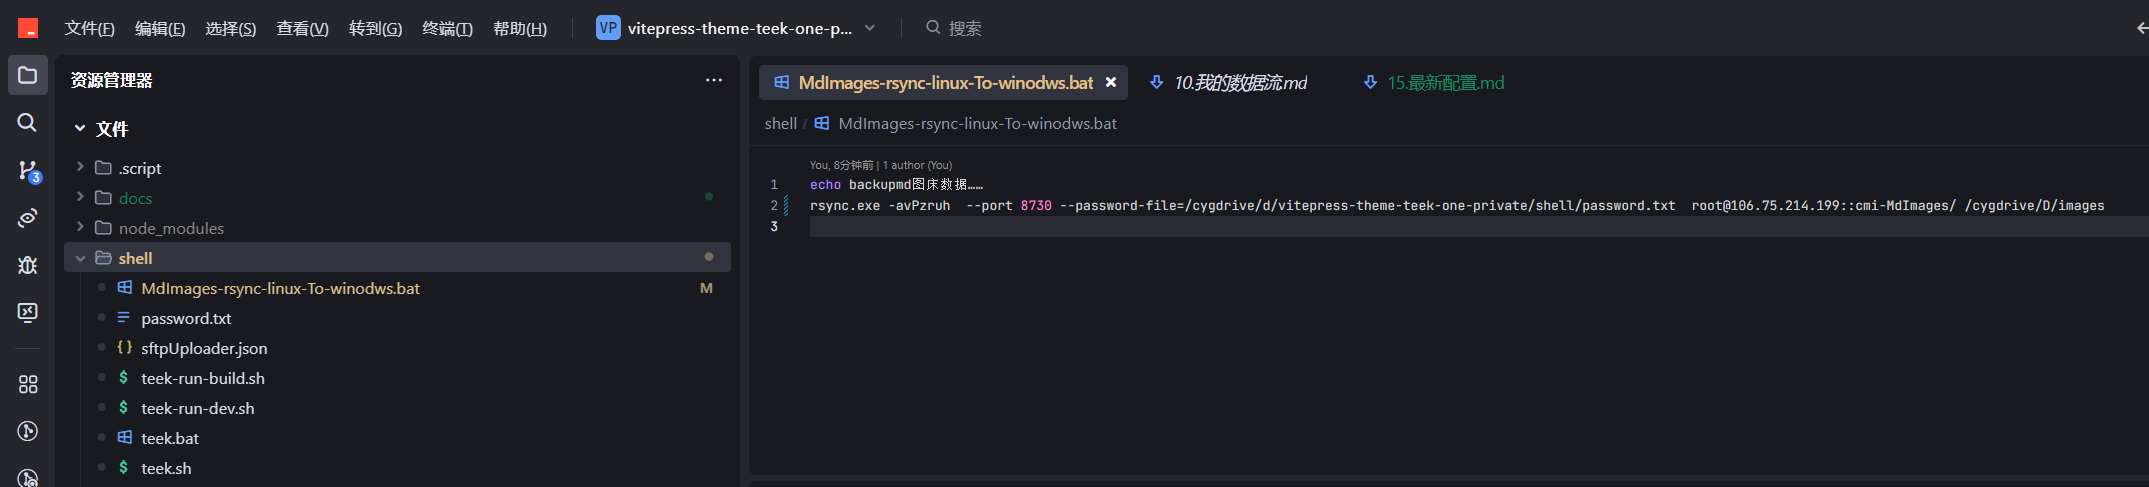
##同步命令
rsync.exe -avPzruh --port 8730 --password-file=/cygdrive/d/vitepress-theme-teek-one-private/shell/password.txt root@106.75.214.199::cmi-MdImages/ /cygdrive/D/images云服务器/etc/rsyncd.conf文件内容:
2025年7月22日更新:
bash
[root@wiki ~]# cat  /etc/rsyncd.conf
# /etc/rsyncd: configuration file for rsync daemon mode
# See rsyncd.conf man page for more options.
# 进行通信的端口,如果 firewall 打开的话,需要将对应的端口添加进去
port=8730
# 日志文件
log file=/var/log/rsync.log
# rsync 的进程 id
pid file=/var/run/rsync.pid
# 要同步的模块,这里一般以项目名命名


#md图床数据
[cmi-MdImages]
# 同步的目标文件夹
path=/images
# rsync daemon 在传输前是否切换到指定的 path 目录下,并将其监禁在内,用于增加传输的安全性
use chroot=no
# 指定最大的连接数
max connections=4
# yes 表示只读本地文件无法同步到服务器
read only=no
# 客户端请求显示模块列表时,该模块是否显示出来
list=true
# 服务运行时的用户
uid=root
# 服务运行时的用户组
gid=root
# 进行验证时的用户名,必须是系统存在的用户
auth users = root
# 连接用户时的密码
secrets file=/etc/rsyncd.passwd
# 允许的 ip
hosts allow=*


[cmi-vitepress]
# 同步的目标文件夹
path=/root/rsync/rsync-vitepress
# rsync daemon 在传输前是否切换到指定的 path 目录下,并将其监禁在内,用于增加传输的安全性
use chroot=no
# 指定最大的连接数
max connections=4
# yes 表示只读本地文件无法同步到服务器
read only=no
# 客户端请求显示模块列表时,该模块是否显示出来
list=true
# 服务运行时的用户
uid=root
# 服务运行时的用户组
gid=root
# 进行验证时的用户名,必须是系统存在的用户
auth users = root
# 连接用户时的密码
secrets file=/etc/rsyncd.passwd
# 允许的 ip
hosts allow=*- 每天定时从服务器备份到本地
2.手动备份
警告
每个月手动 完全备份 图床目录到百度云盘。

3.老版本
老版本图床数据:
如果自己md里有图片丢失,可以尝试从这个路径寻找图片。
bash
cmi-MdImages-local
cmi-MdImages-local-20250306
2025.4.16-本次整理的大文件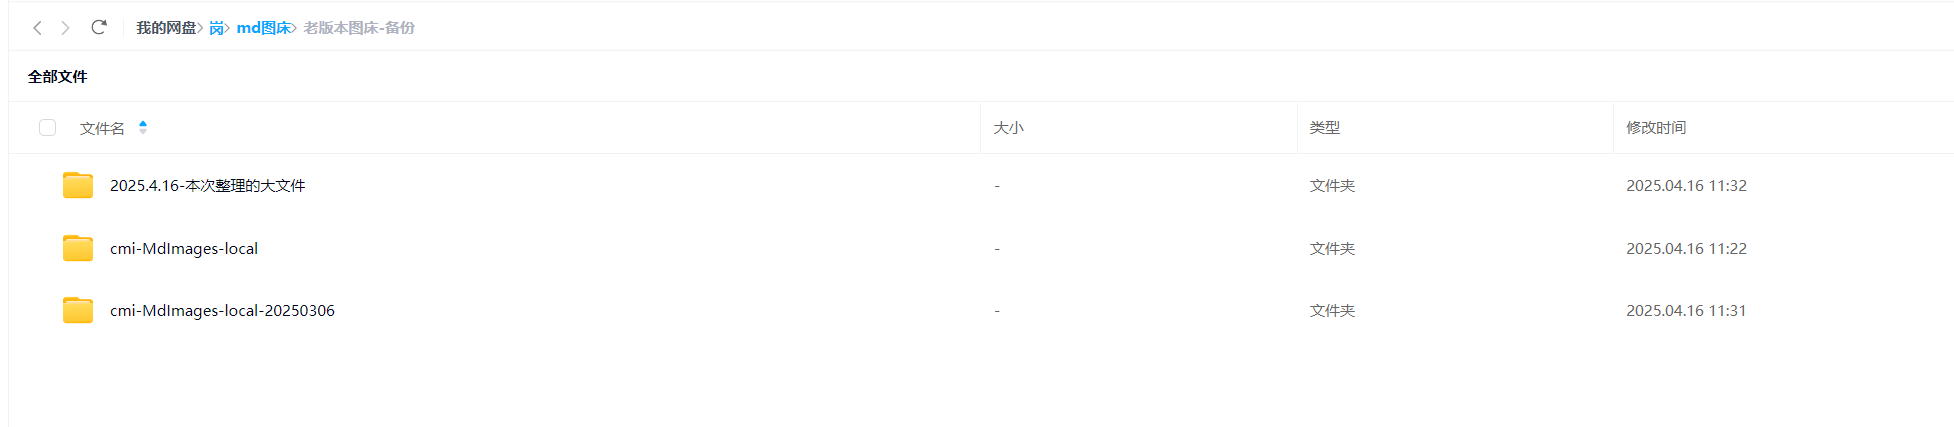
4.使用原则
- 只允许存放图片、小文件;
- 大图片(大于10M的)禁止上传;
- 图片命名要规则;(例如
image-20250416113247755.png)
3、Nginx配置
(1)/etc/nginx/nginx.conf 文件
bash
[root@wiki ~]# cat /etc/nginx/nginx.conf

user  root;
worker_processes  auto;

error_log  /var/log/nginx/error.log notice;
pid        /var/run/nginx.pid;


events {
    worker_connections  1024;
}


http {
    include       /etc/nginx/mime.types;
    default_type  application/octet-stream;

    log_format  main  '$remote_addr - $remote_user [$time_local] "$request" '
                      '$status $body_bytes_sent "$http_referer" '
                      '"$http_user_agent" "$http_x_forwarded_for"';

    access_log  /var/log/nginx/access.log  main;

    sendfile        on;
    #tcp_nopush     on;

    keepalive_timeout  65;

    #gzip  on;

    include /etc/nginx/conf.d/*.conf;
}(2)备份脚本:
bash
[root@wiki ~]# tar zcvf nginx-bak-`date +%F`.tar.gz /etc/nginx/conf.d/
tar: Removing leading `/' from member names
/etc/nginx/conf.d/
/etc/nginx/conf.d/twikoo.onedayxyy.cn.conf
/etc/nginx/conf.d/umami.onedayxyy.cn.conf
/etc/nginx/conf.d/status.onedayxyy.cn.conf
/etc/nginx/conf.d/img.onedayxyy.cn.conf
/etc/nginx/conf.d/wiki.onedayxyy.cn.conf.bak
/etc/nginx/conf.d/onedayxyy.cn.conf
[root@wiki ~]# ll nginx-bak-2025-07-22.tar.gz -h
-rw-r--r-- 1 root root 1.6K Jul 22 07:11 nginx-bak-2025-07-22.tar.gz
[root@wiki ~]#

[root@wiki ~]# sz nginx-bak-2025-07-22.tar.gz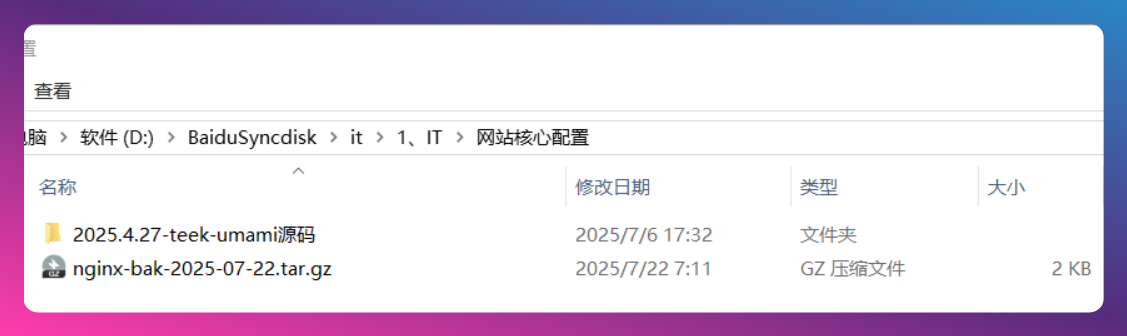
4、Twikoo、Umami、Status配置
不是很重要的数据;