00:00:00
hugo安装
hugo安装
实验环境
bash
win10
git version 2.17.0.windows.1
hugo v0.98.0实验软件
链接:https://pan.baidu.com/s/1C-2E0-6Ub7s9DG6npUoZ8Q?pwd=elmi 提取码:elmi 2022.5.4-hugo实验软件

前置条件
如果你想拥有一个心可以栖息的地方,那么就来和我一起搭建一个属于自己的博客平台,在这里,你可以随心所欲!
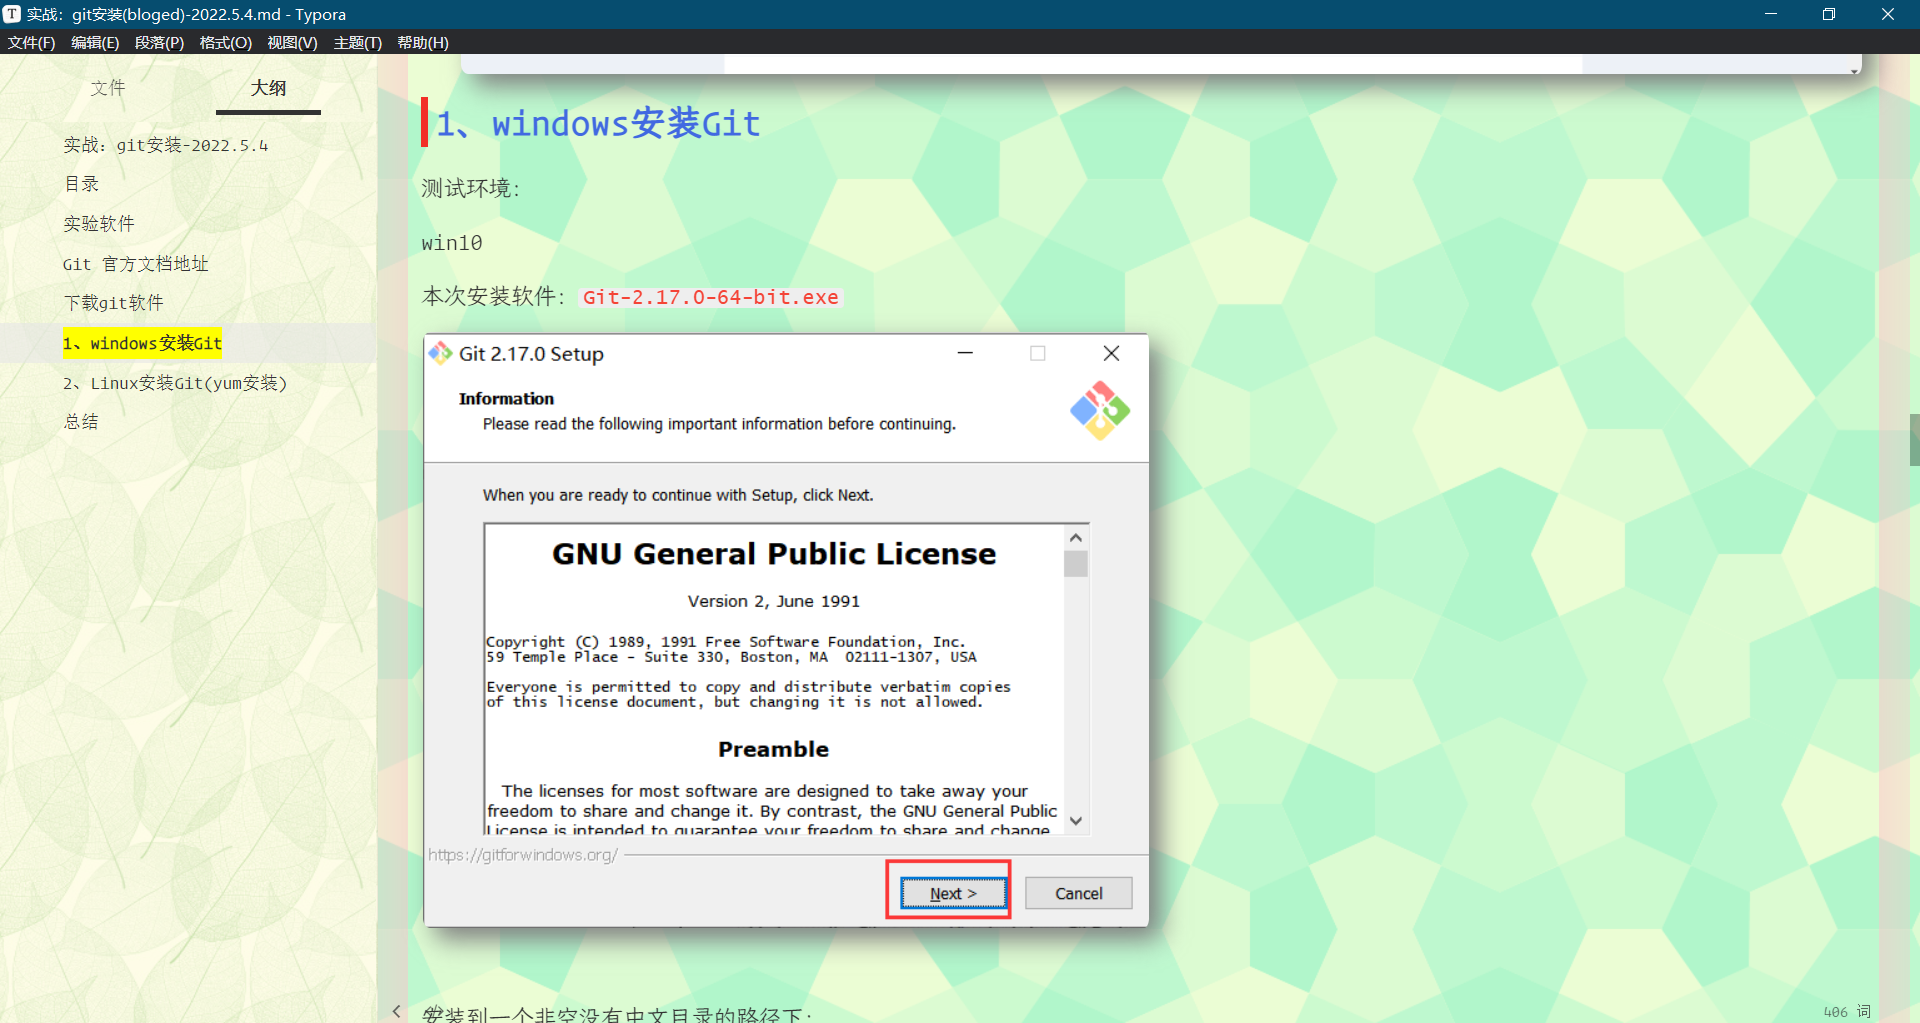
1.安装git
2.安装hugo
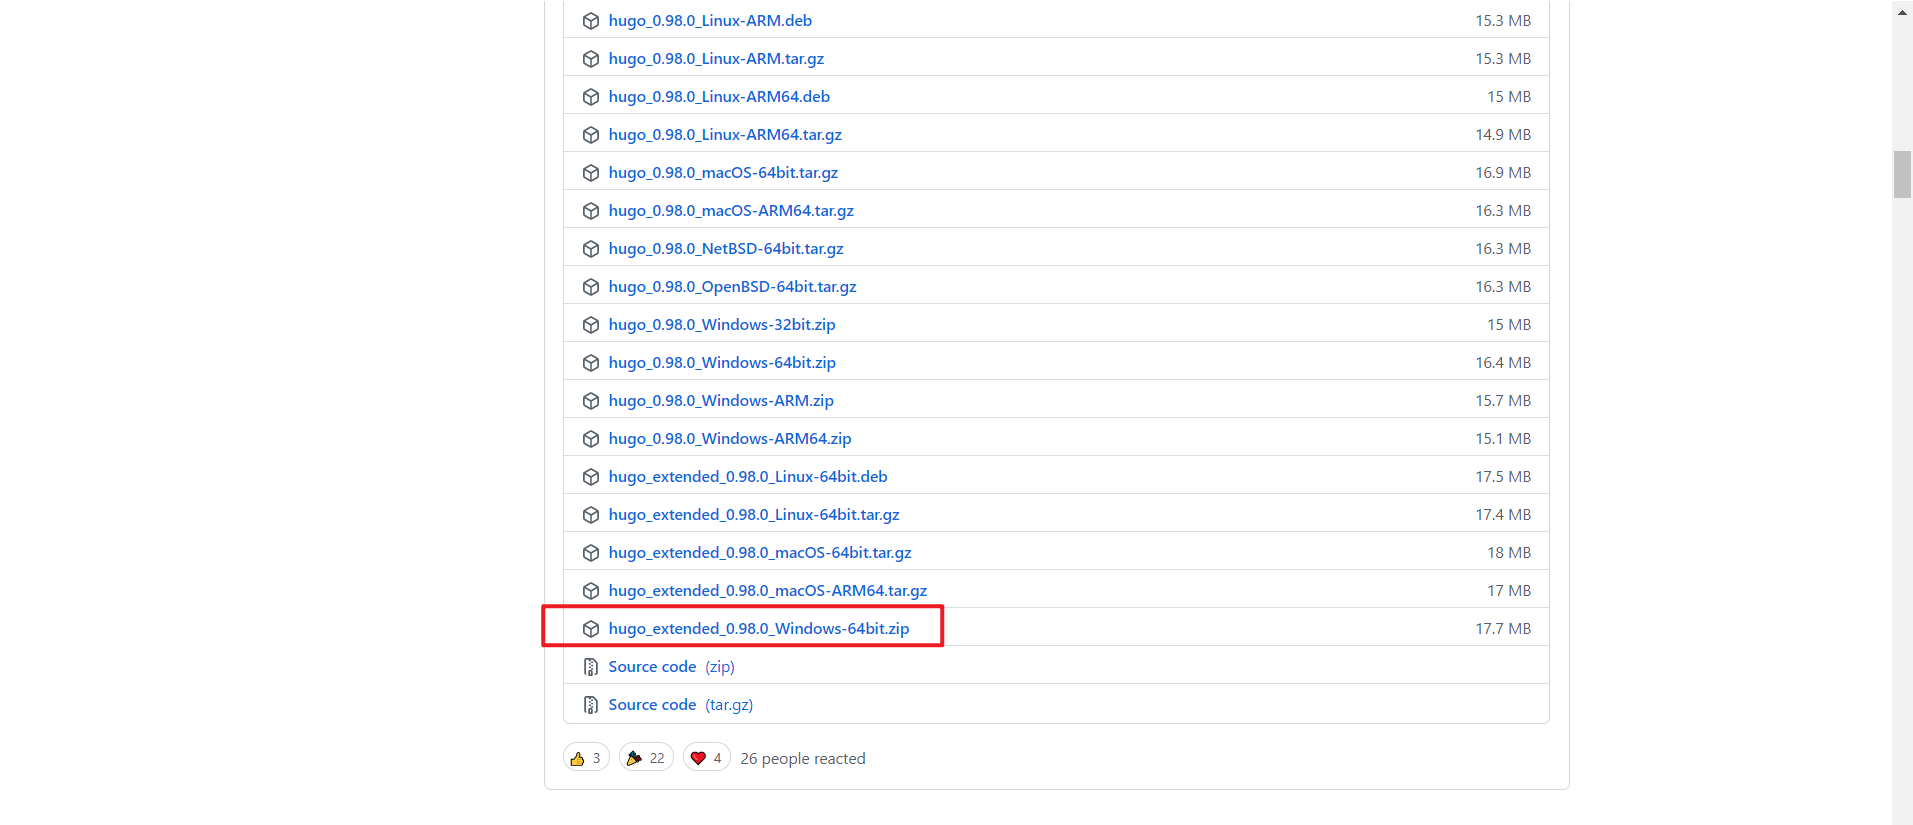
- 打开hugo下载链接,直接下载go二进制安装包:
https://github.com/gohugoio/hugo/releases/download/v0.98.0/hugo_extended_0.98.0_Windows-64bit.zip
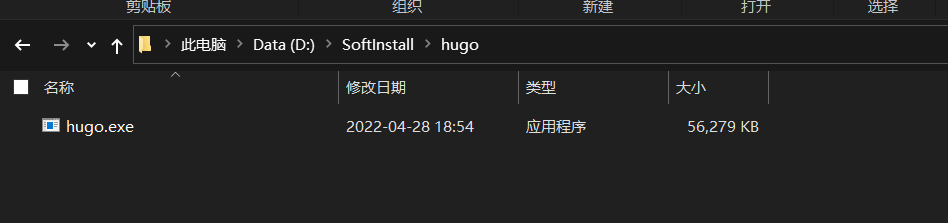
- 将下载的go二进制安装包放到自己电脑某个目录下,然后将其路径放到自己电脑的环境变量下
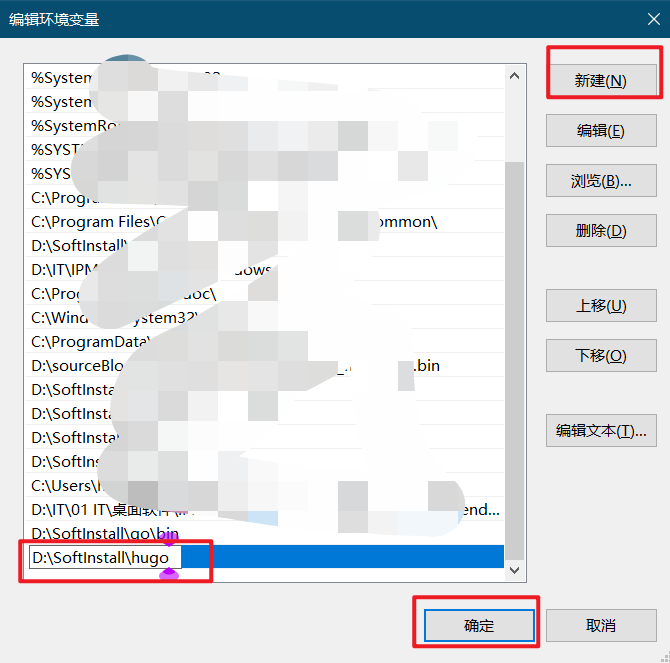
将下载好的二进制安装包,放到自己pc某个目录下:(自己配置目录为D:\SoftInstall\hugo)
配置环境变量具体步骤如下:
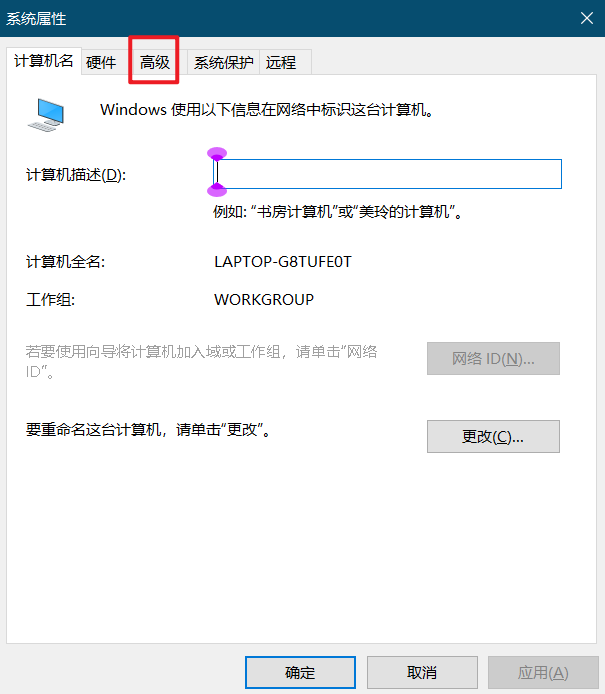
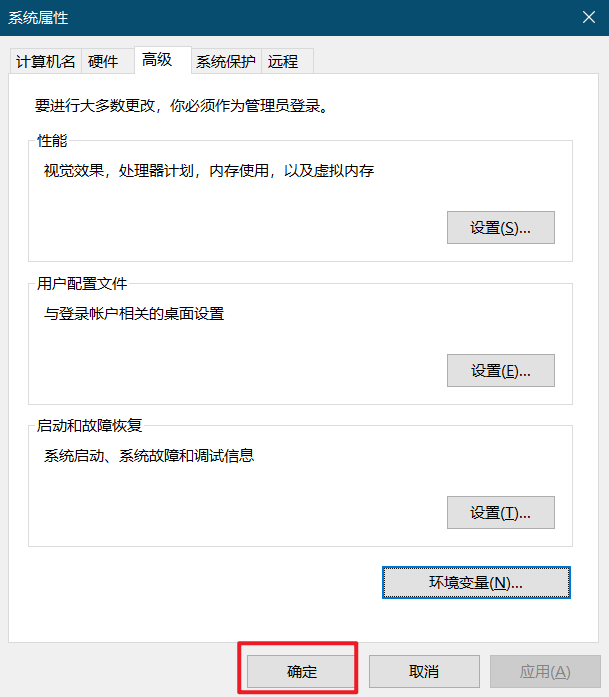
win + R,输入:sysdm.cpl快速打开pc的环境变量配置:
点击高级:
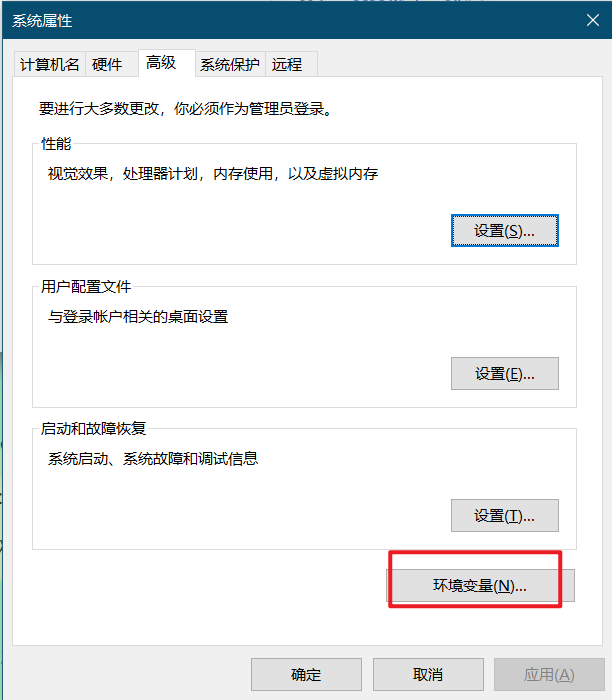
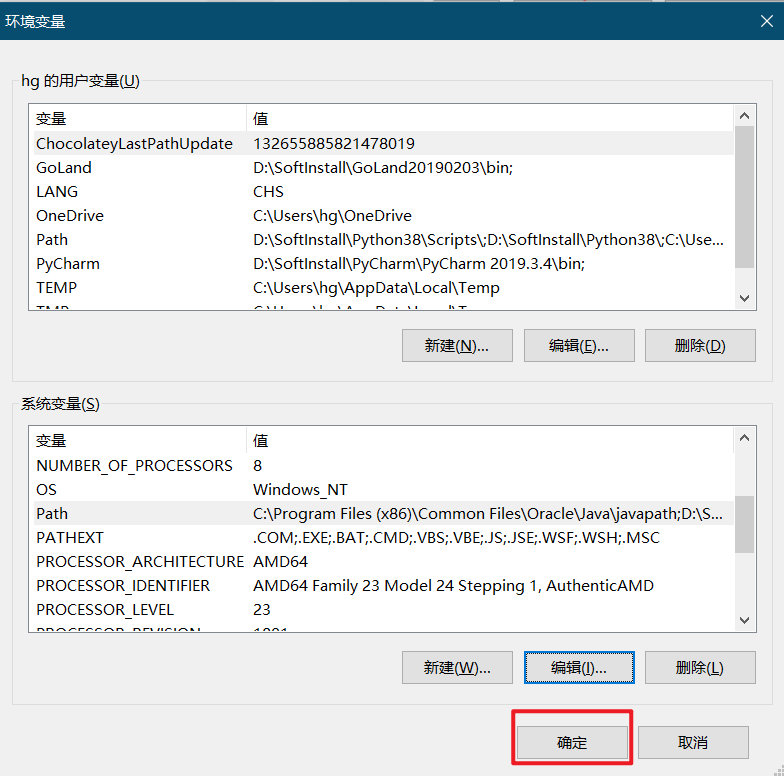
点击环境变量:
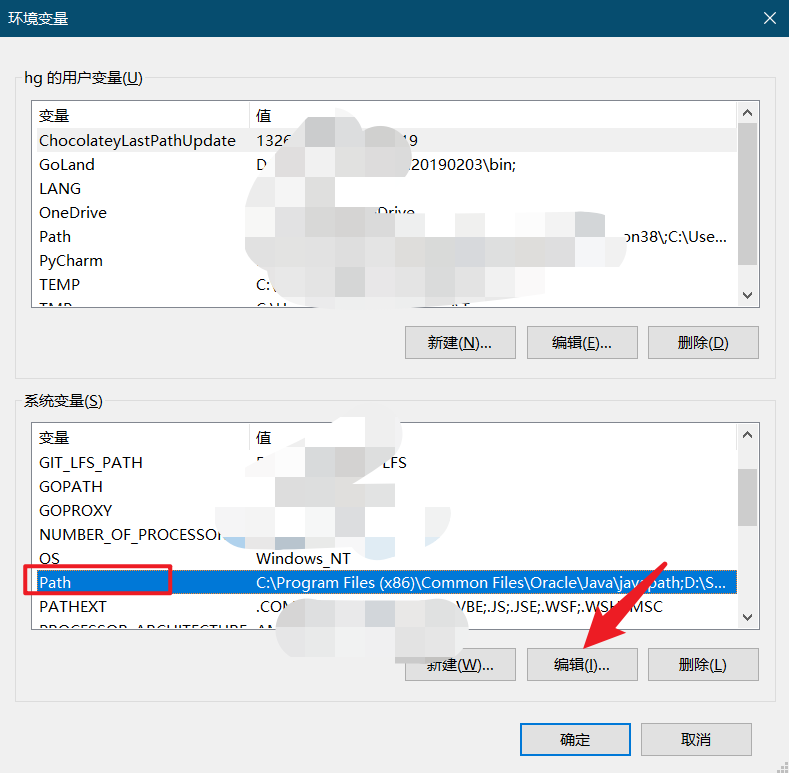
来到系统变量,找到Path那一行,点击编辑:
点击新建,然后输入刚才下载的二进制目录所在路径,点击确认:
点击确认:
点击确认:
至此,hugo的环境变量就配置好了,我们打开cmd,输入hugo version查看是否有效果:

有结果输出,表示hugo安装正常。
3.本地预览
1.创建本地站点根目录
自己来到D:\目录下,然后输入如下命令,进行创建本地站点根目录:
bash
$ hugo new site hugoblog
Congratulations! Your new Hugo site is created in D:\hugoblog.

Just a few more steps and you're ready to go:

1. Download a theme into the same-named folder.
   Choose a theme from https://themes.gohugo.io/ or
   create your own with the "hugo new theme <THEMENAME>" command.
2. Perhaps you want to add some content. You can add single files
   with "hugo new <SECTIONNAME>\<FILENAME>.<FORMAT>".
3. Start the built-in live server via "hugo server".

Visit https://gohugo.io/ for quickstart guide and full documentation.


hg@LAPTOP-G8TUFE0T MINGW64 /d
$ cd hugoblog/

hg@LAPTOP-G8TUFE0T MINGW64 /d/hugoblog
$ ls
archetypes/  config.toml  content/  data/  layouts/  public/  static/  themes/

hg@LAPTOP-G8TUFE0T MINGW64 /d/hugoblog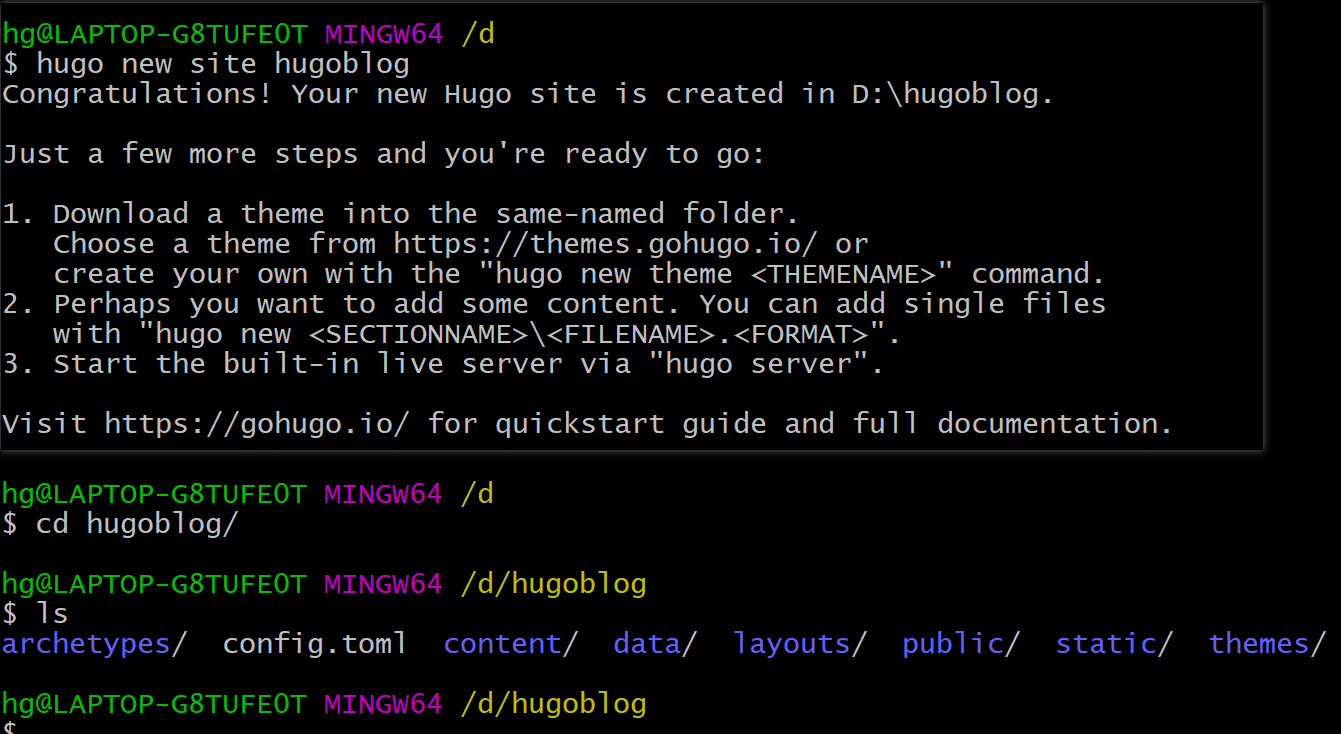
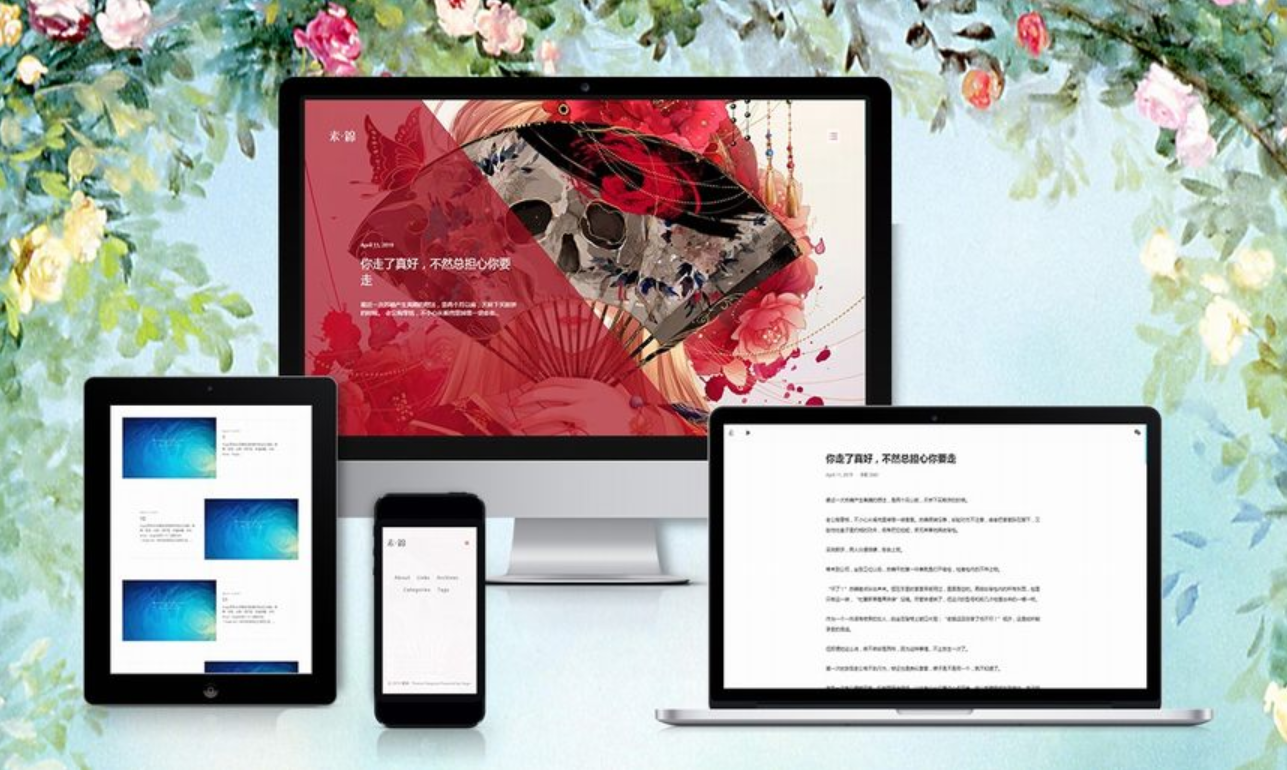
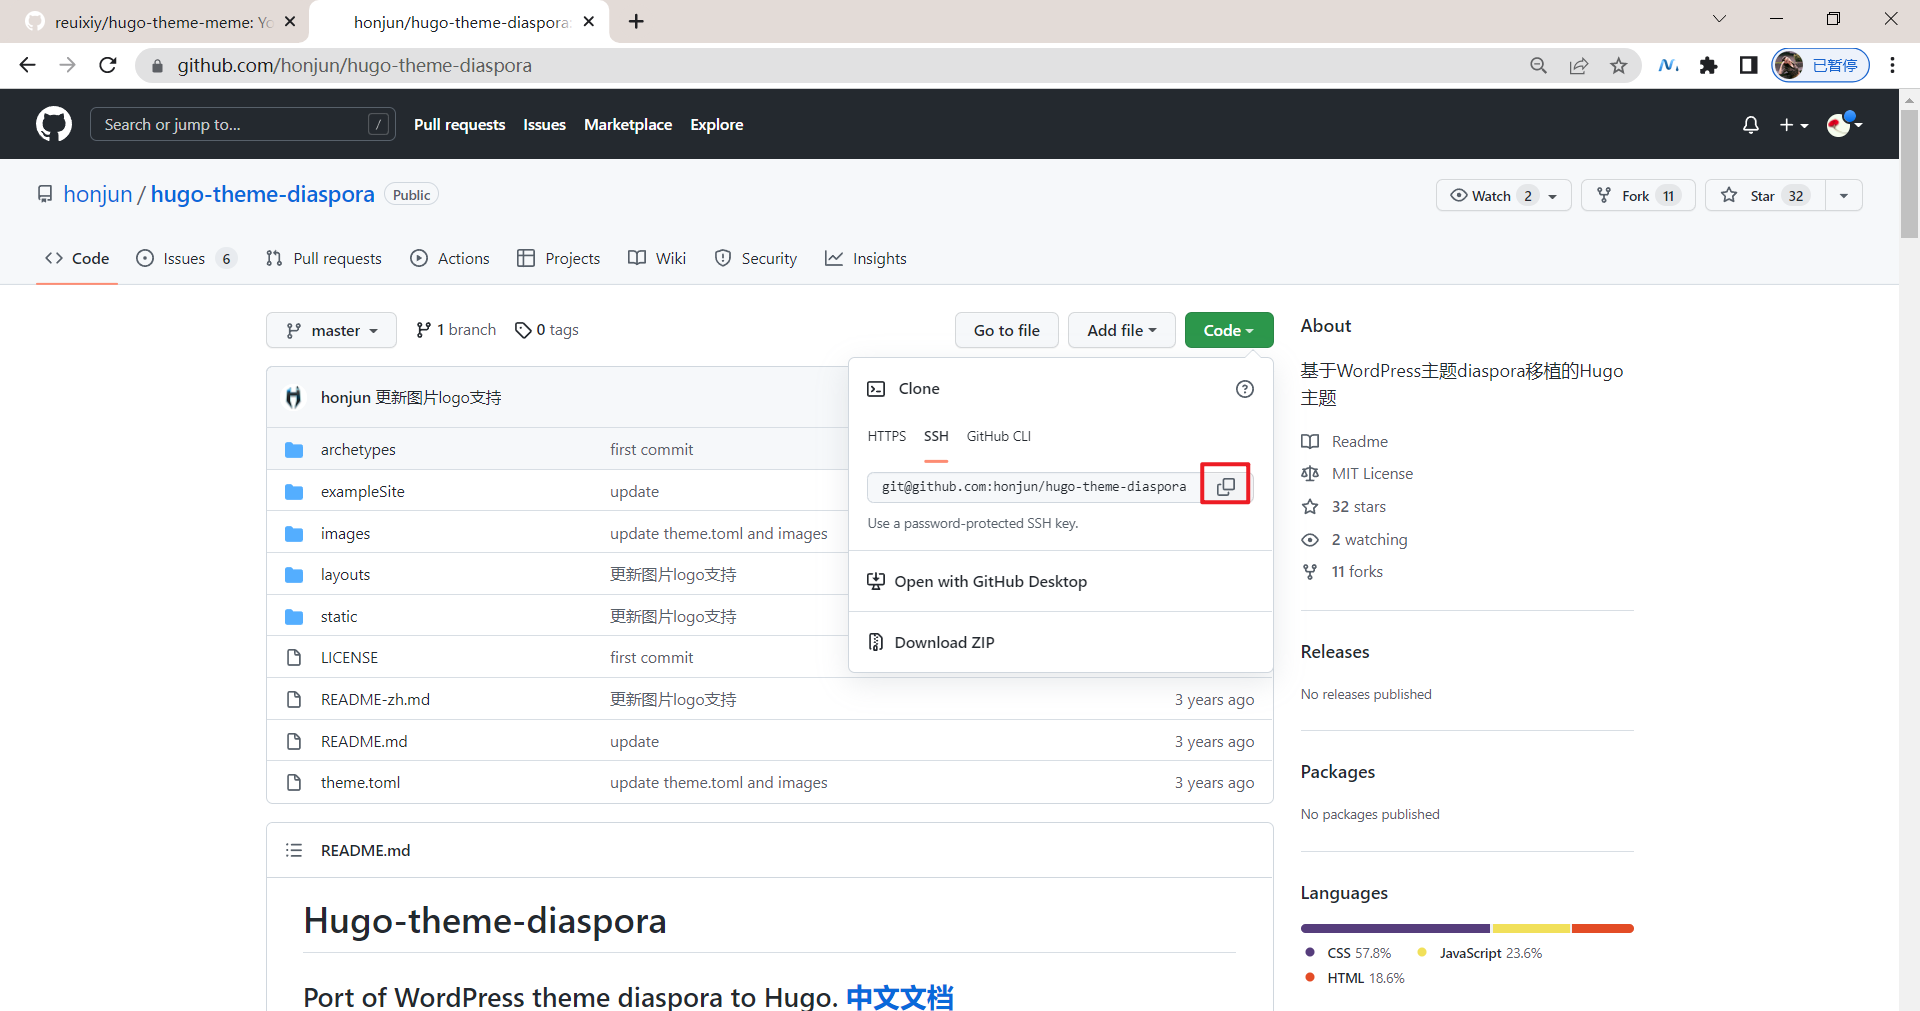
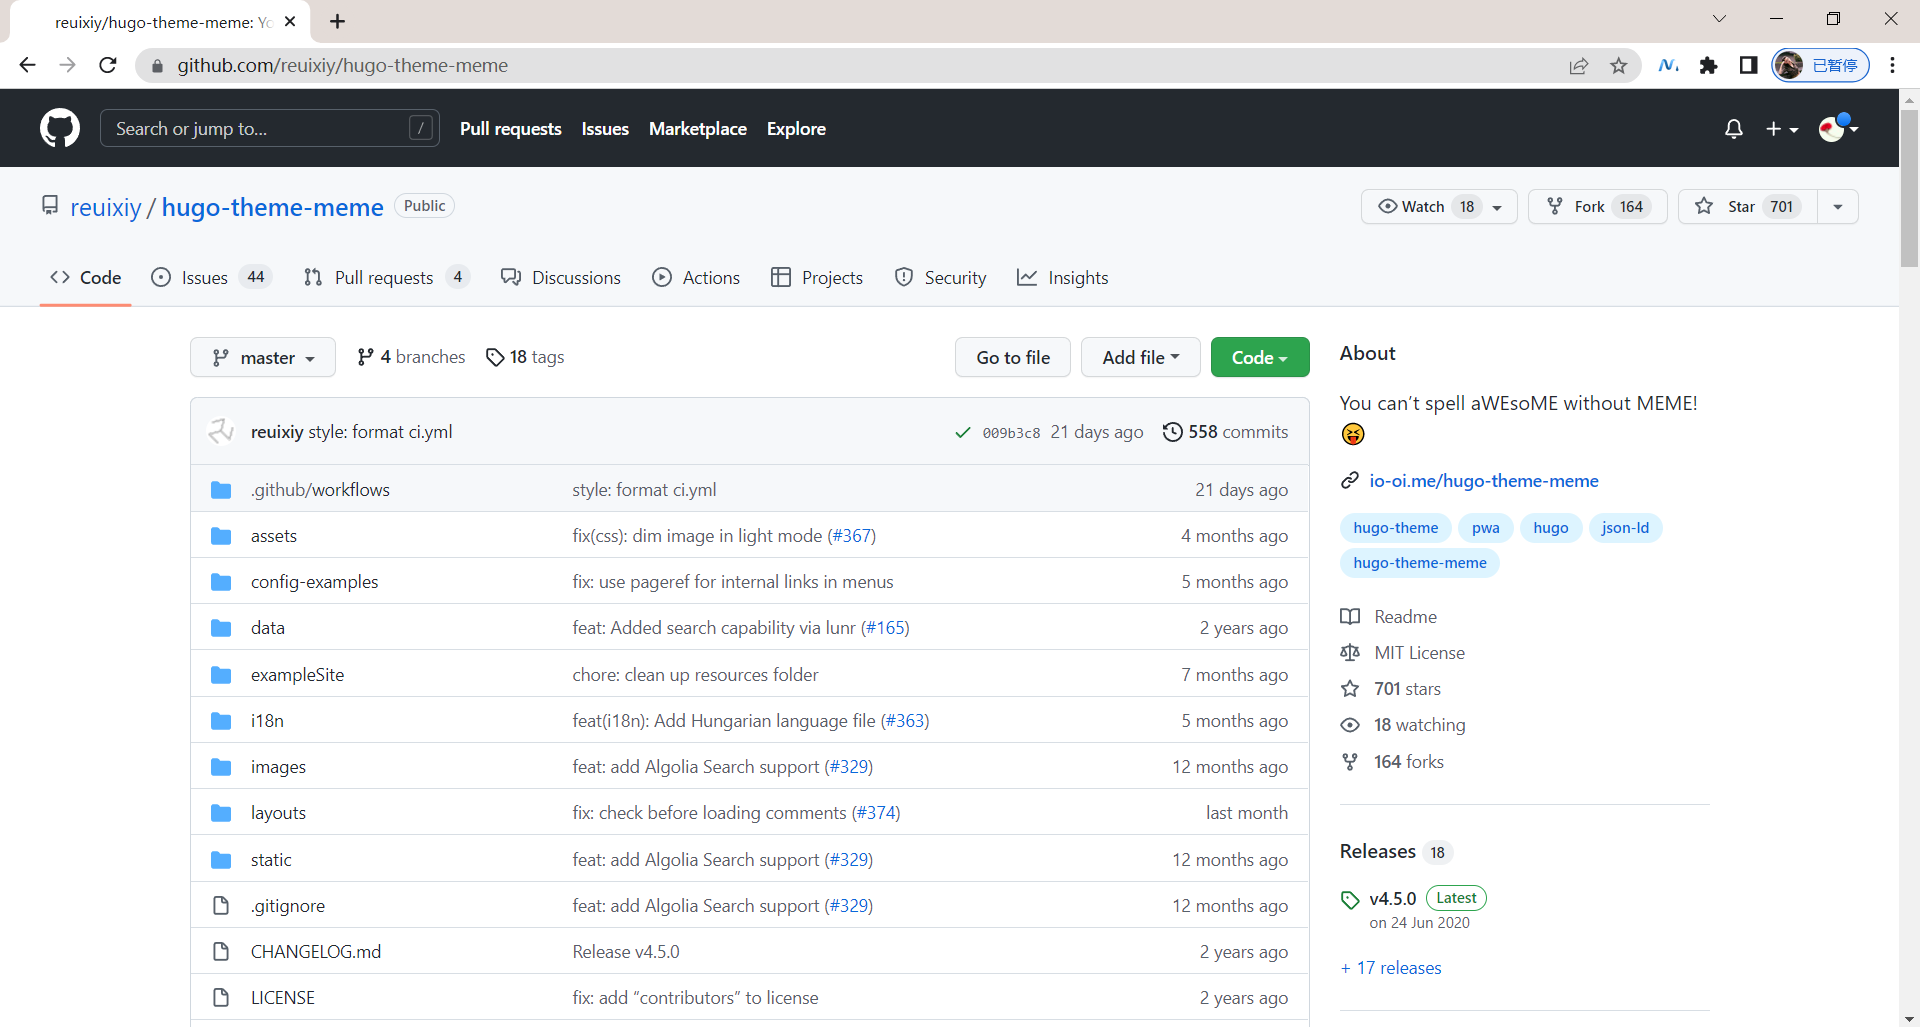
2.下载hugo主题
⚠️ 因为hugo没有内置主题,所以你需要去下载一个:
bash
hg@LAPTOP-G8TUFE0T MINGW64 /d/hugoblog
$ git clone https://github.com/reuixiy/hugo-theme-meme.git themes/meme
Cloning into 'themes/meme'...
remote: Enumerating objects: 5583, done.
remote: Counting objects: 100% (740/740), done.
remote: Compressing objects: 100% (289/289), done.
remote: Total 5583 (delta 507), reused 451 (delta 451), pack-reused 4843
Receiving objects: 100% (5583/5583), 9.31 MiB | 12.59 MiB/s, done.
Resolving deltas: 100% (3086/3086), done.
hg@LAPTOP-G8TUFE0T MINGW64 /d/hugoblog
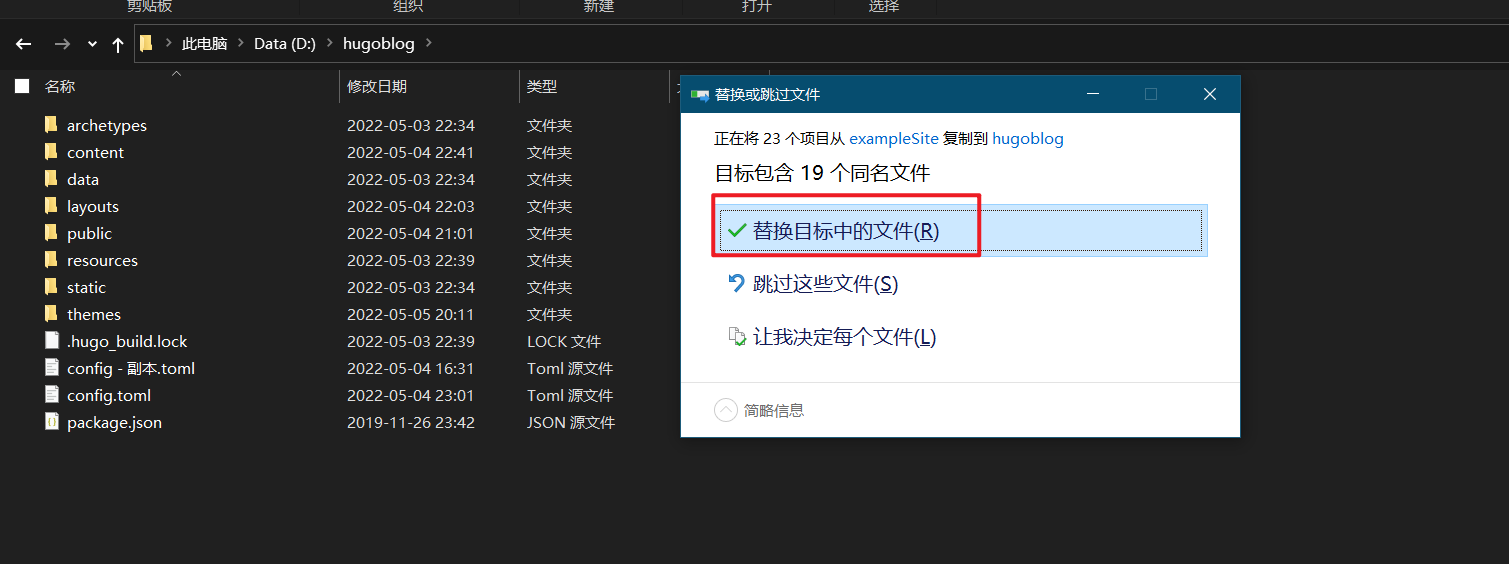
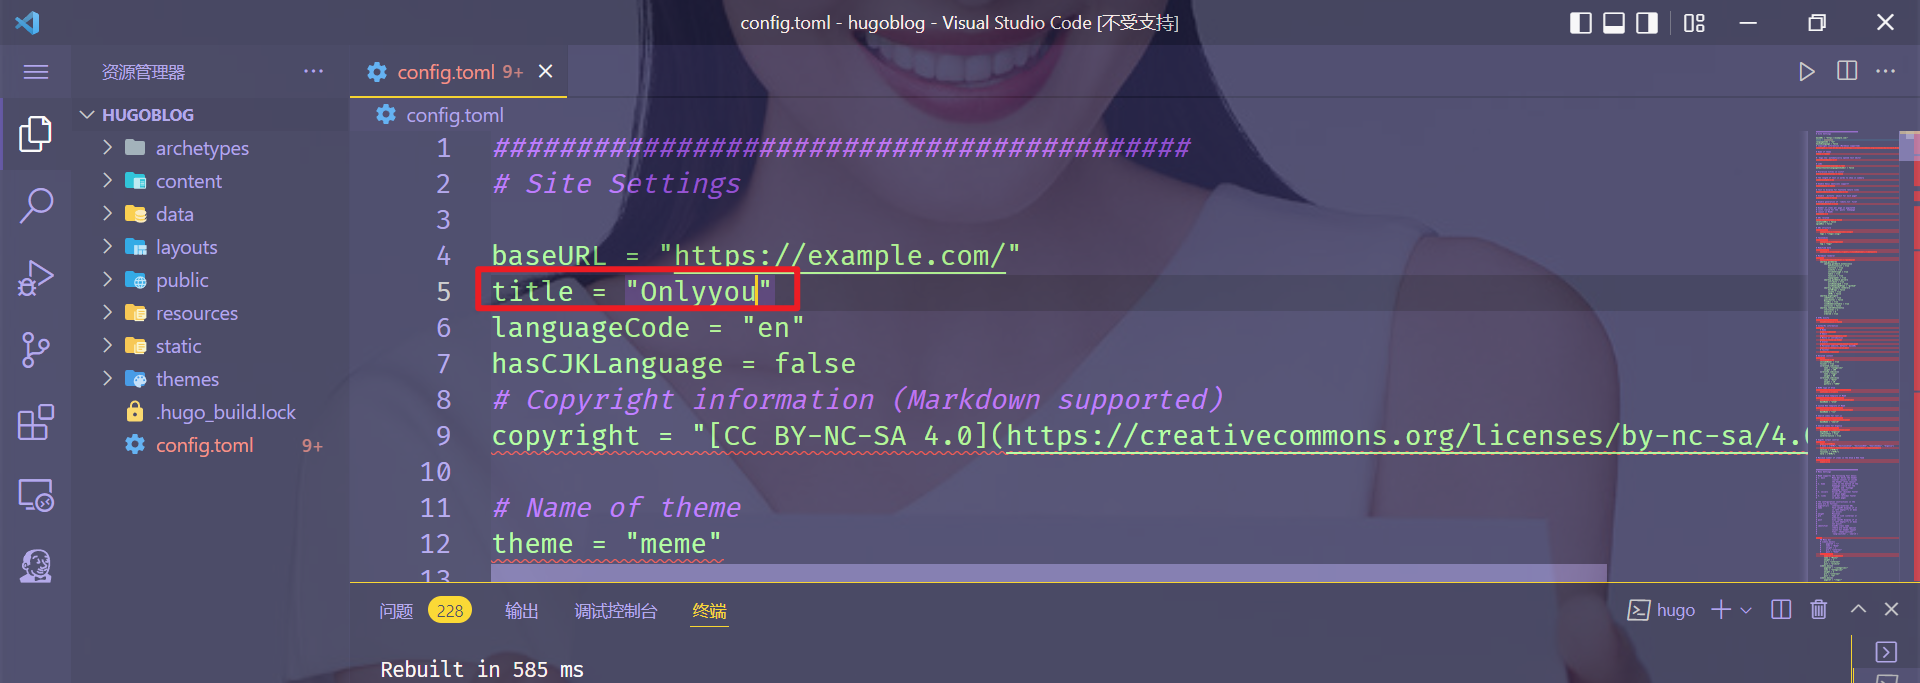
$ rm config.toml && cp themes/meme/config-examples/en/config.toml config.toml
3.创建第一个测试文件
bash
hg@LAPTOP-G8TUFE0T MINGW64 /d/hugoblog
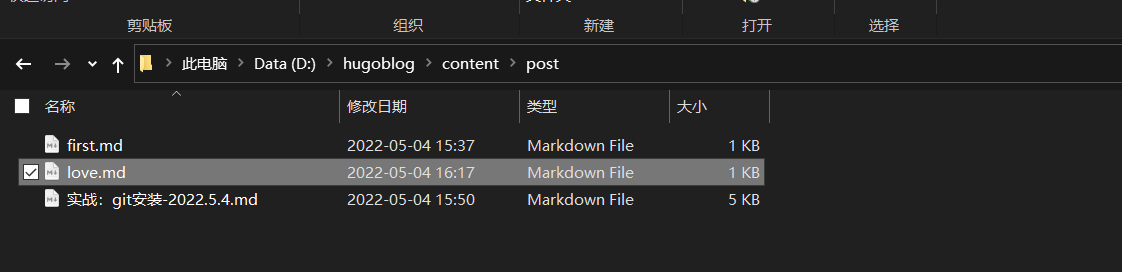
$ hugo new post/first.md
Content "D:\\hugoblog\\content\\post\\first.md" created
hg@LAPTOP-G8TUFE0T MINGW64 /d/hugoblog
$ echo "i love you,xyy hurt!" >> content/post/first.md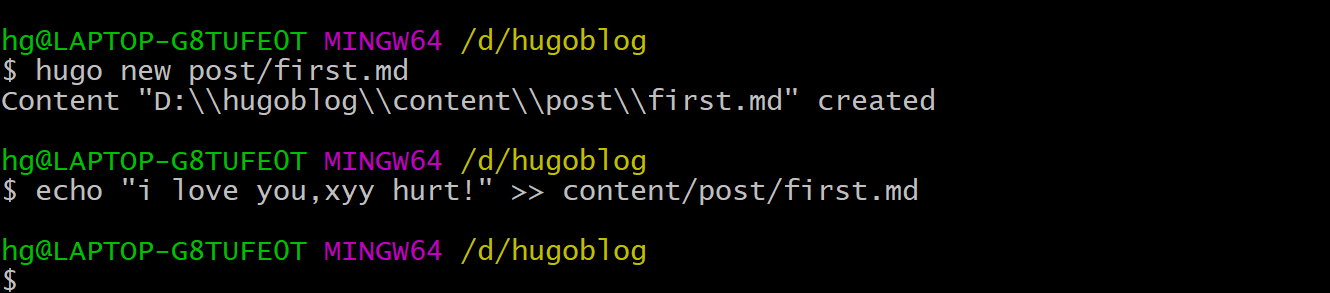
🍀 说明
bash
hugo new [路径]文章名.md
hugo new会创建包含默认元数据的文章,如果没有路径, 文章会保存在content目录中。
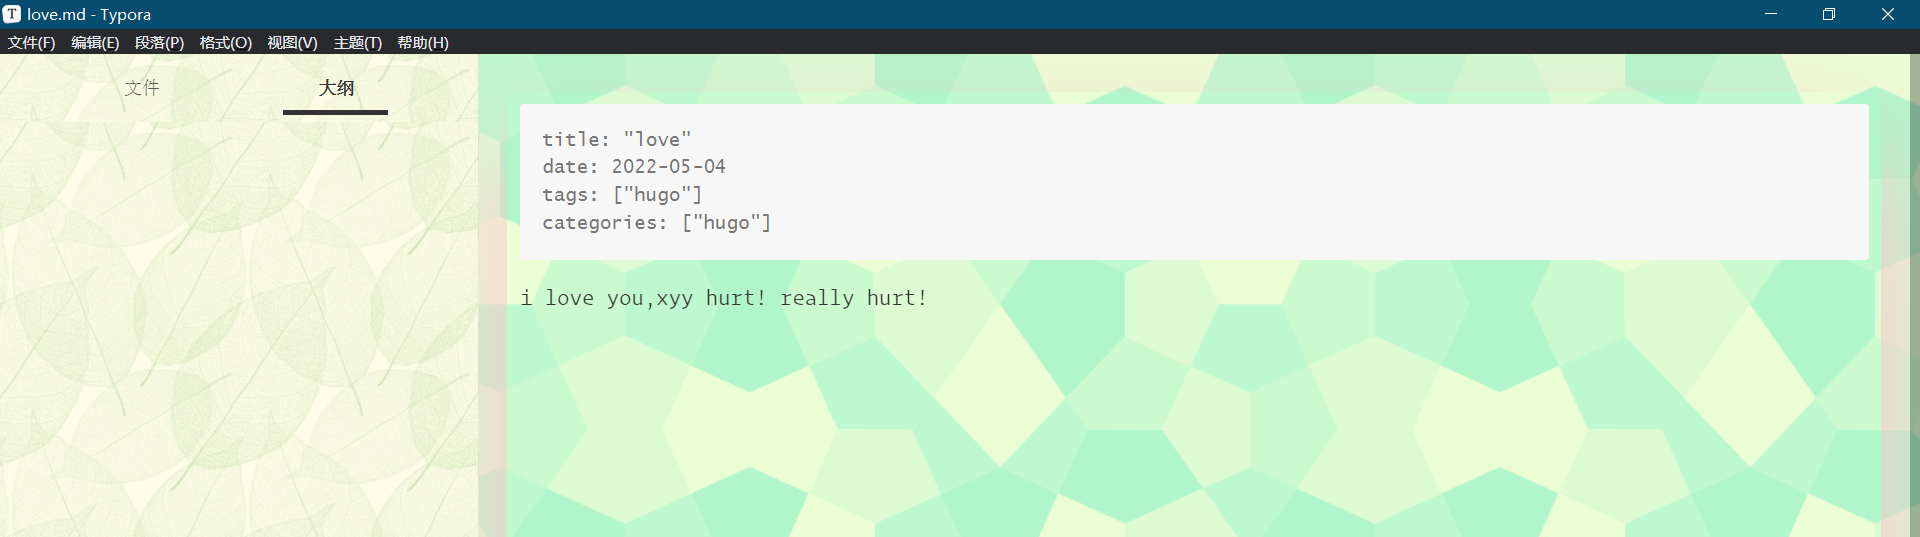
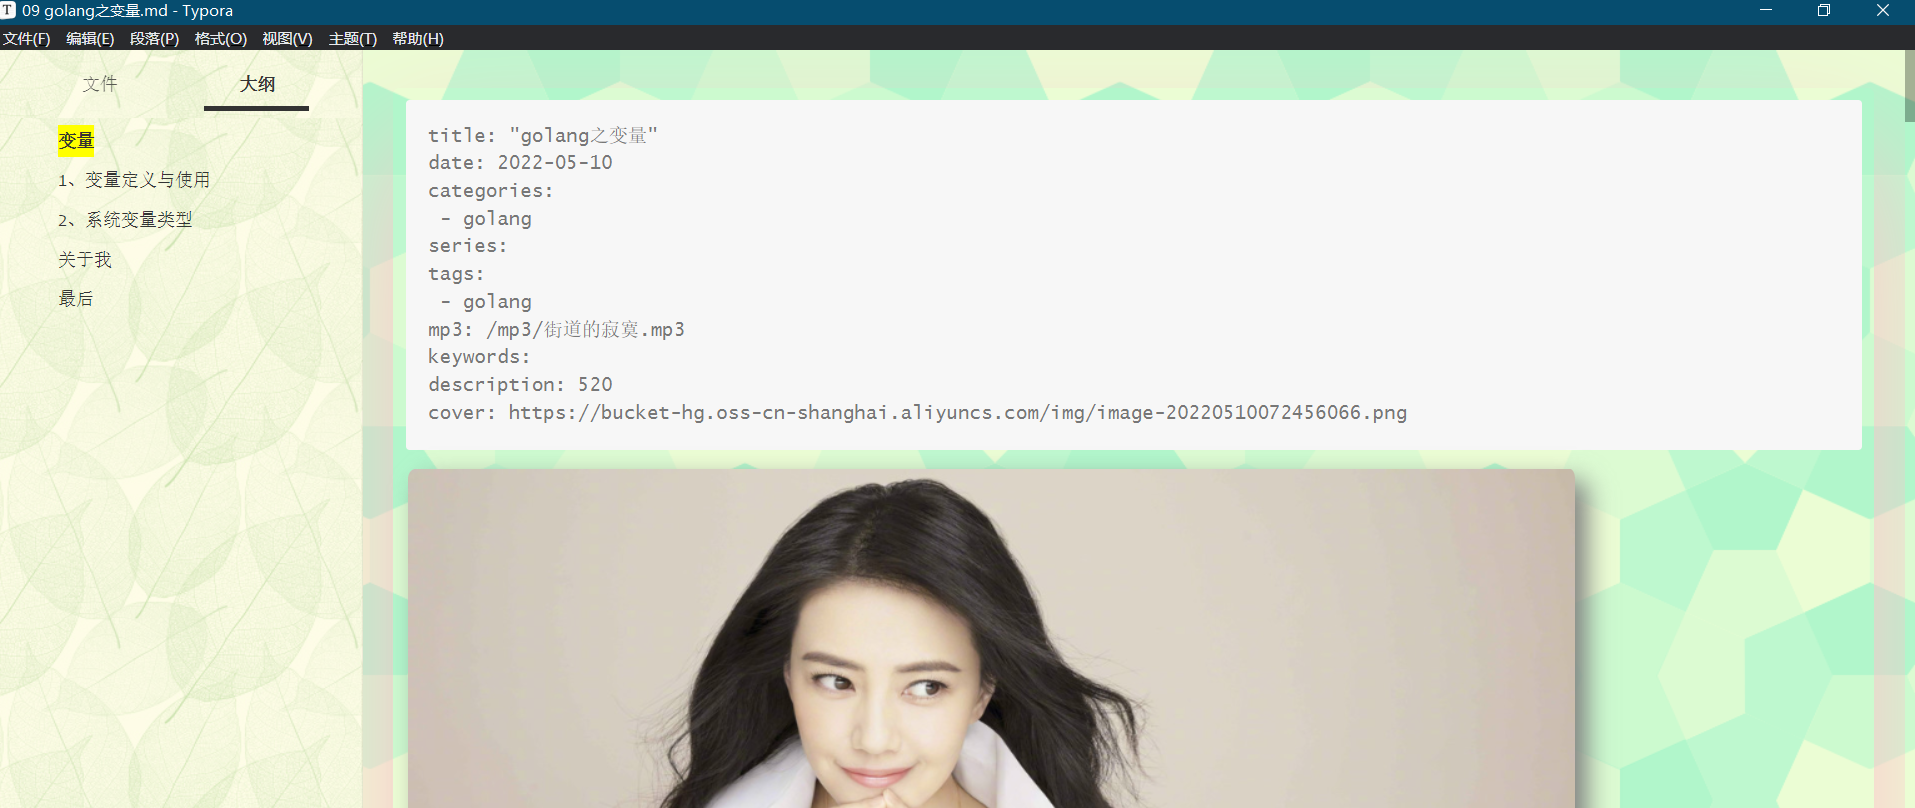
md的文章会在开始部分添加元数据,
数据格式为 yaml toml json格式如下:
+++
title = "my first blog"
date = "2019-10-28T09:38:35+08:00"
draft = true
+++
markdownz正文部分>>>
PS:
draft=true表示文章默认为草稿
draft=false 才能识别非草稿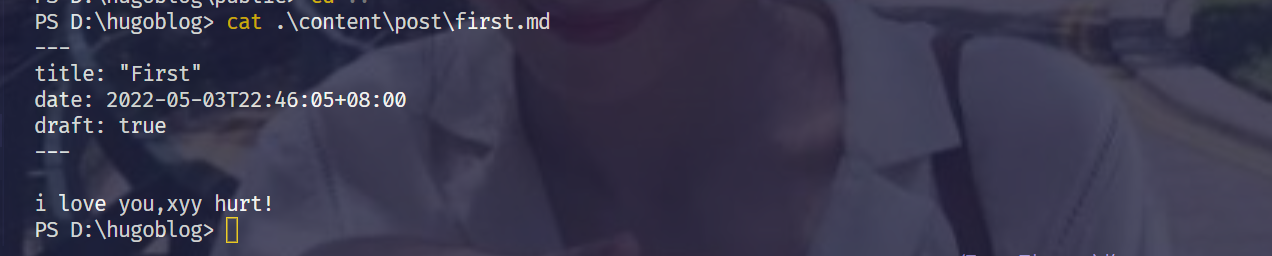
4.本地预览
bash
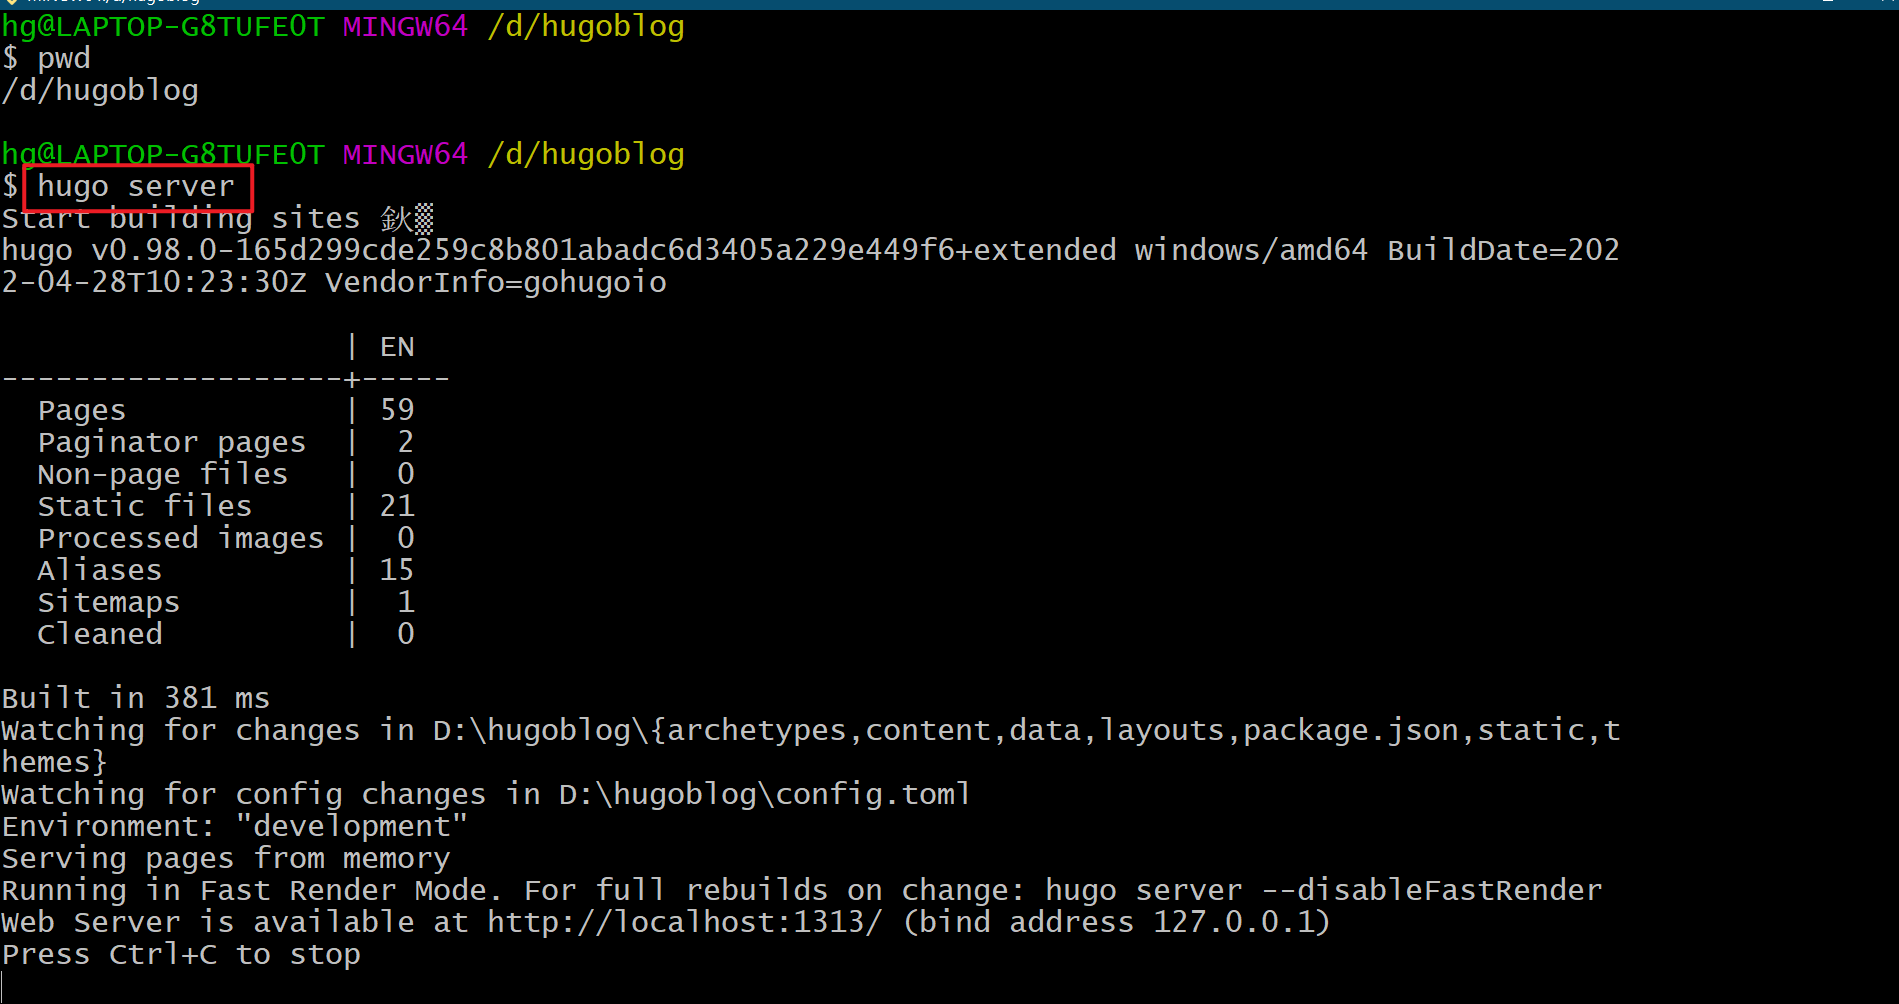
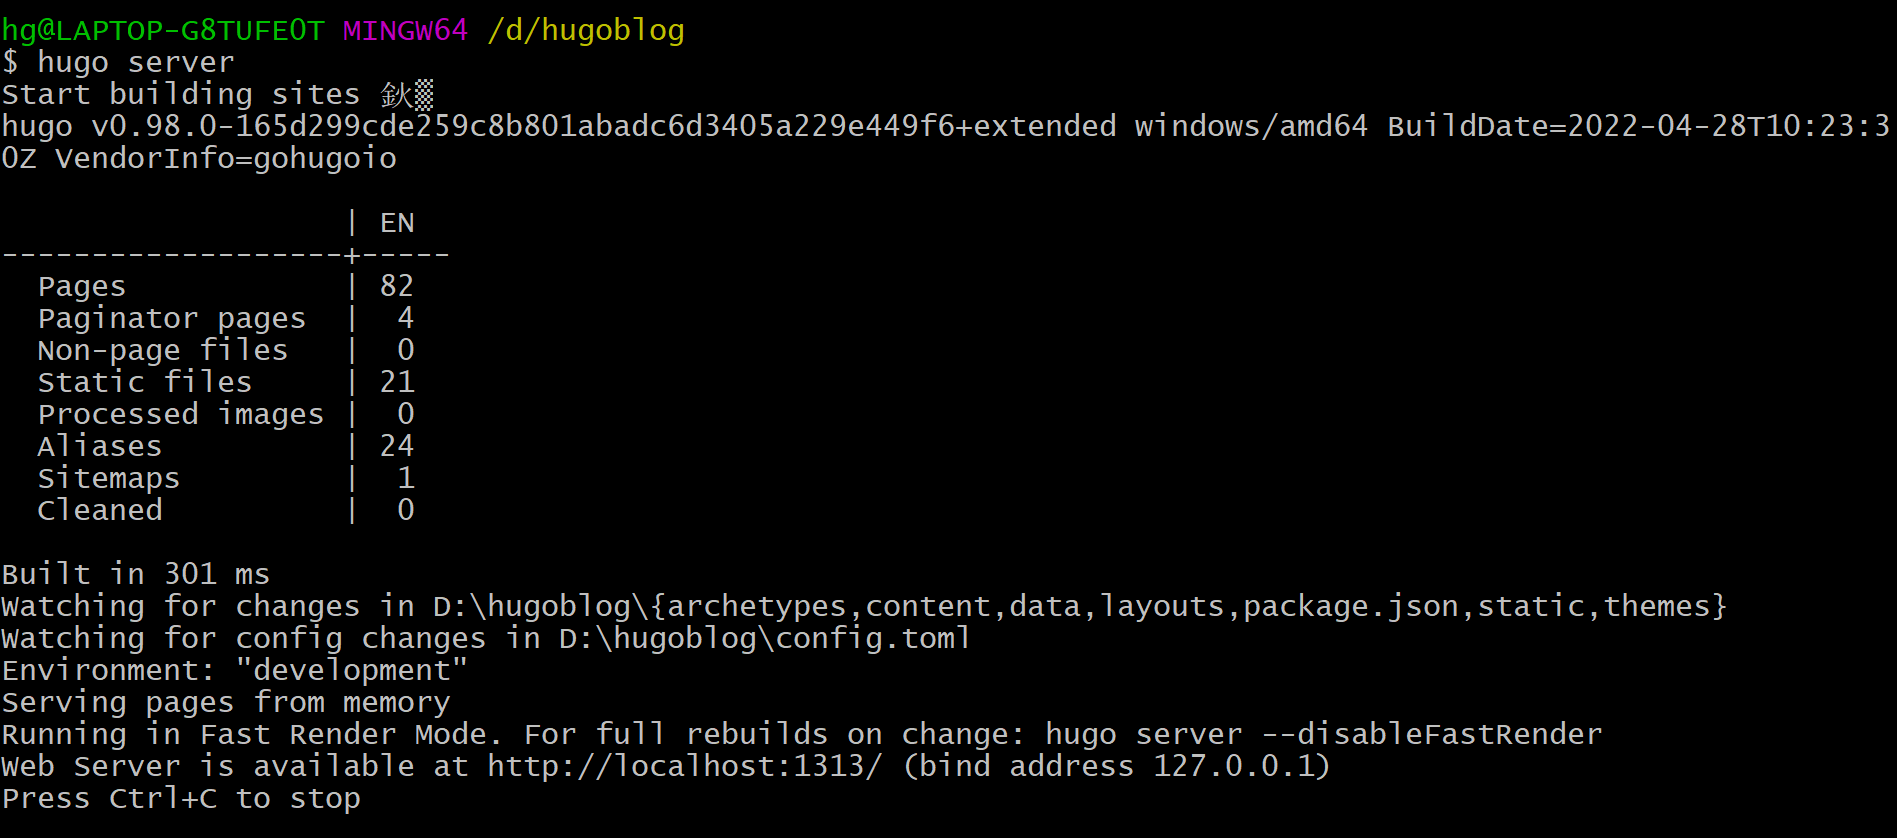
$ hugo server -v -D

#hugo -d 目标路径
不指定目标路径, 会默认在public目录下生成可部署的网站.
我们通过hugo server -D本地生成网站预览. 他会监控页面的更改, 并刷新页面.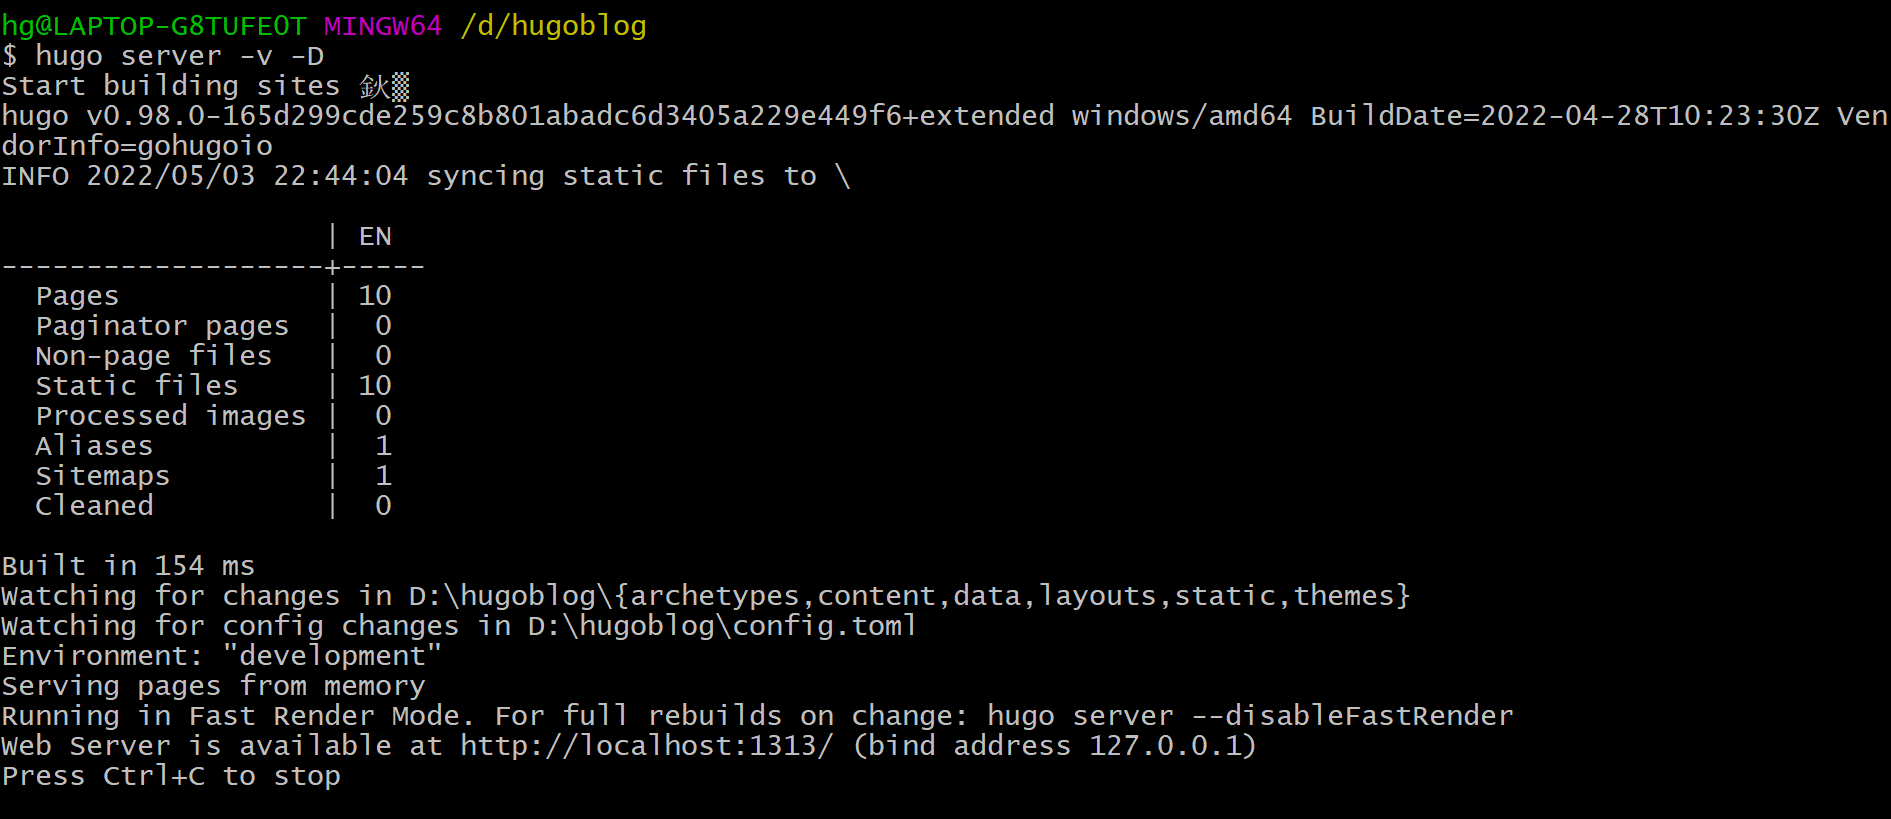
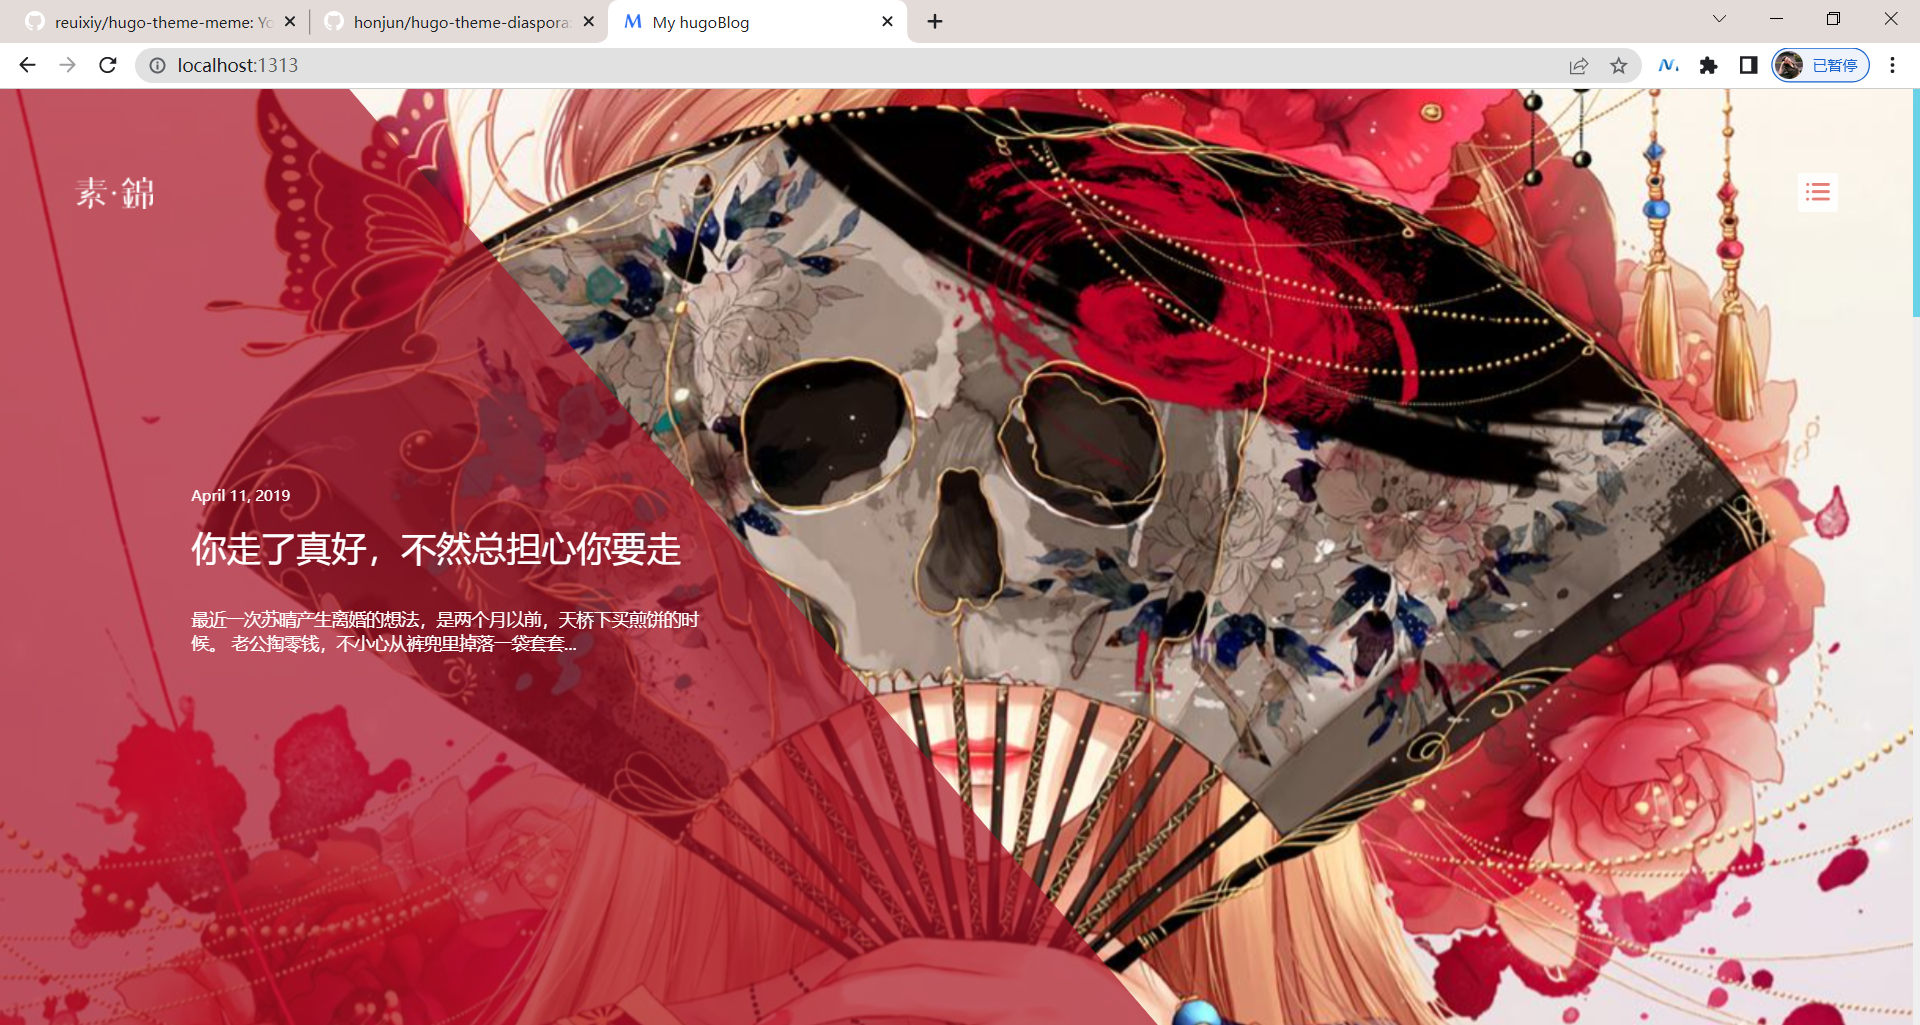
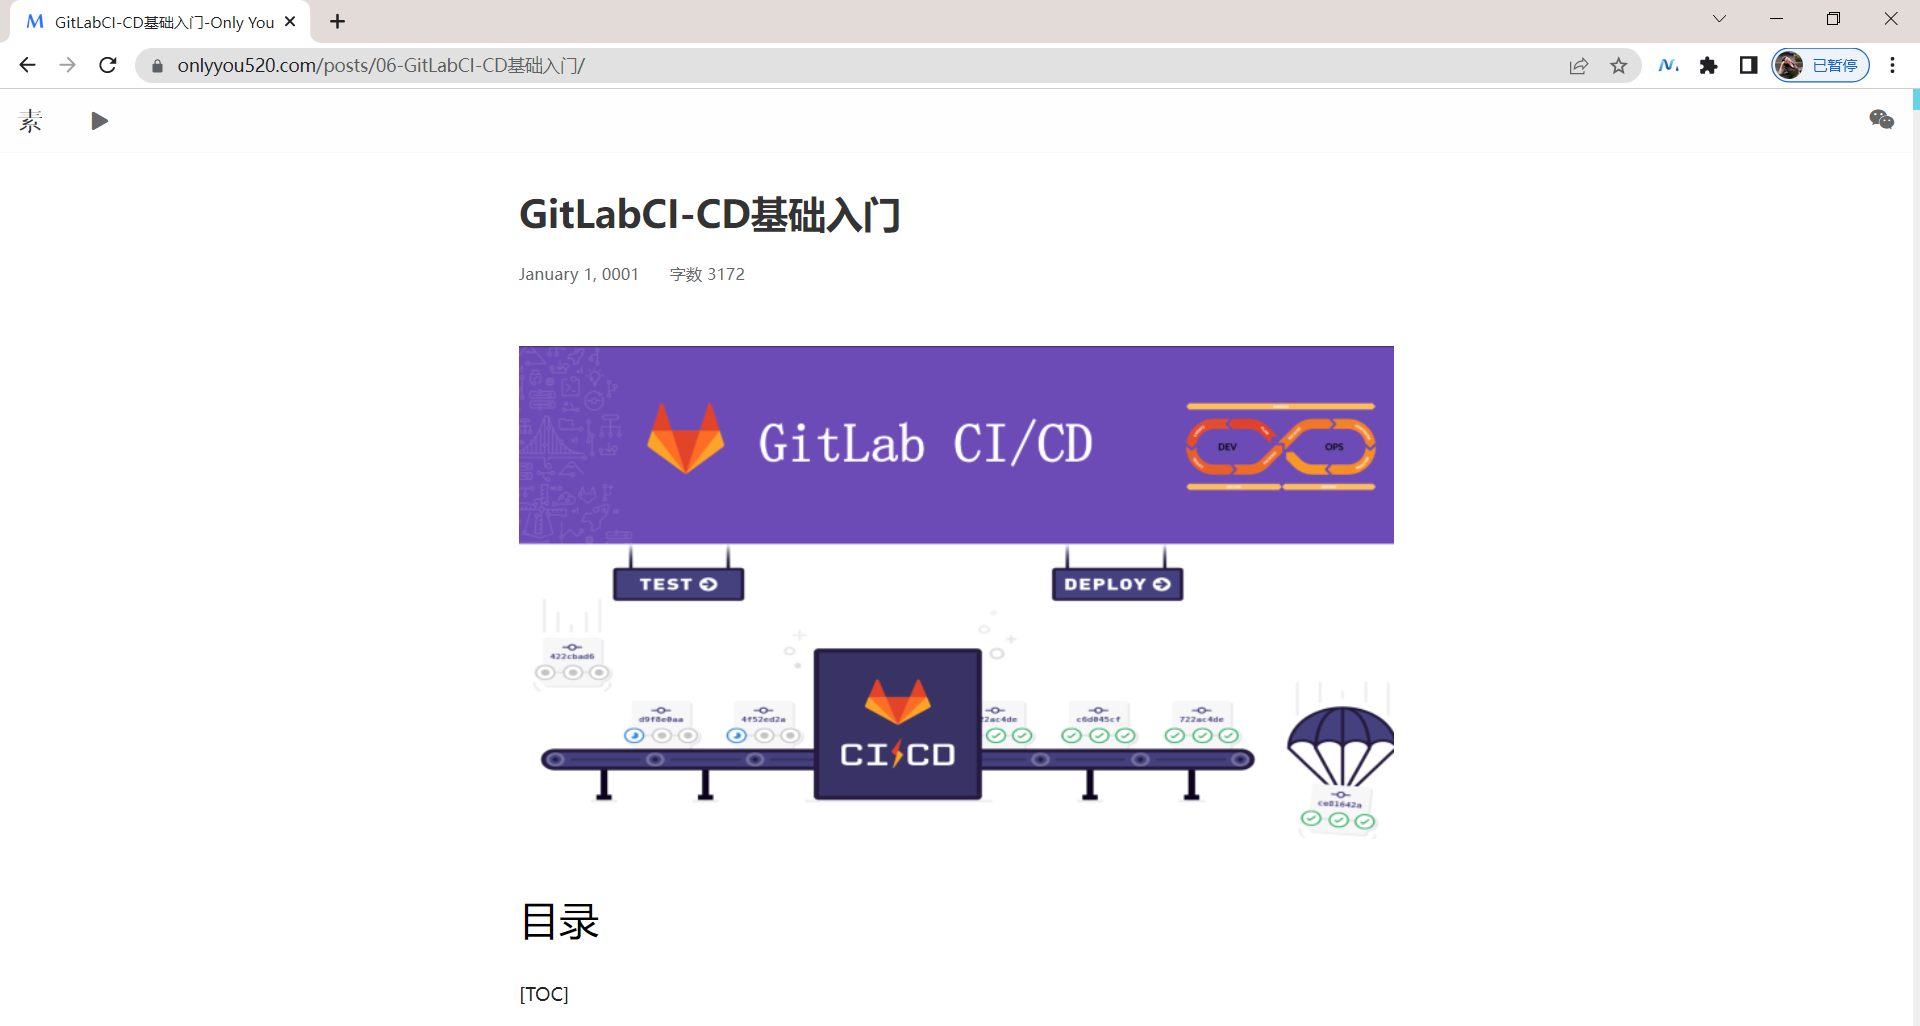
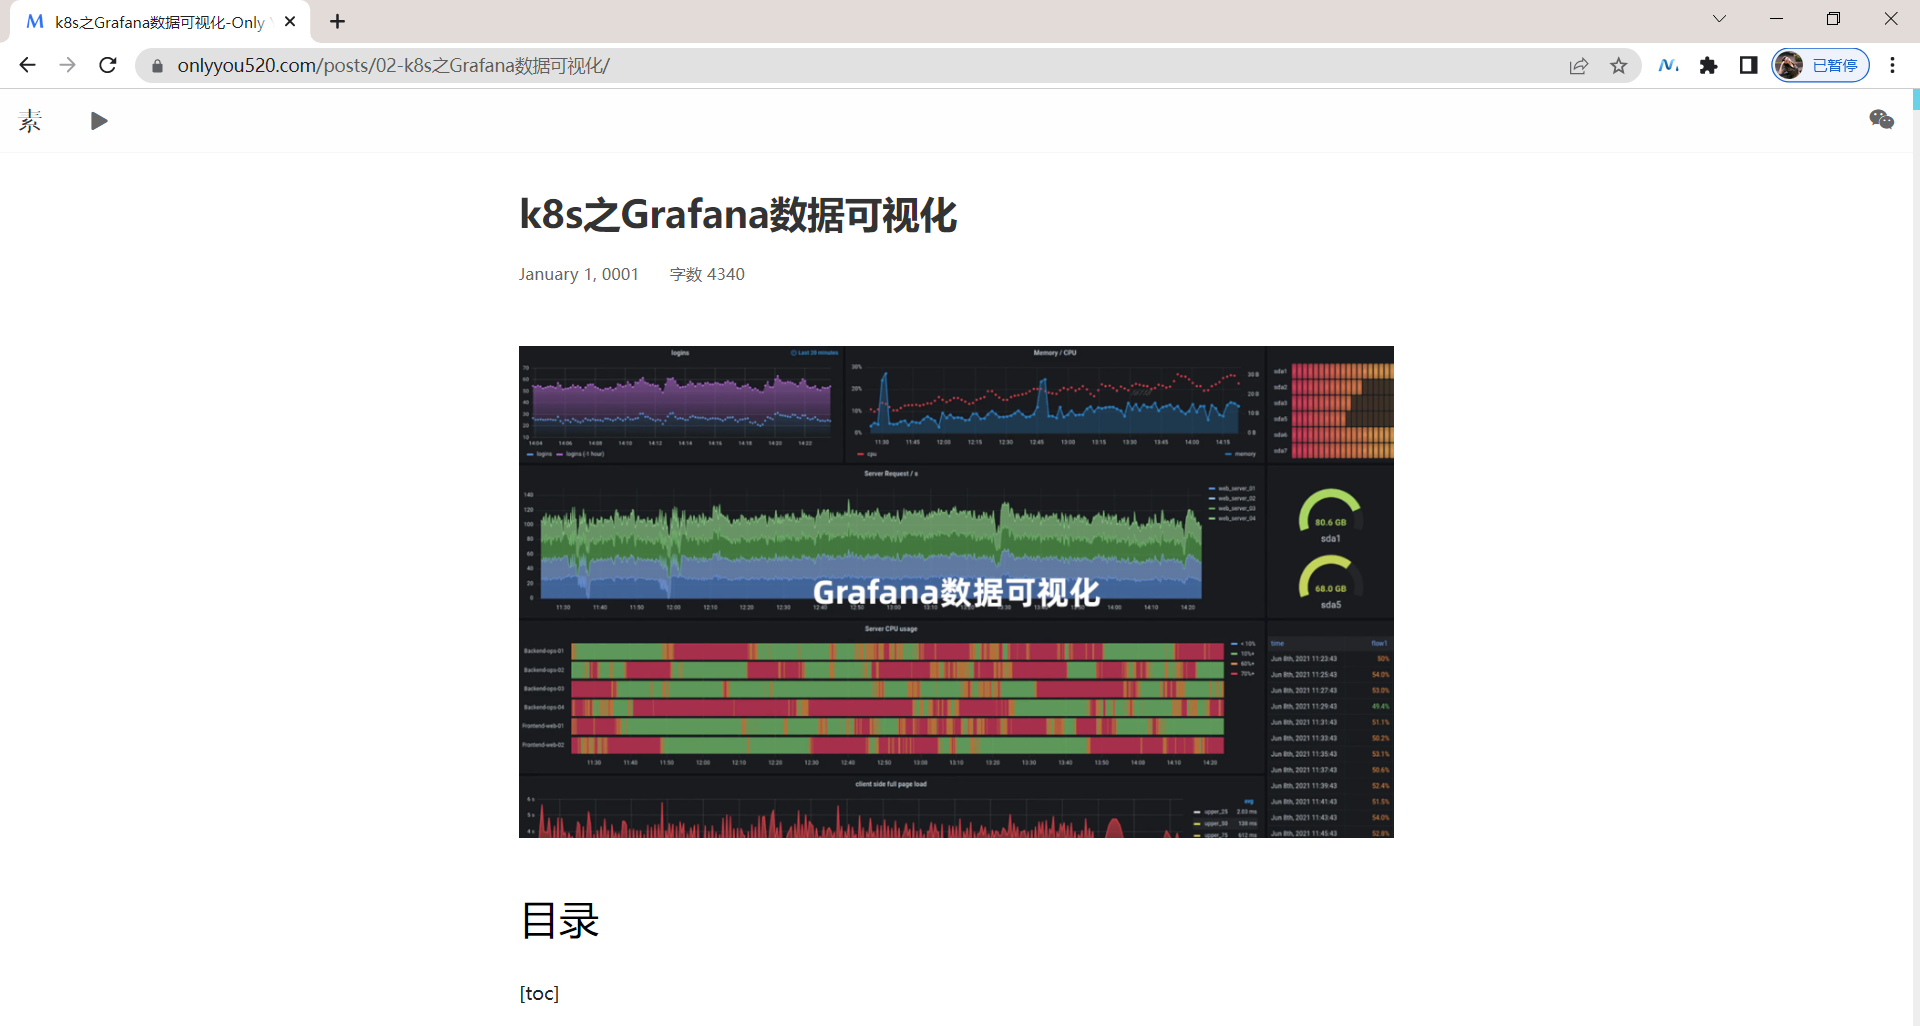
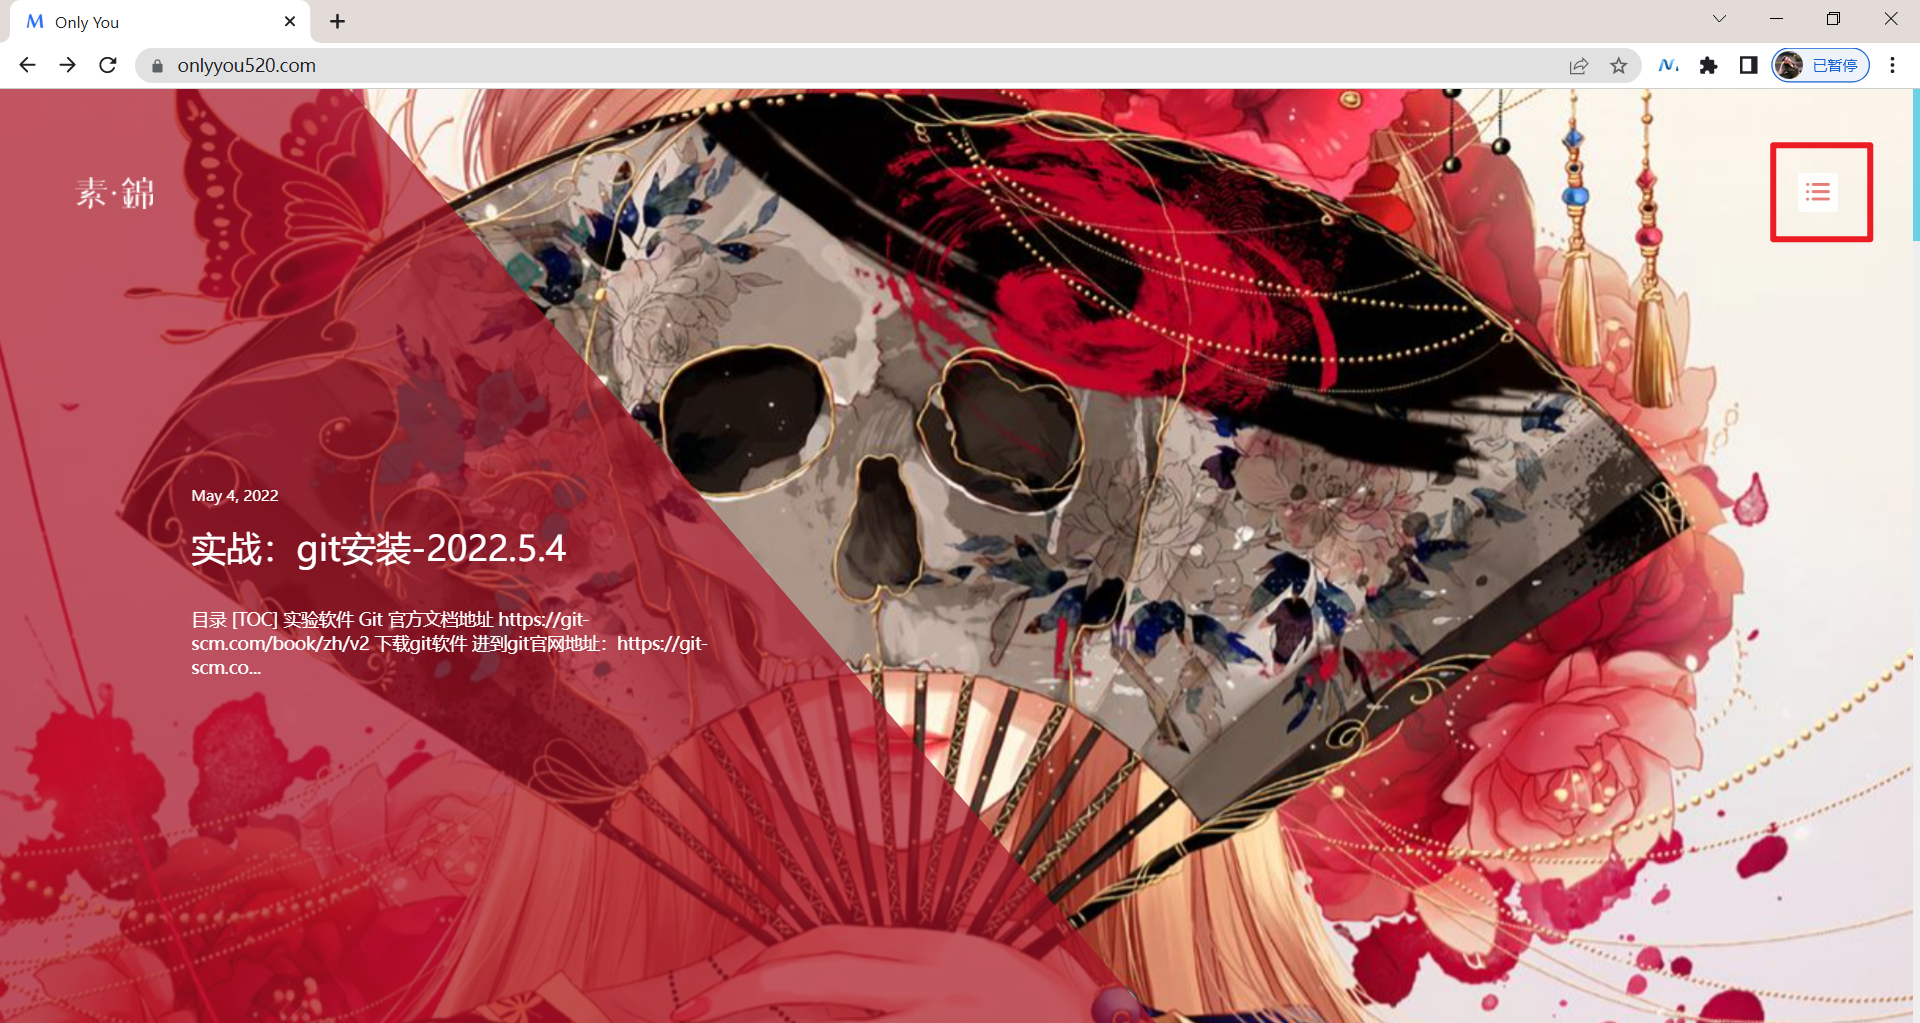
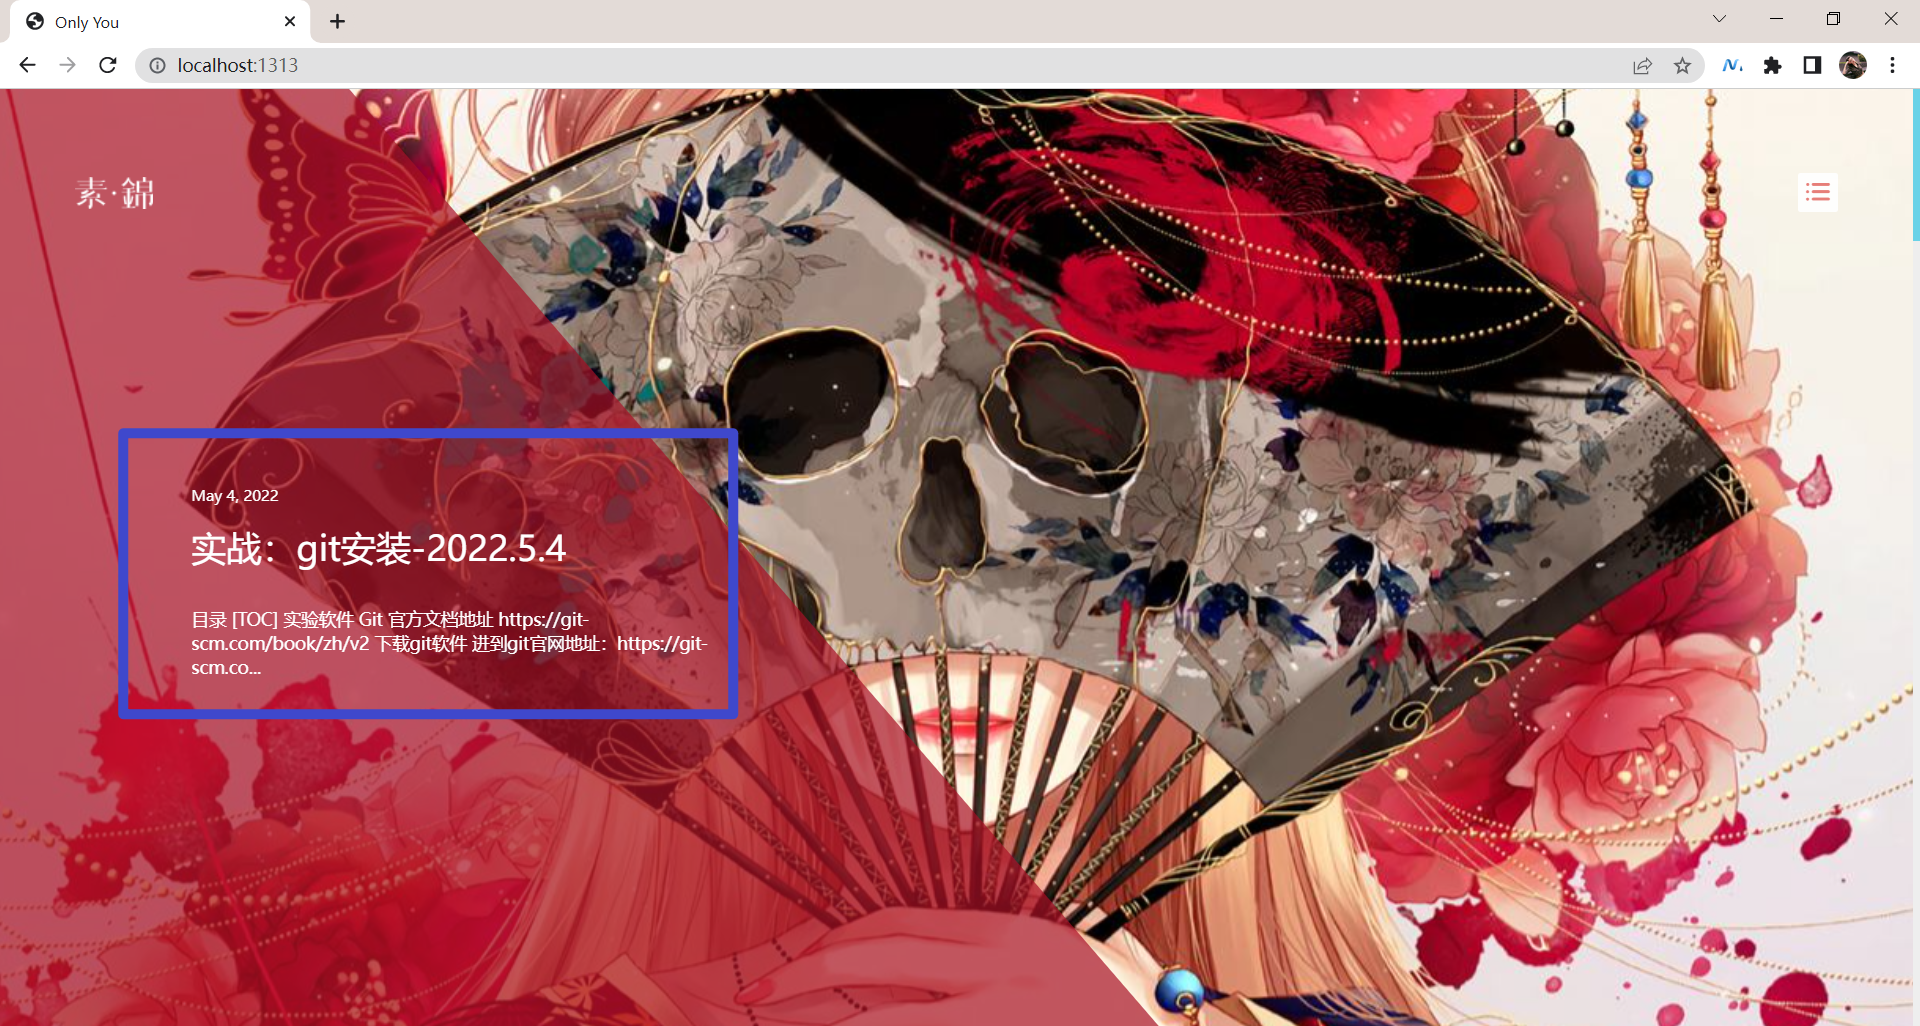
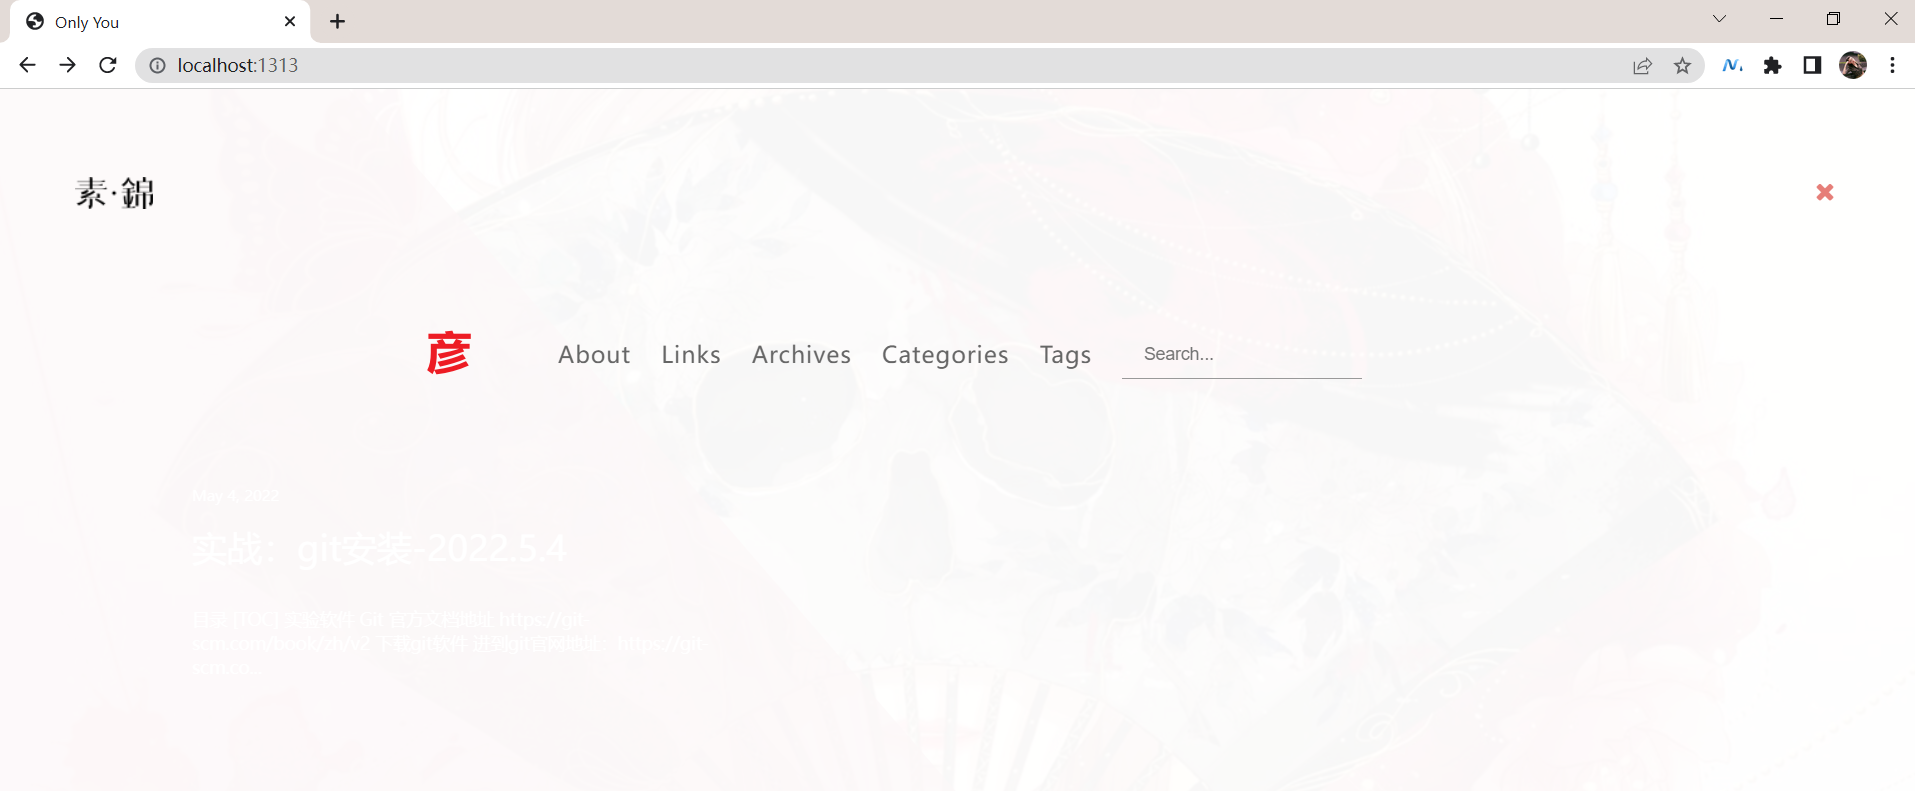
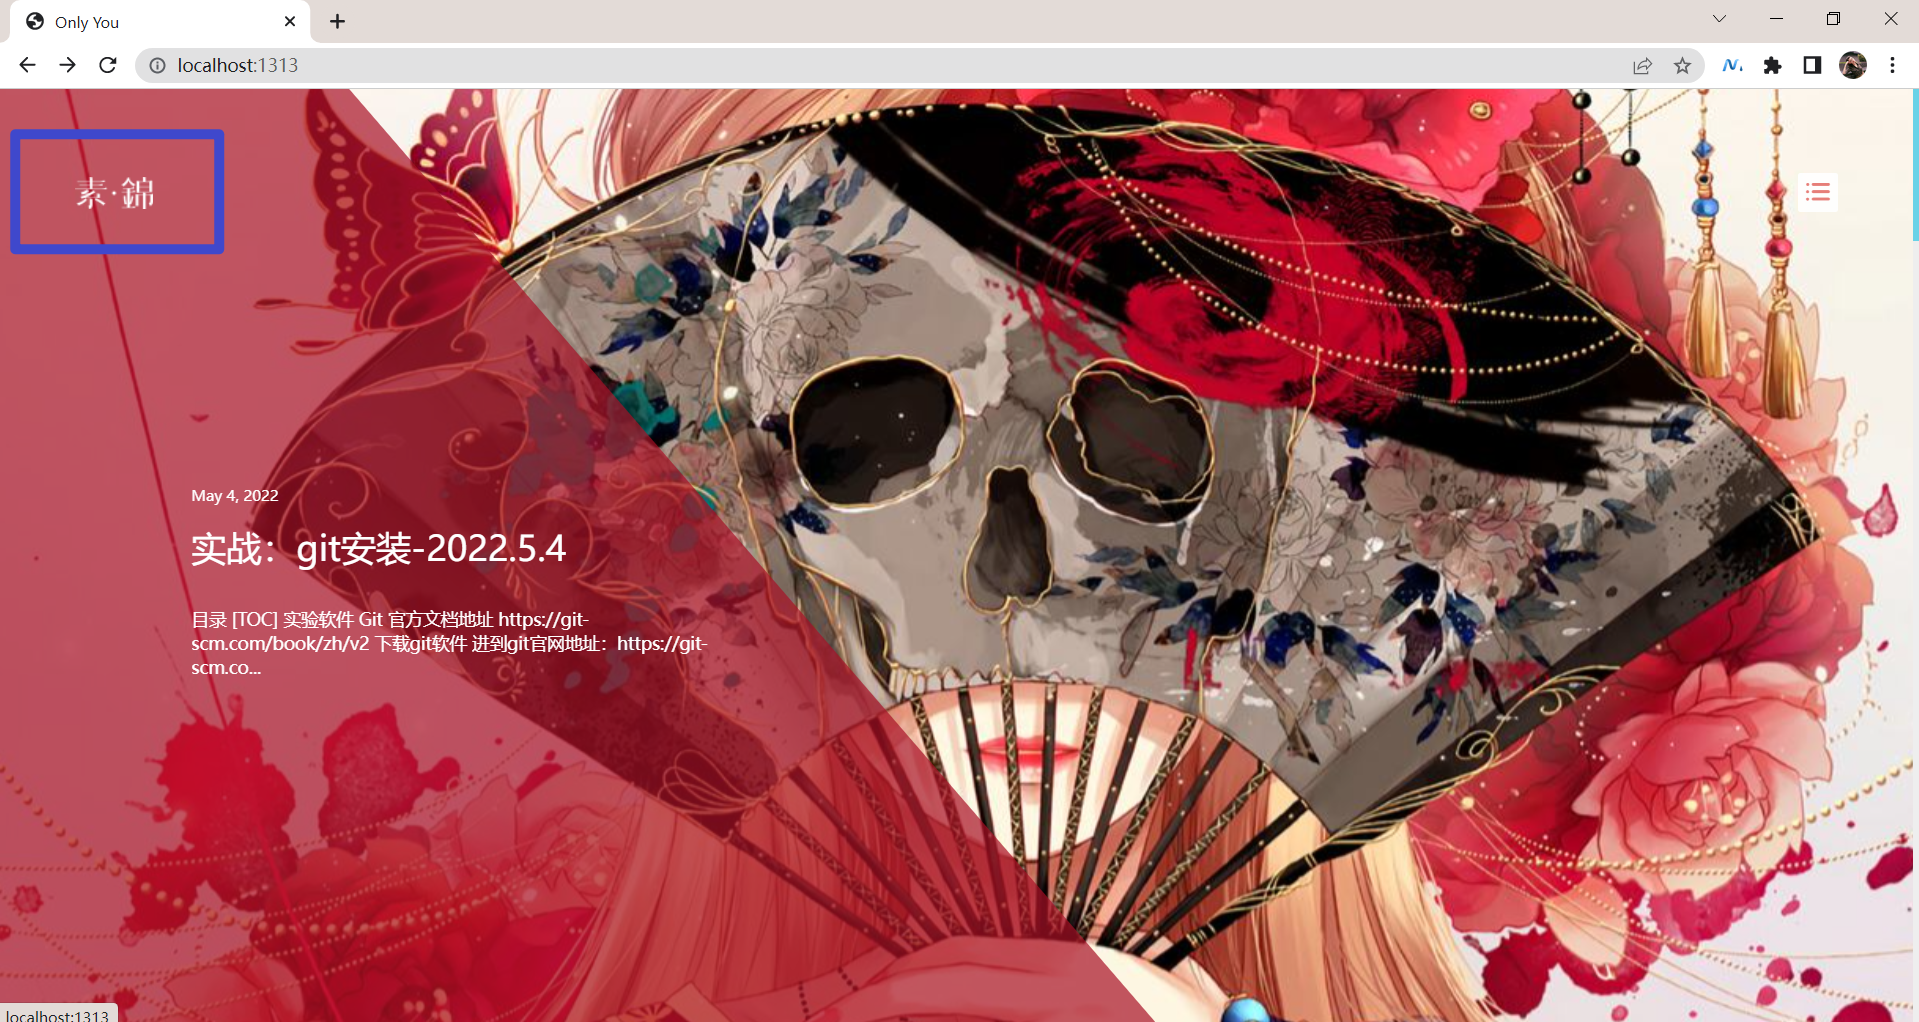
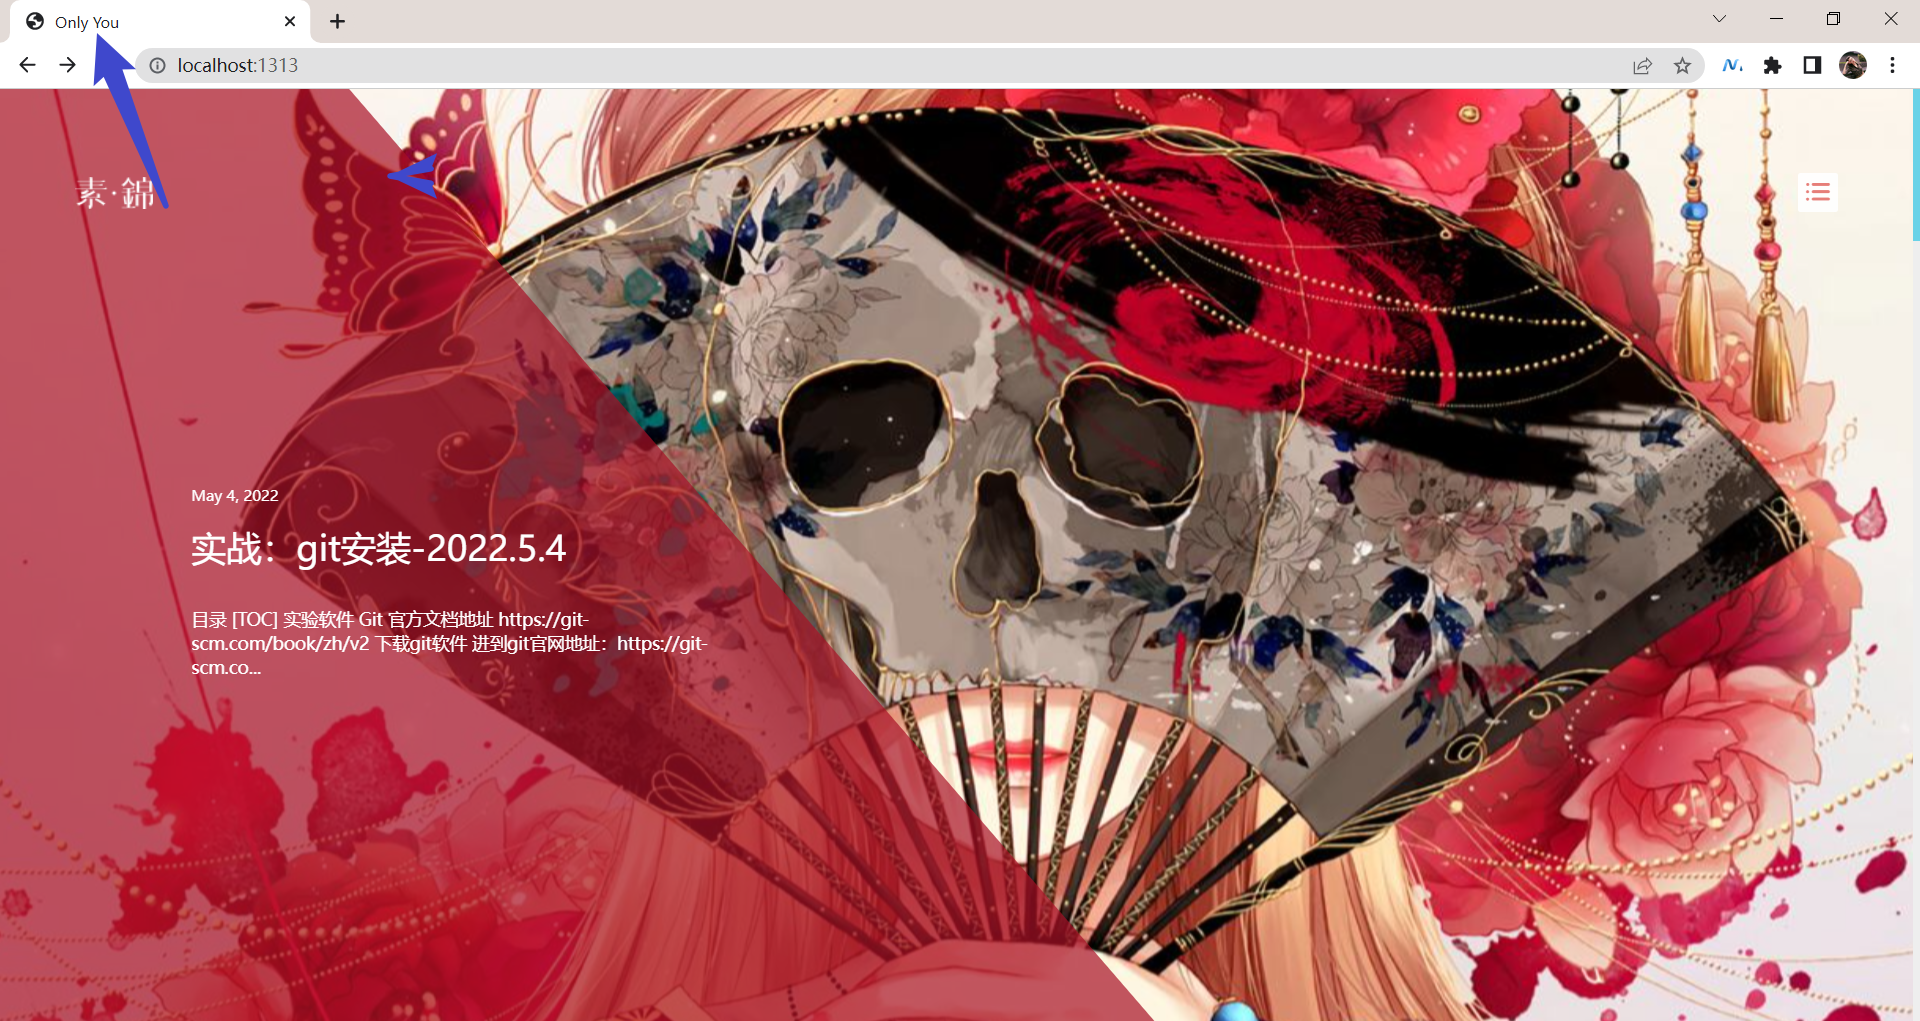
在浏览器打开如下链接,http://localhost:1313/ 观察效果:
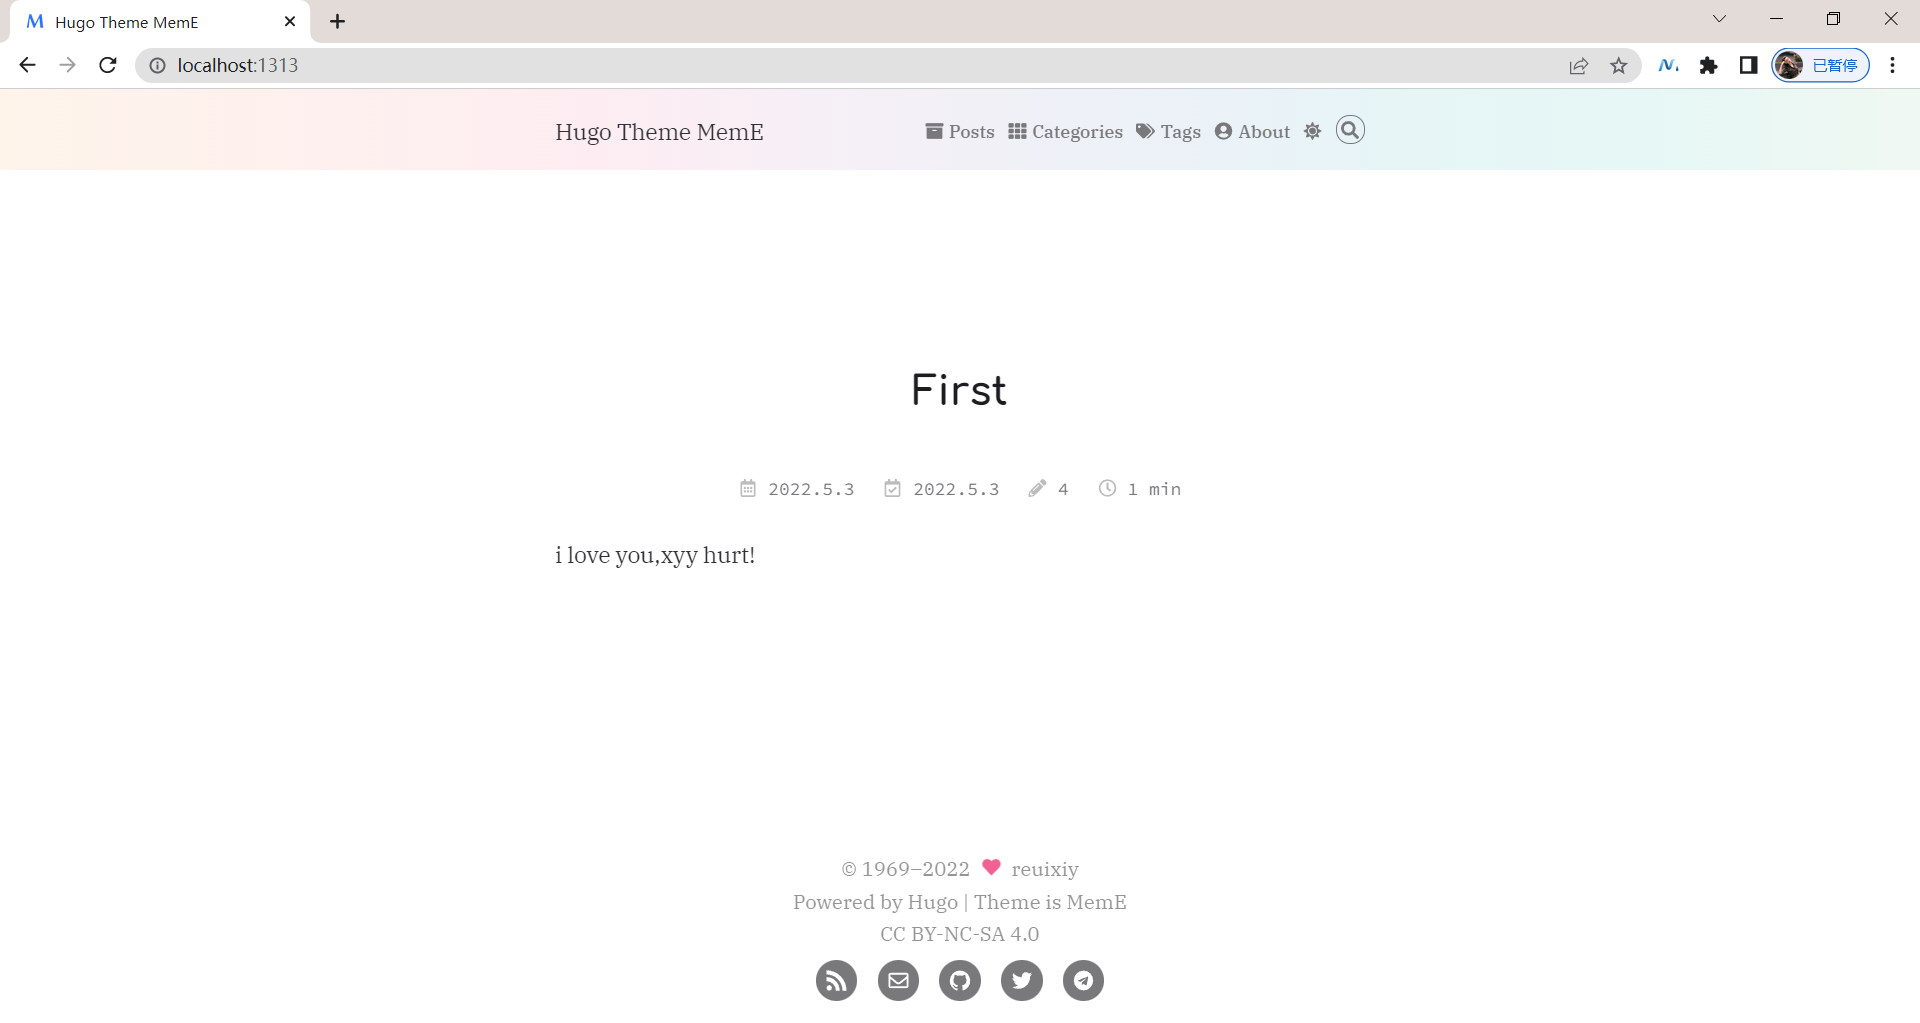
完美。😘
4.将本地数据推送到github仓库并设置公网可访问
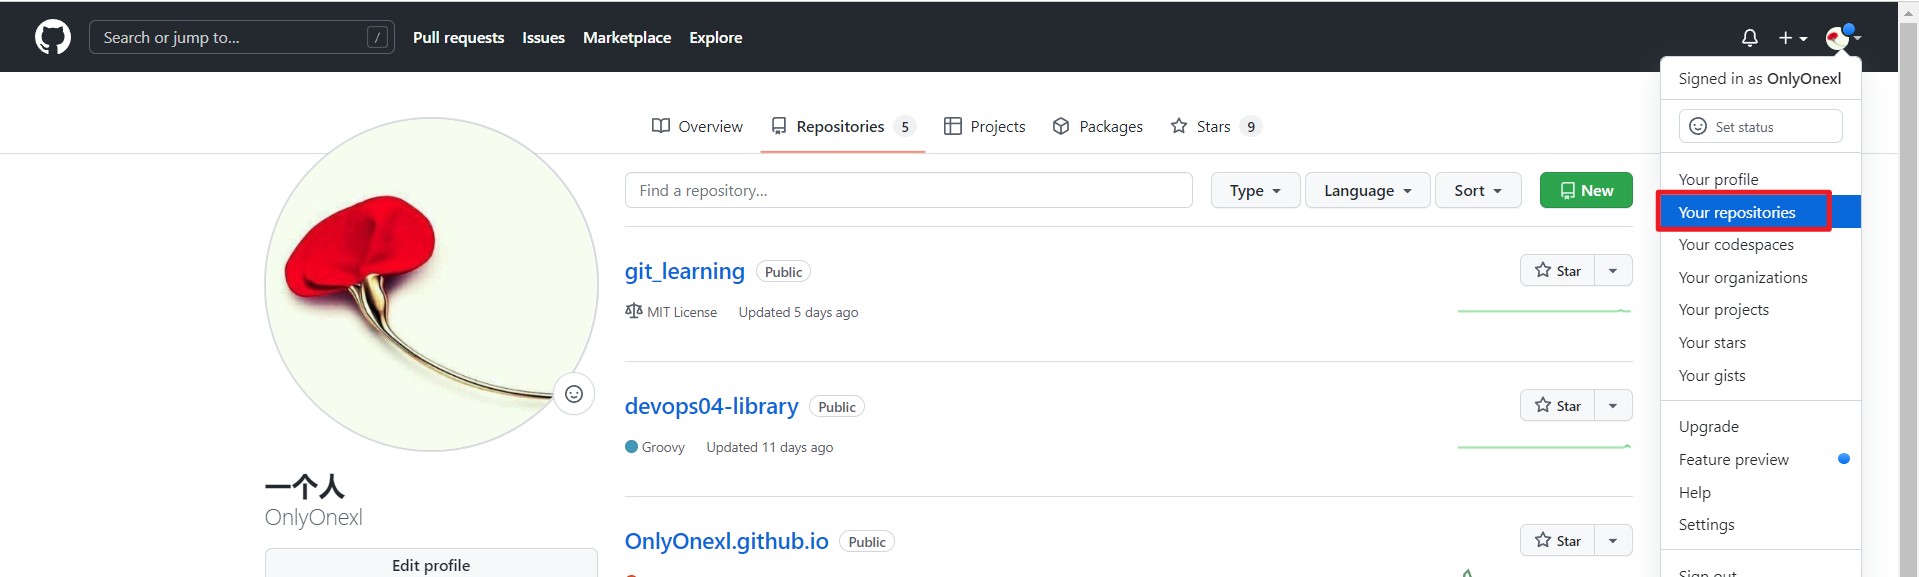
1.github上创建仓库
登录github:https://github.com/
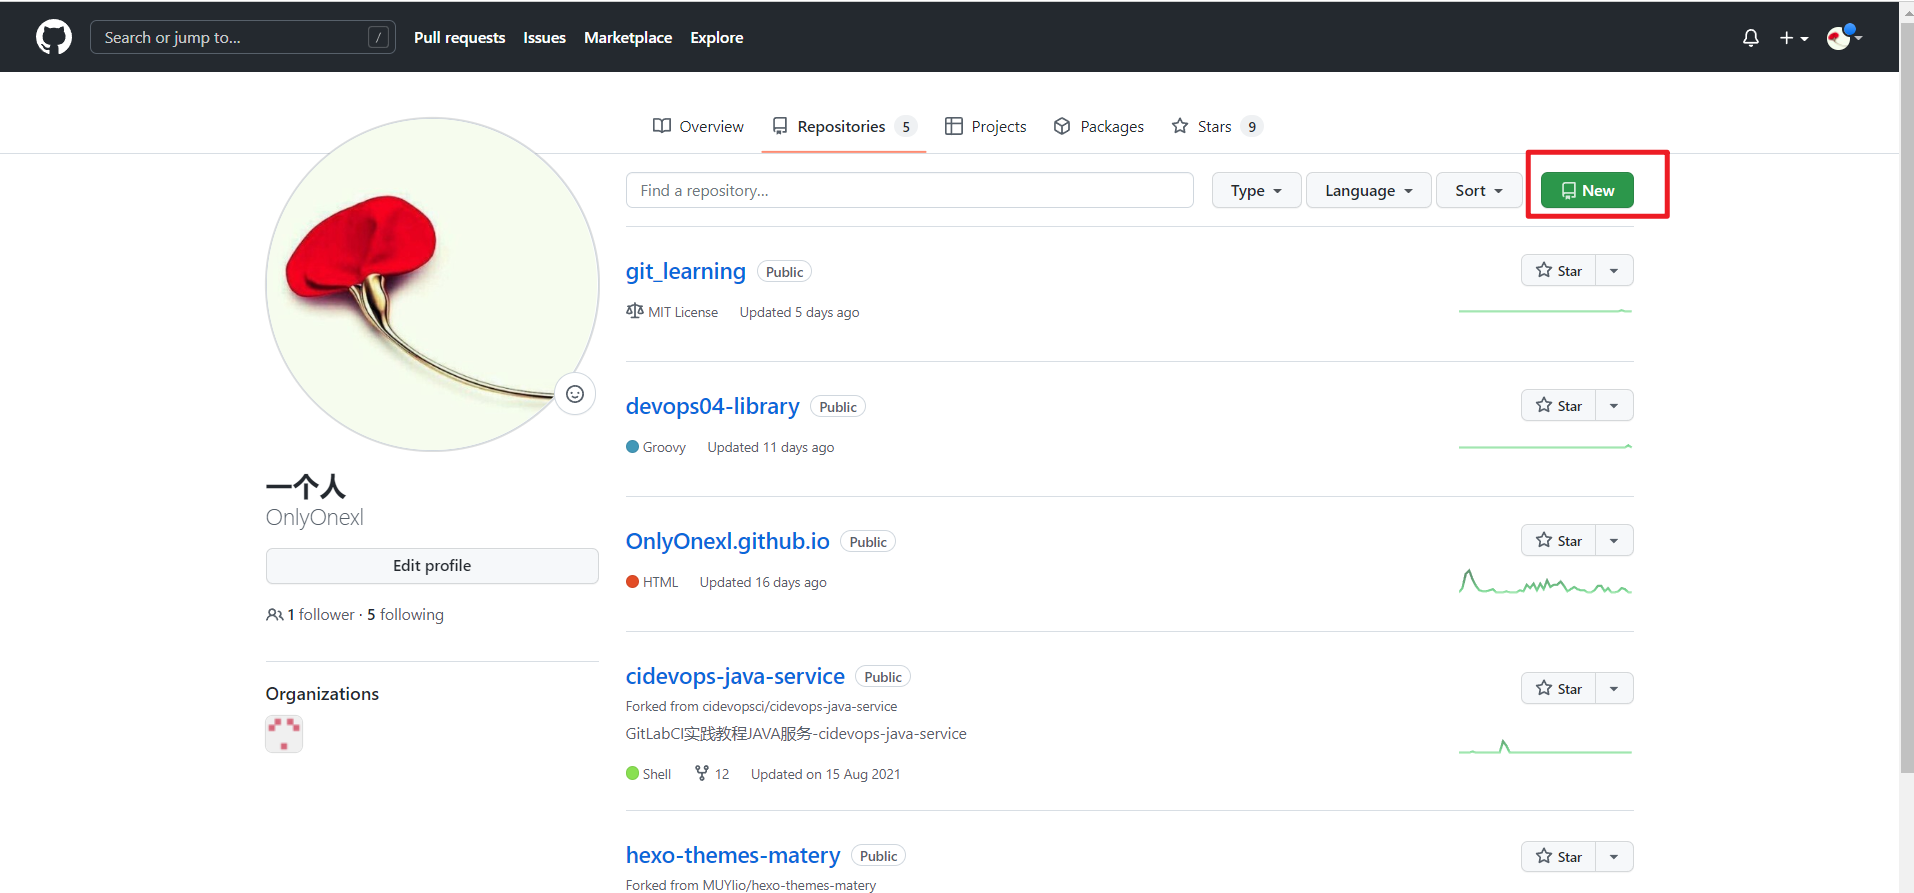
点击Your repositories:
点击new:
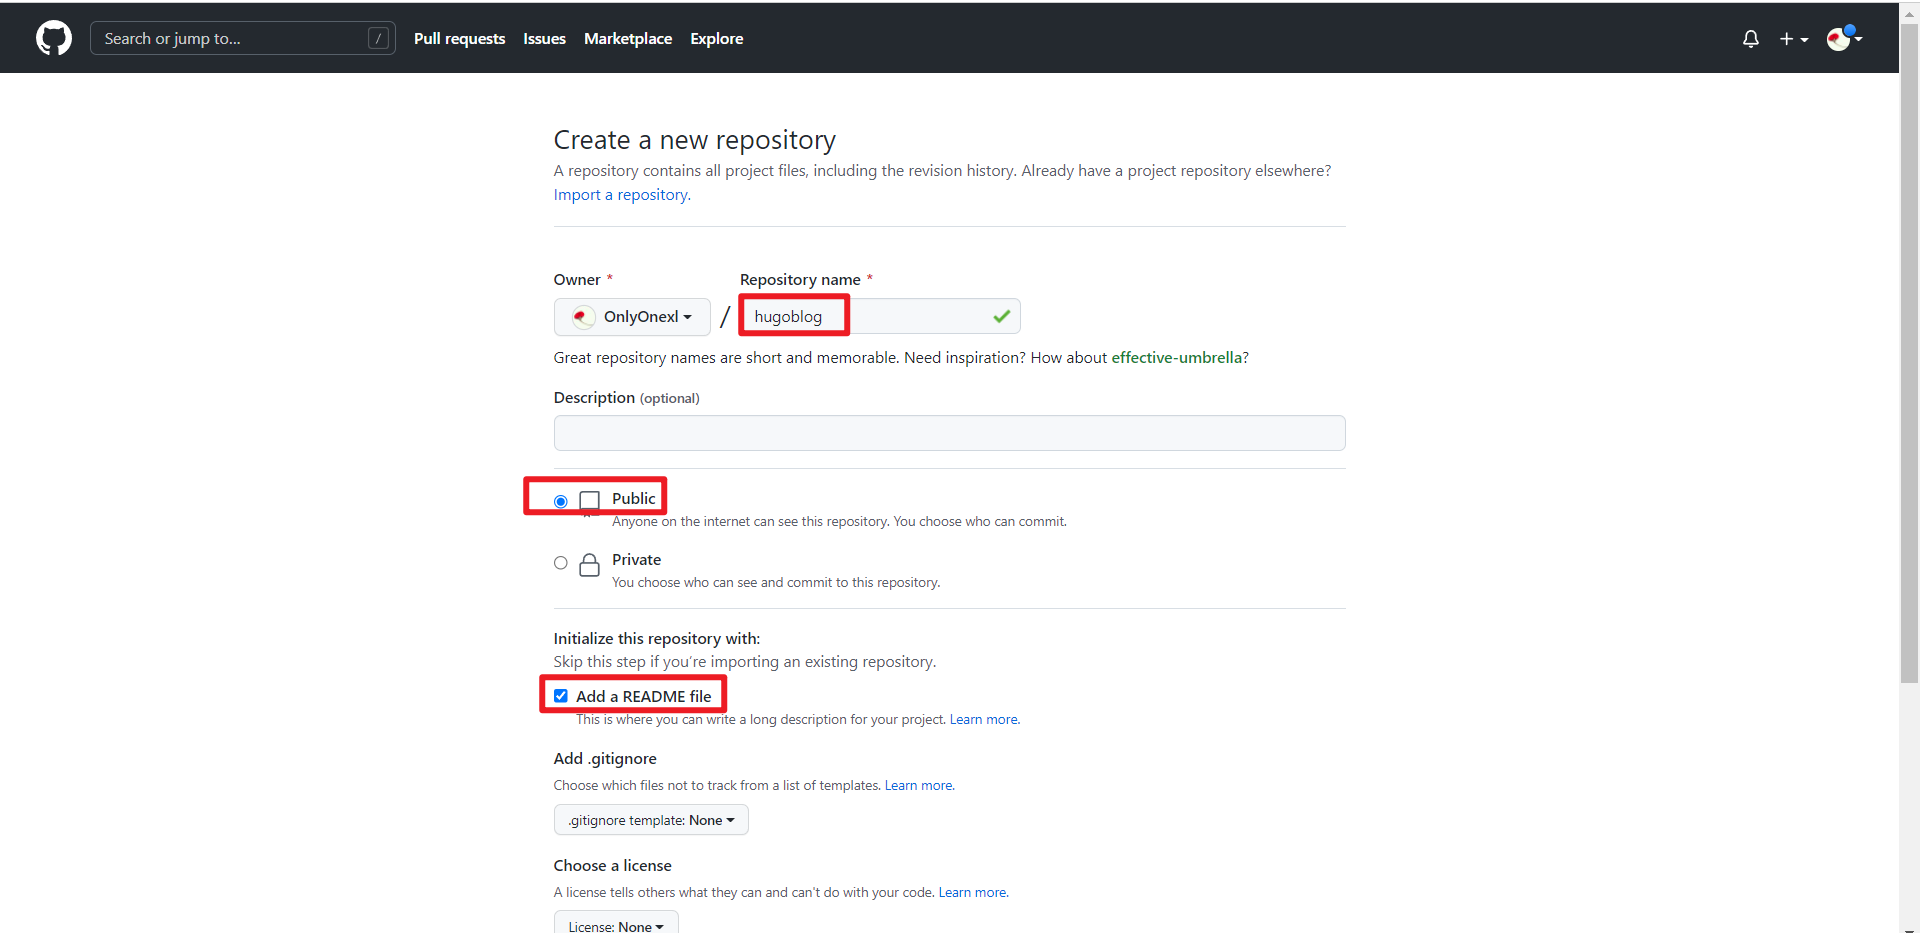
填写仓库名,选择Public,添加一个Readme文件:
点击Create respository:
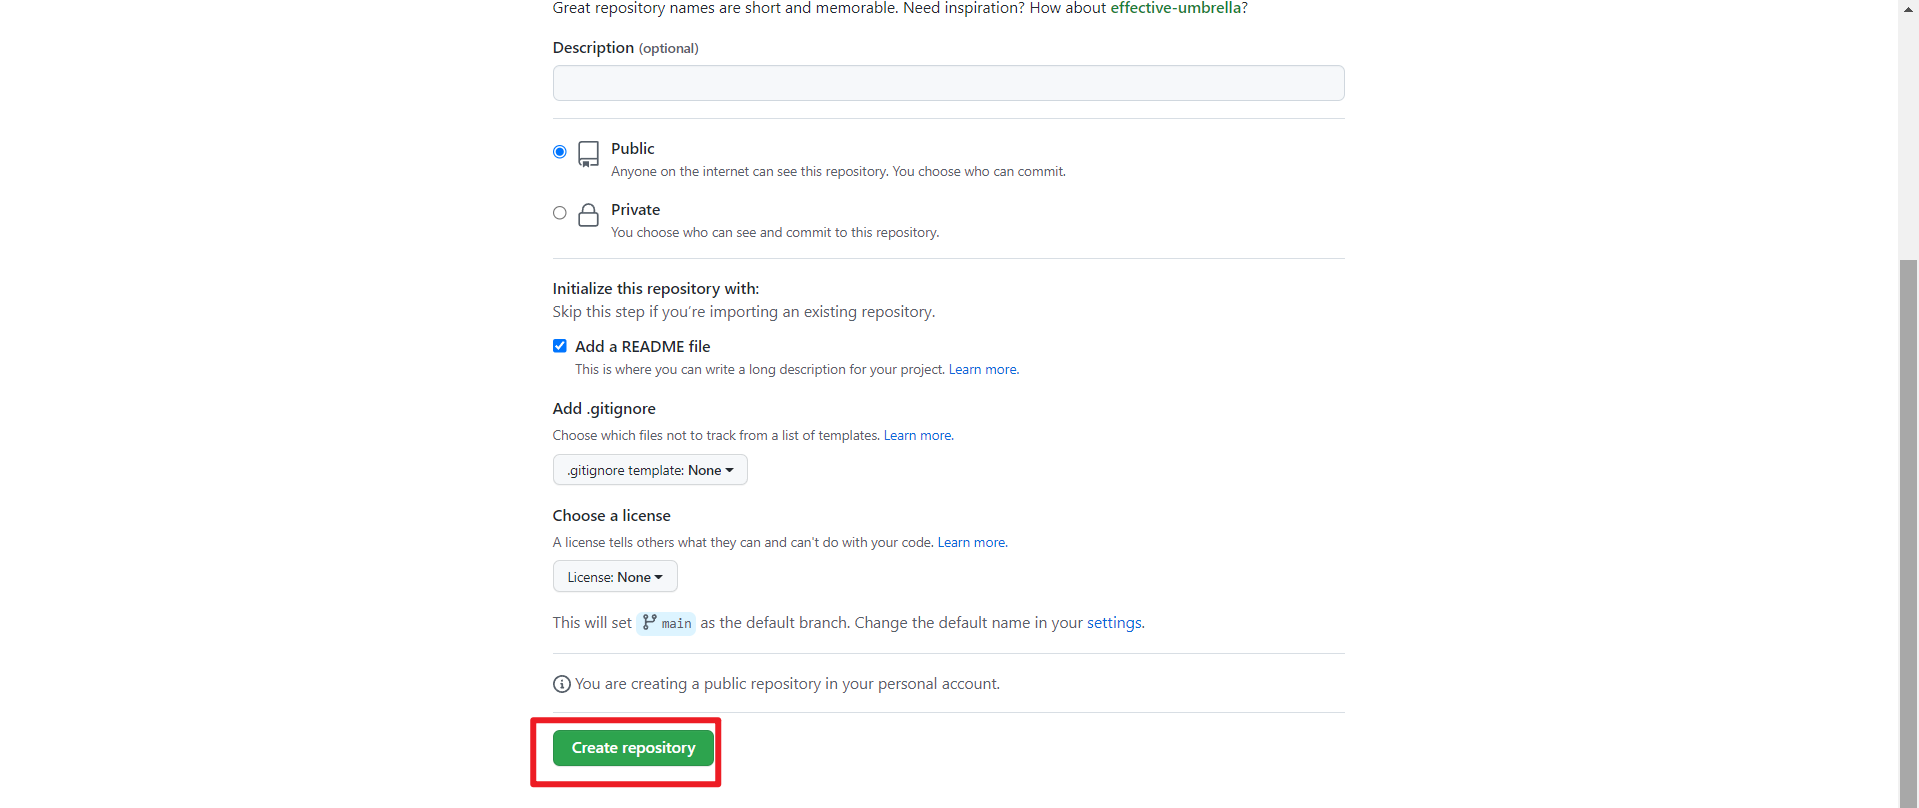
完成仓库创建。
2.将本地文件推送到远程仓库
- 此时,来到博客根目录,先执行下
hugo -D生成下网站所需数据:
bash
$ hugo -D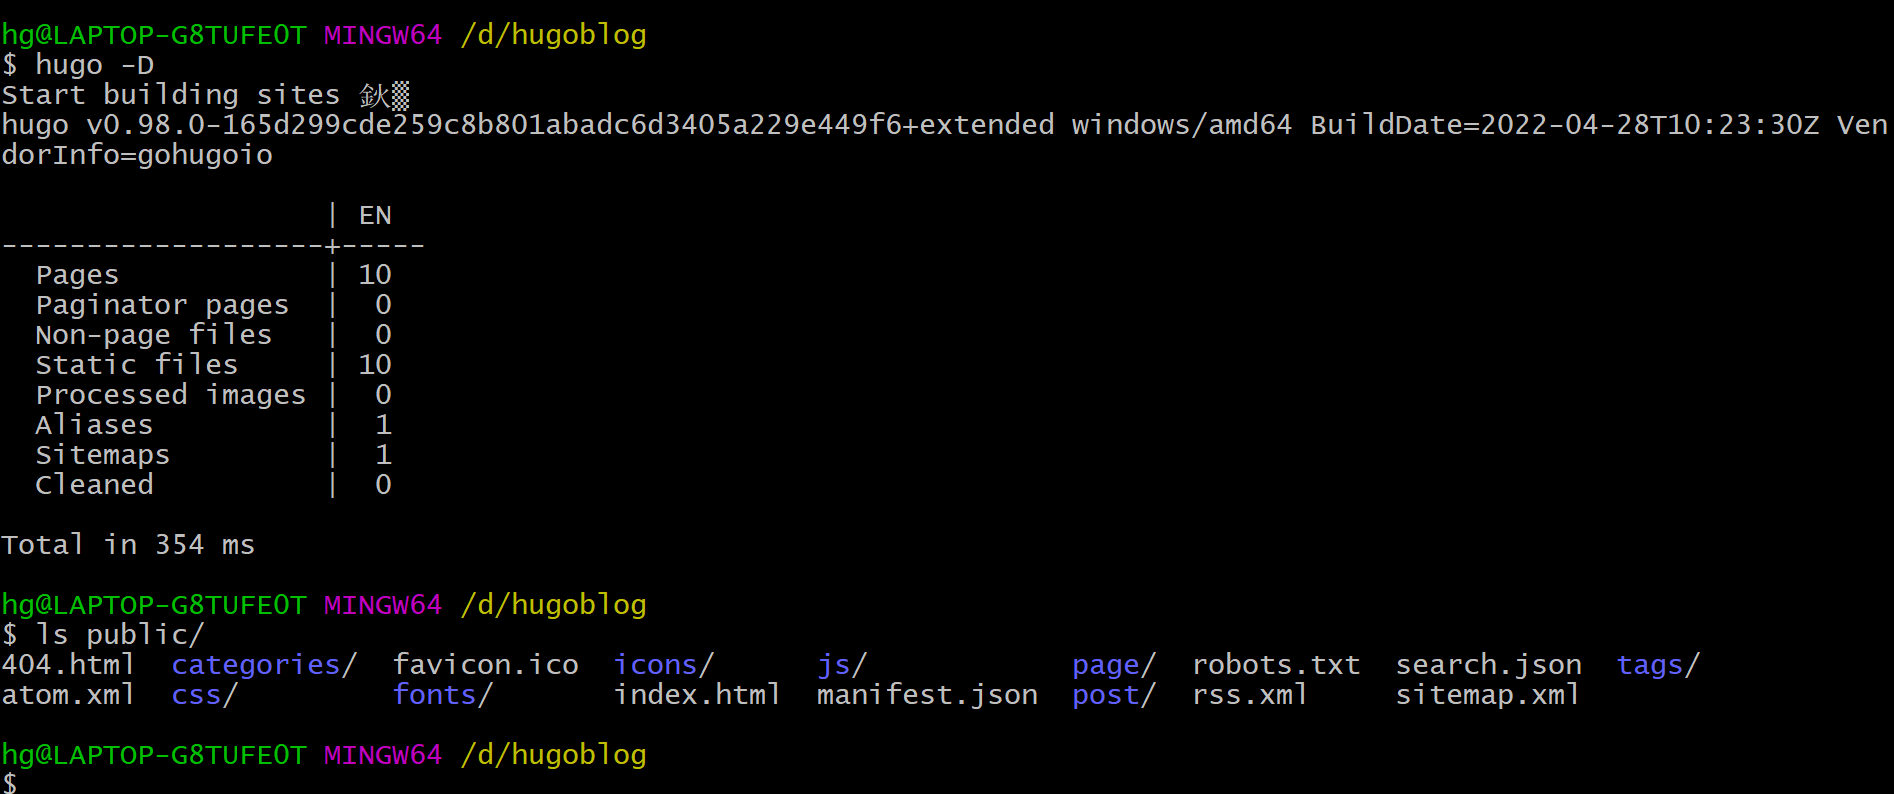
此时,你能看到public目录下,生成可很多文件,这个就是后续生成网站所需要的数据。
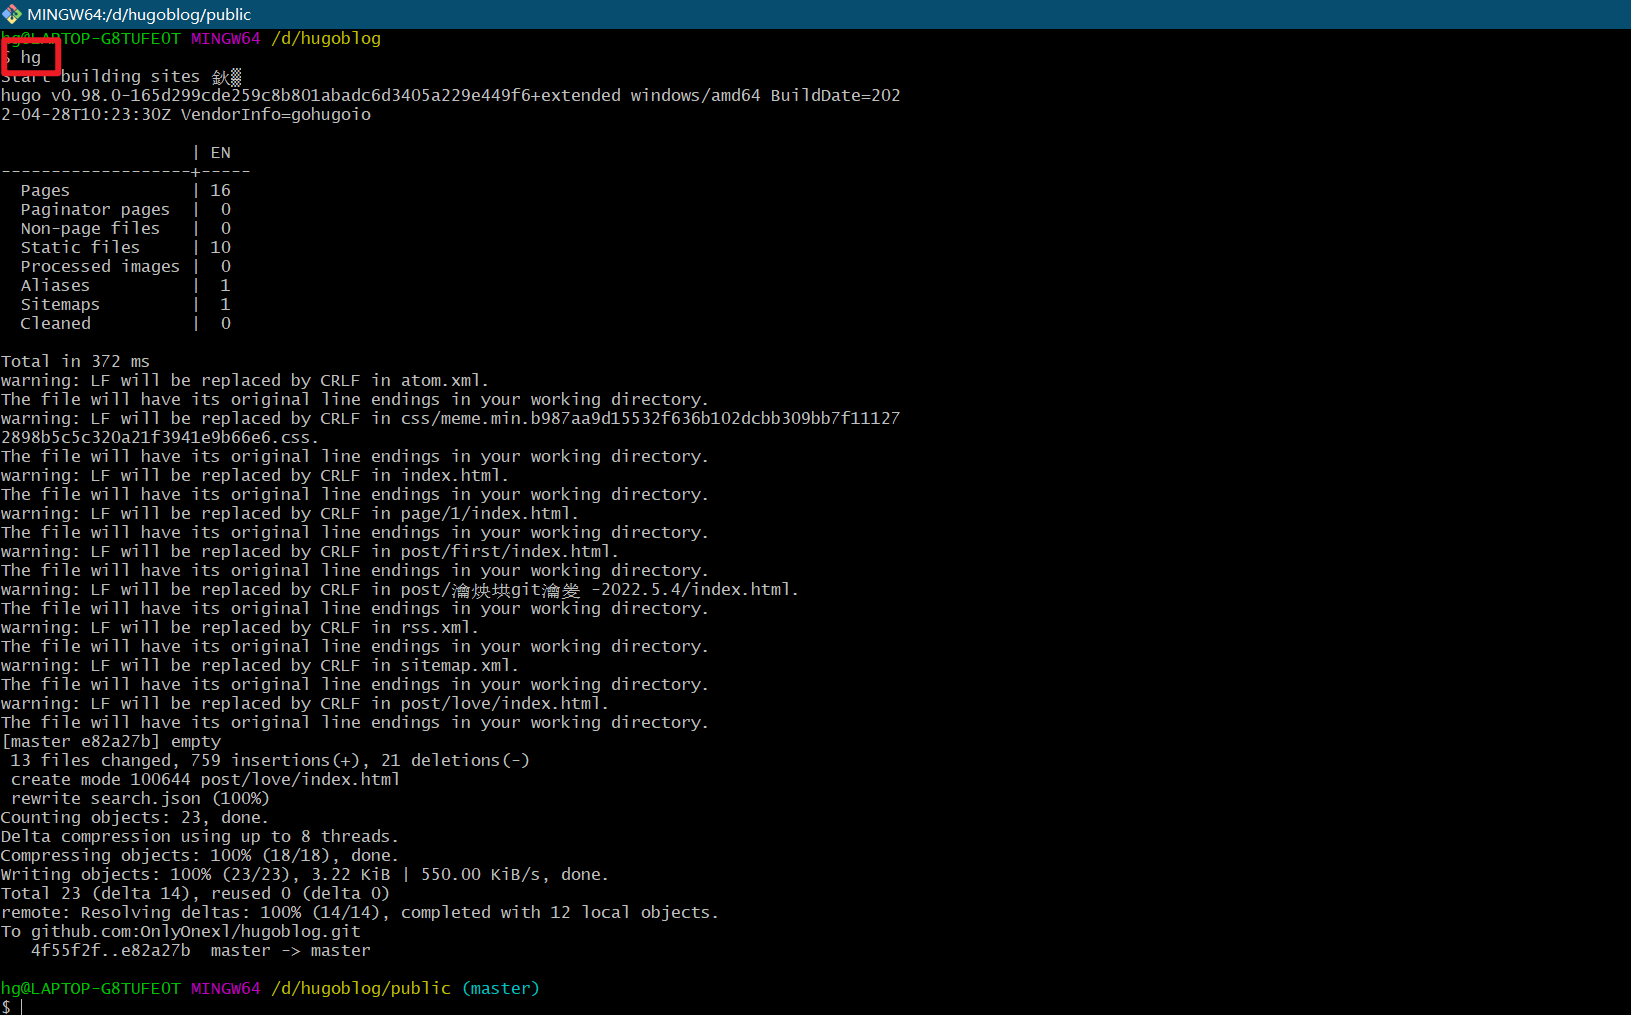
- 此时,来到public目录下,执行如下命令
bash
$ cd public/

$ git init
$ git remote add origin git@github.com:OnlyOnexl/hugoblog.git
$ git add .
$ git commit -m"first commit"
$ git push  --set-upstream origin master
$ gs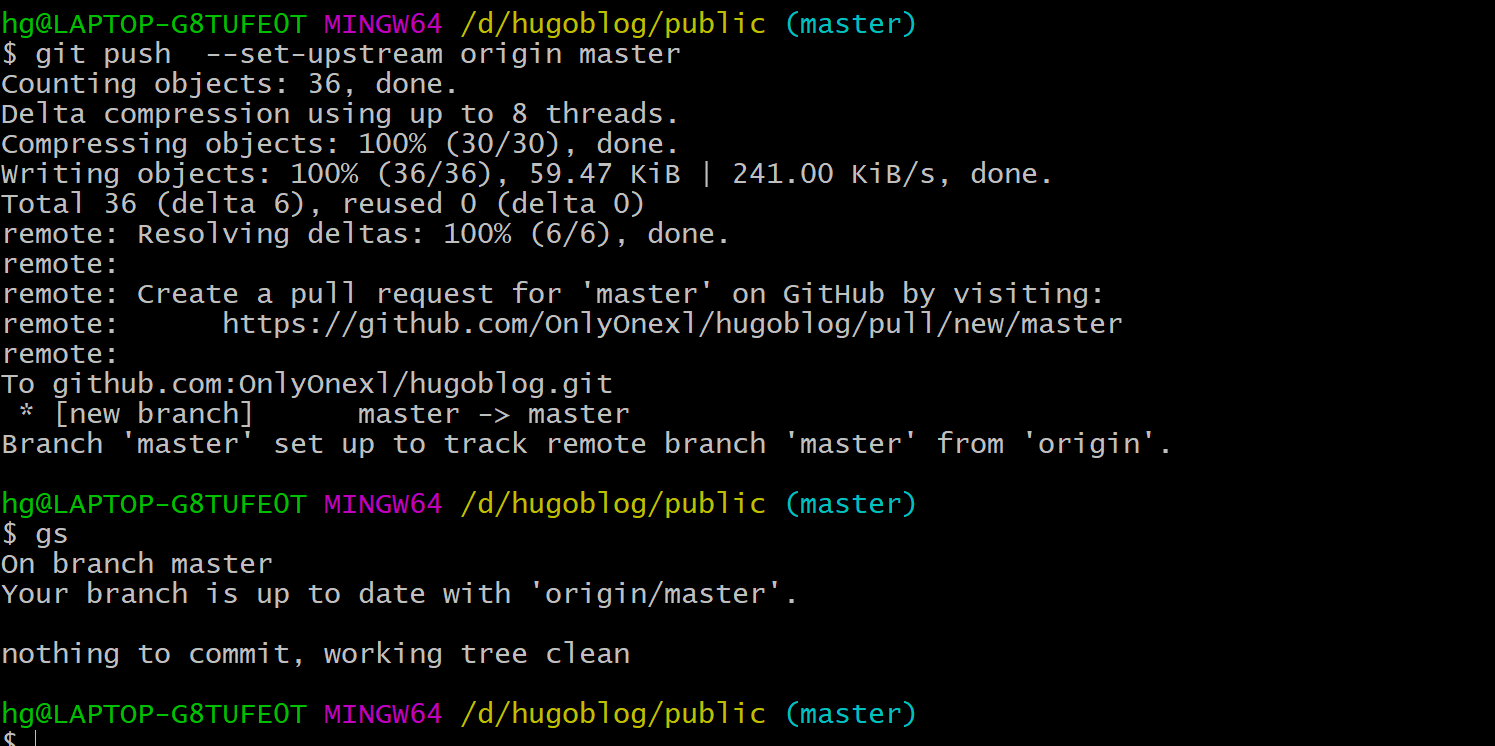
🍀 关于这里如何配置git客户端到github的公私钥方法,请看如下方法:
Git配置ssh登录GitHub管理自己的代码
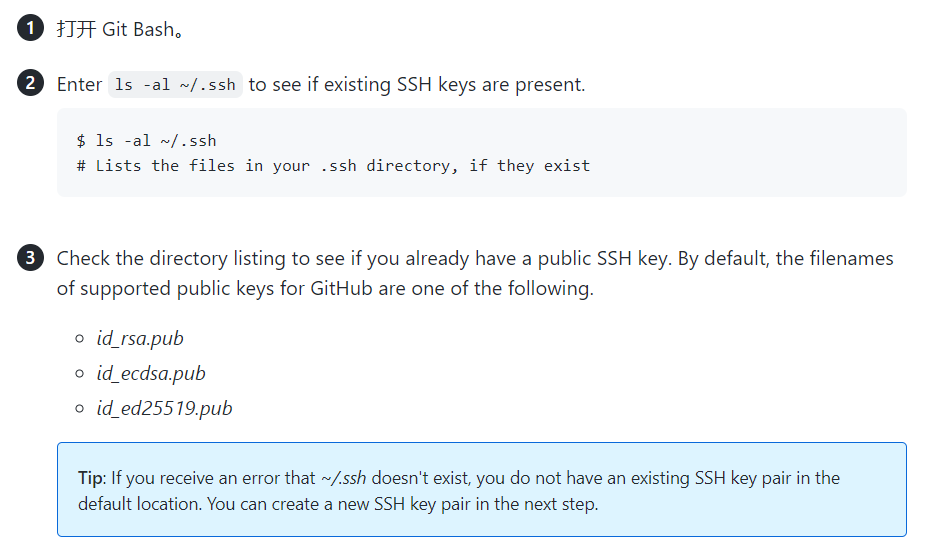
检测本地pc是否已存在ssh秘钥(不存在可忽略次步骤)
1️⃣ 设置签名
右键单击鼠标,点击 Git Bash Here输入以下命令,设置签名:
bash
git config --global user.name  "hg"
git config --global user.email "2675263825@qq.com"2️⃣ 生成ssh秘钥
然后生成密钥(公钥和私钥):
bash
ssh-keygen -t rsa -C "2675263825@qq.com"

#备注:
1.过程中按2次回车就好;
2.也可以添加-b选项 # ssh-keygen -t rsa -b 4096 -C "your_email@example.com"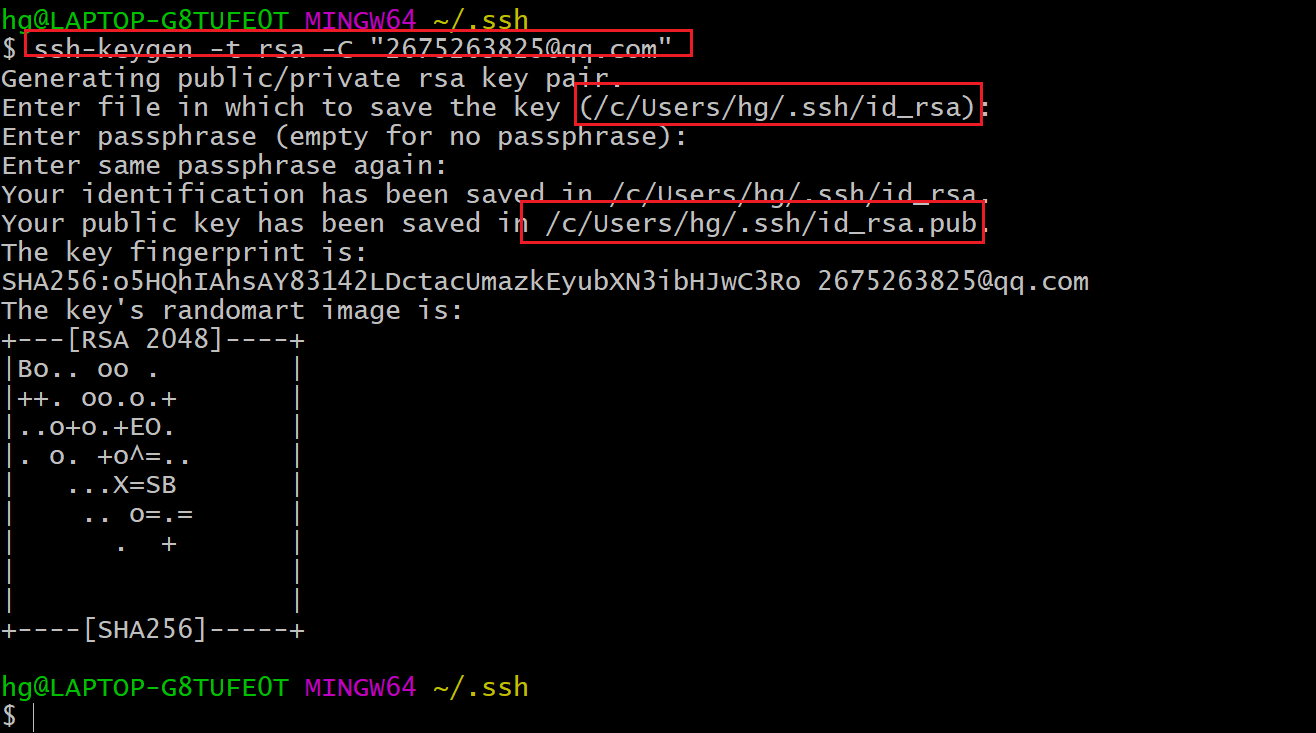
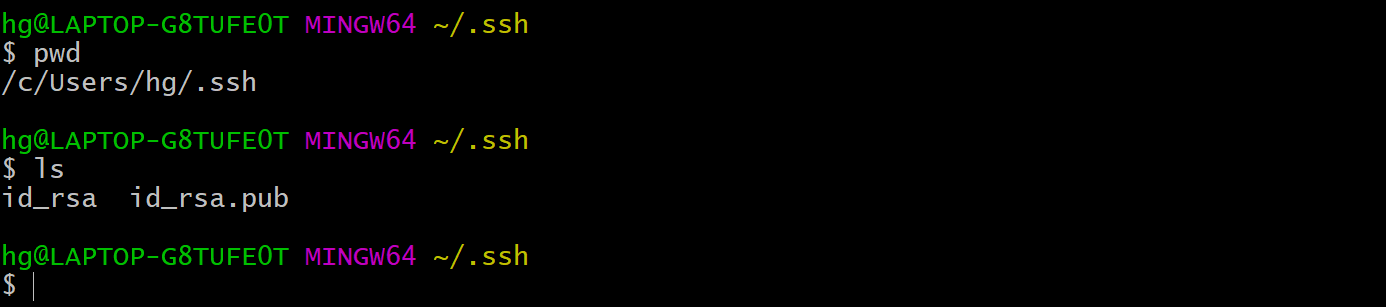
3️⃣ 复制ssh公钥到github
现在密钥已经生成,一般存放在(/c/Users/you/.ssh/id_rsa.pub.),我们运行下面的命令将密钥复制为粘贴板,等会儿会粘贴到github上去:

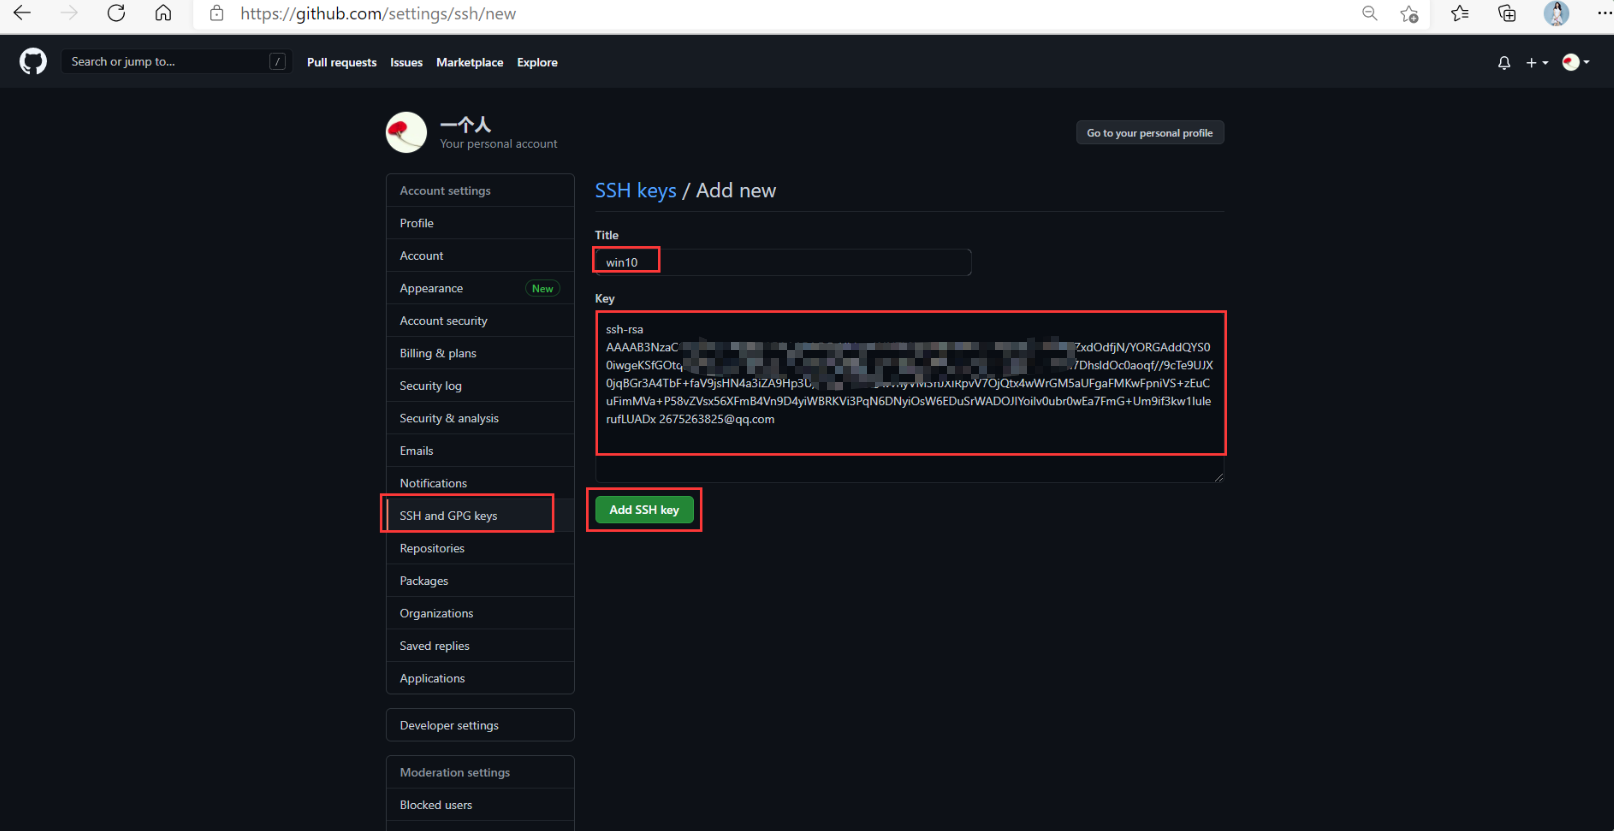
复制 id_rsa.pub 文件内容,登录 GitHub,点击用户头像→Settings→SSH and GPG keys,New SSH Key,输入复制的密钥信息,保存:

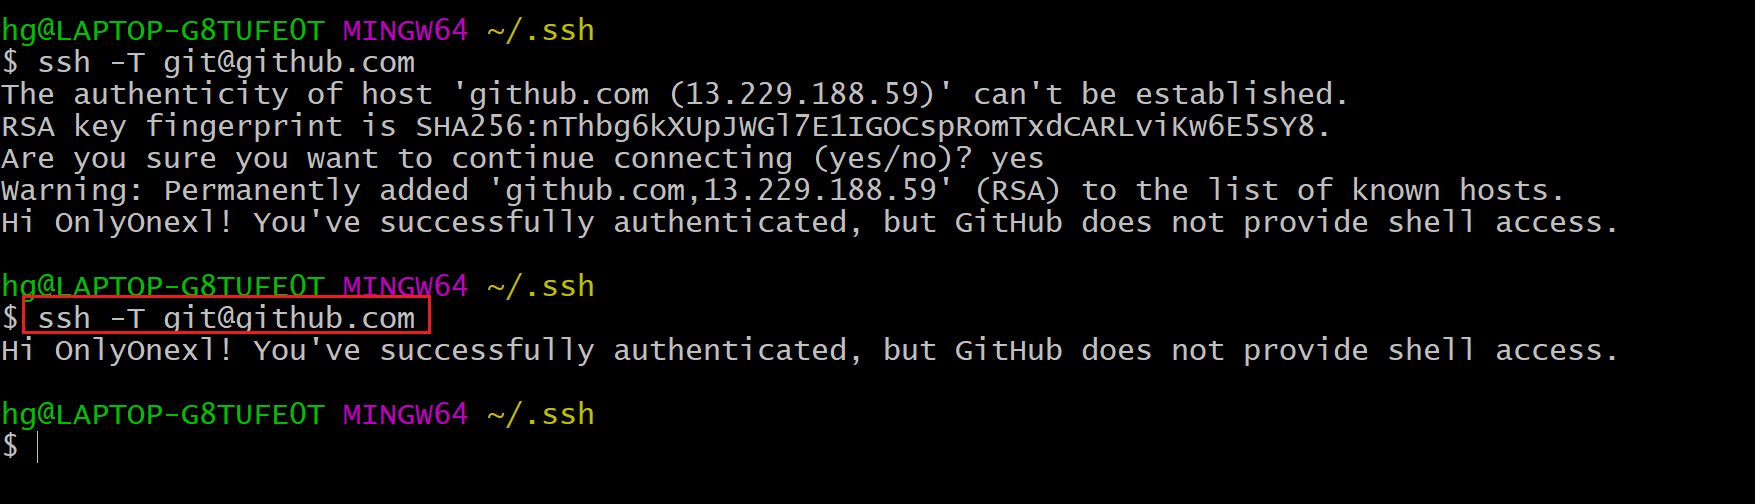


4️⃣ 验证:本地连接Github
右键单击鼠标,点击 Git Bash Here输入以下命令,如果如下图所示,出现你的用户名,那就成功了
bash
$ ssh -T git@github.com
- 此时来到github仓库下,观看数据已经被推送上来了:
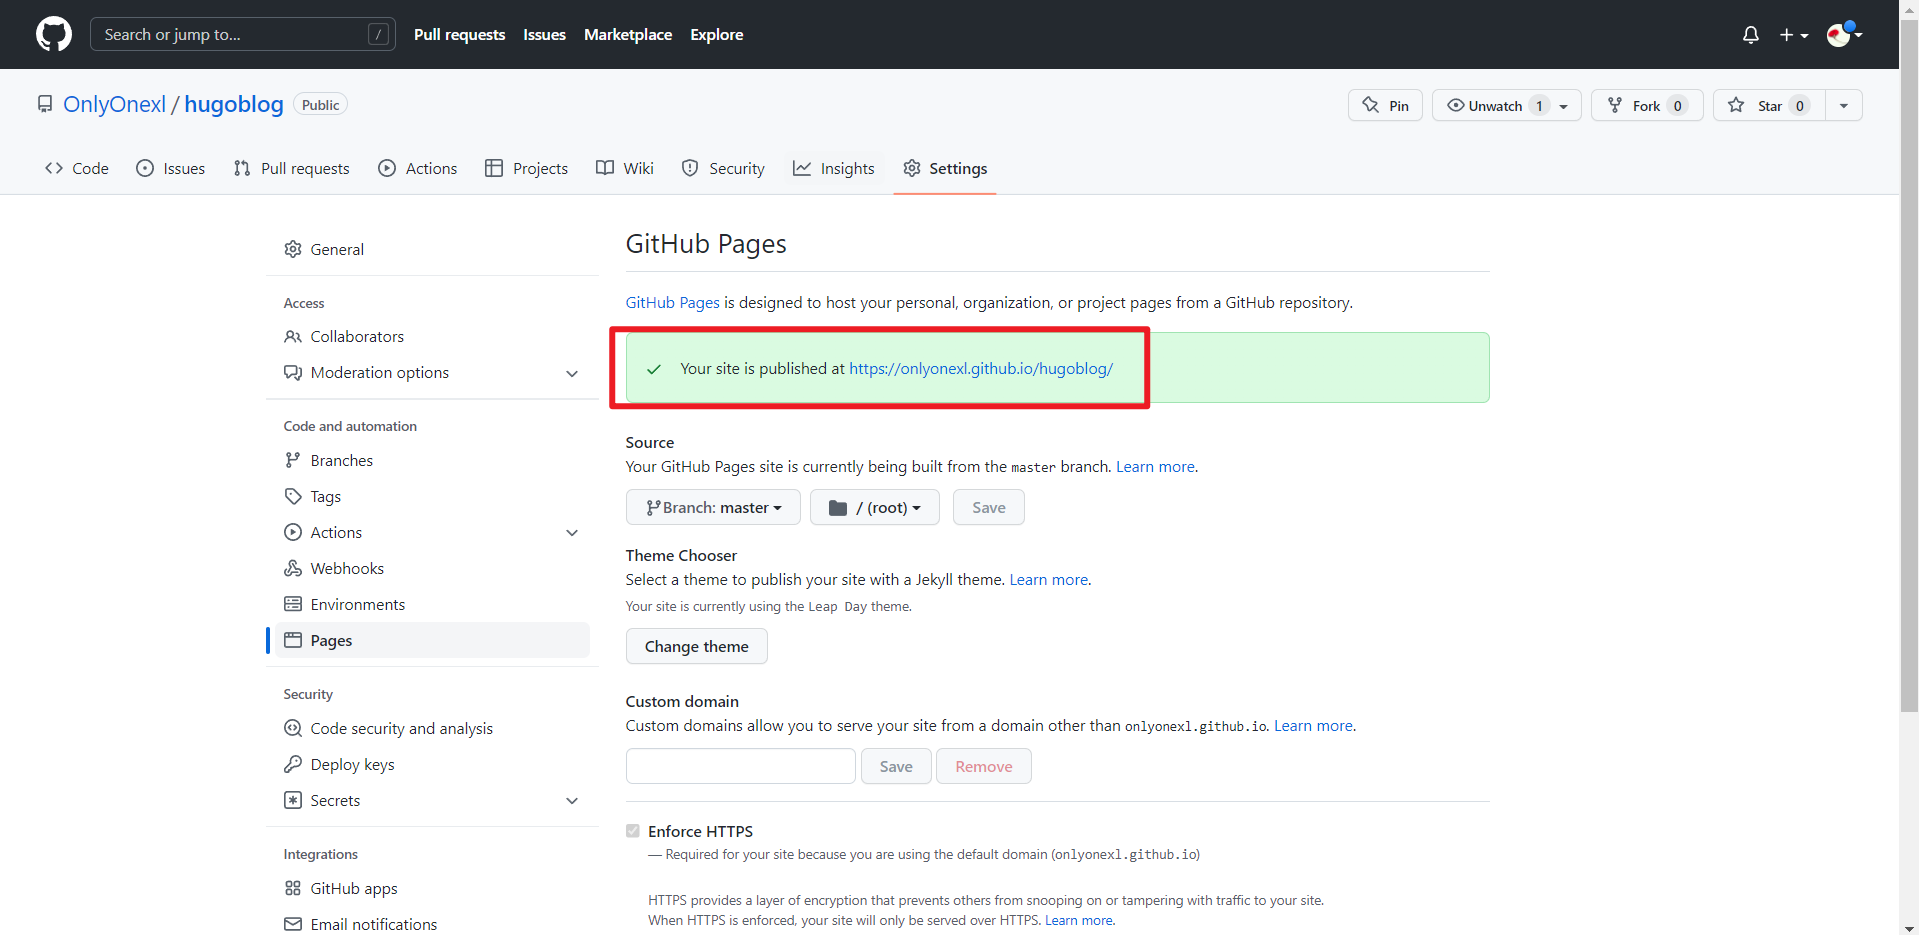
- 最后记得在github上设置下gitpages功能
点击Settings,Pages:
选择master分支,点击Save:
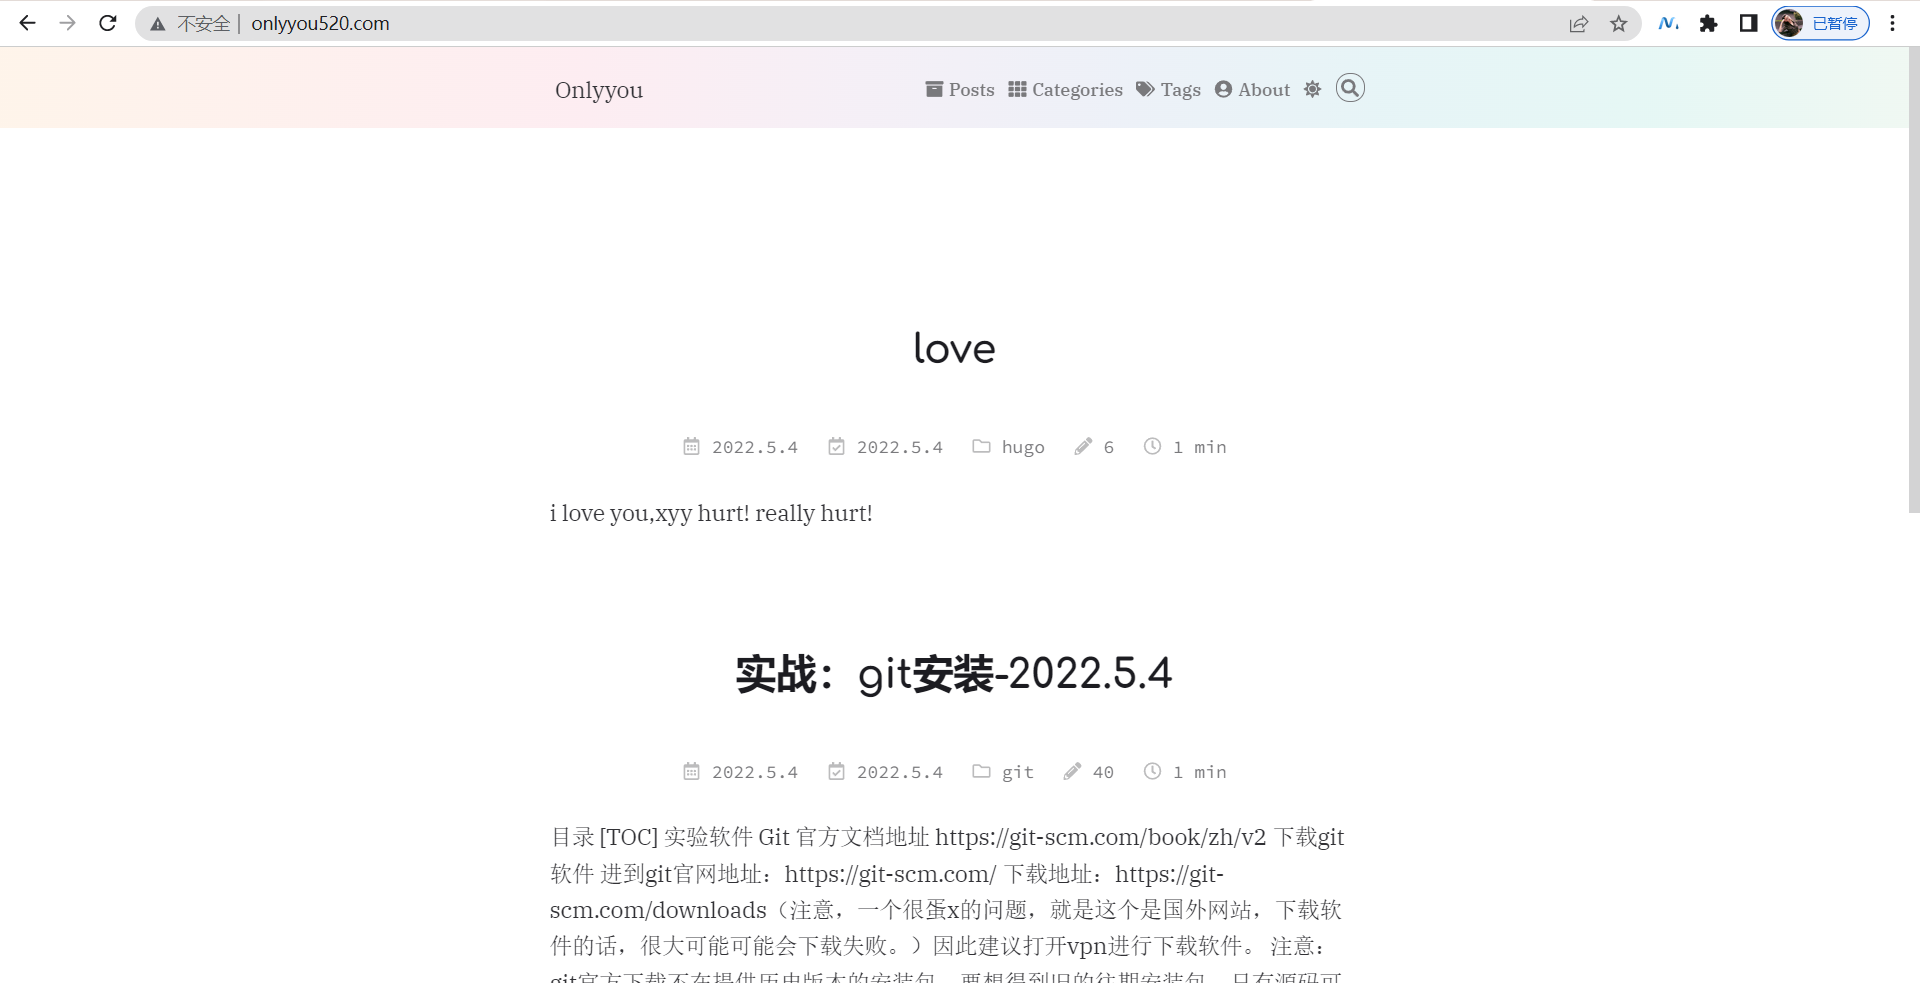
- 验证效果:
公网访问:
https://onlyonexl.github.io/hugoblog/
这里应该是网络问题!
5.如何自定义域名
- 购买域名
到阿里云万网,购买域名:
https://www.aliyun.com/ss/?spm=5176.19720258.J_8058803260.36.e9392c4aBhlzKl&k=域名
域名购买后记得实名认证下:(用阿里云手机app效果会更好!)
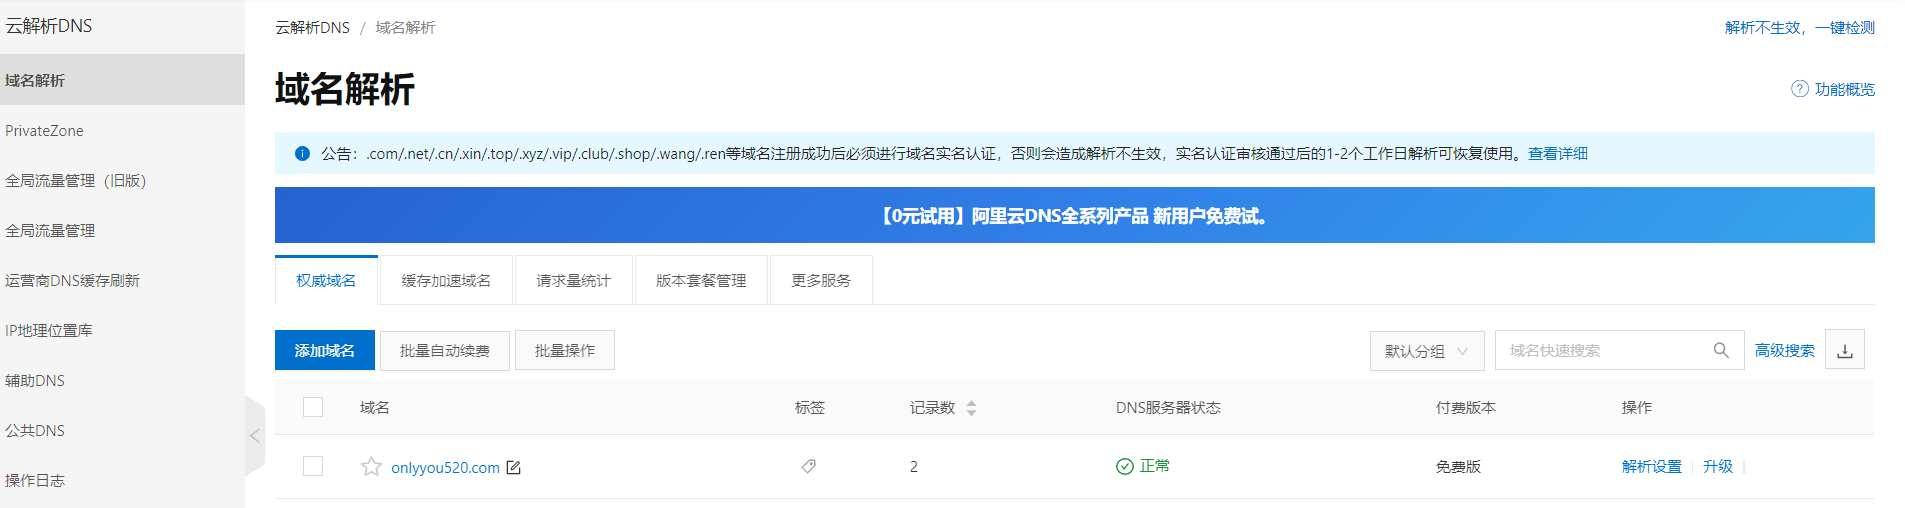
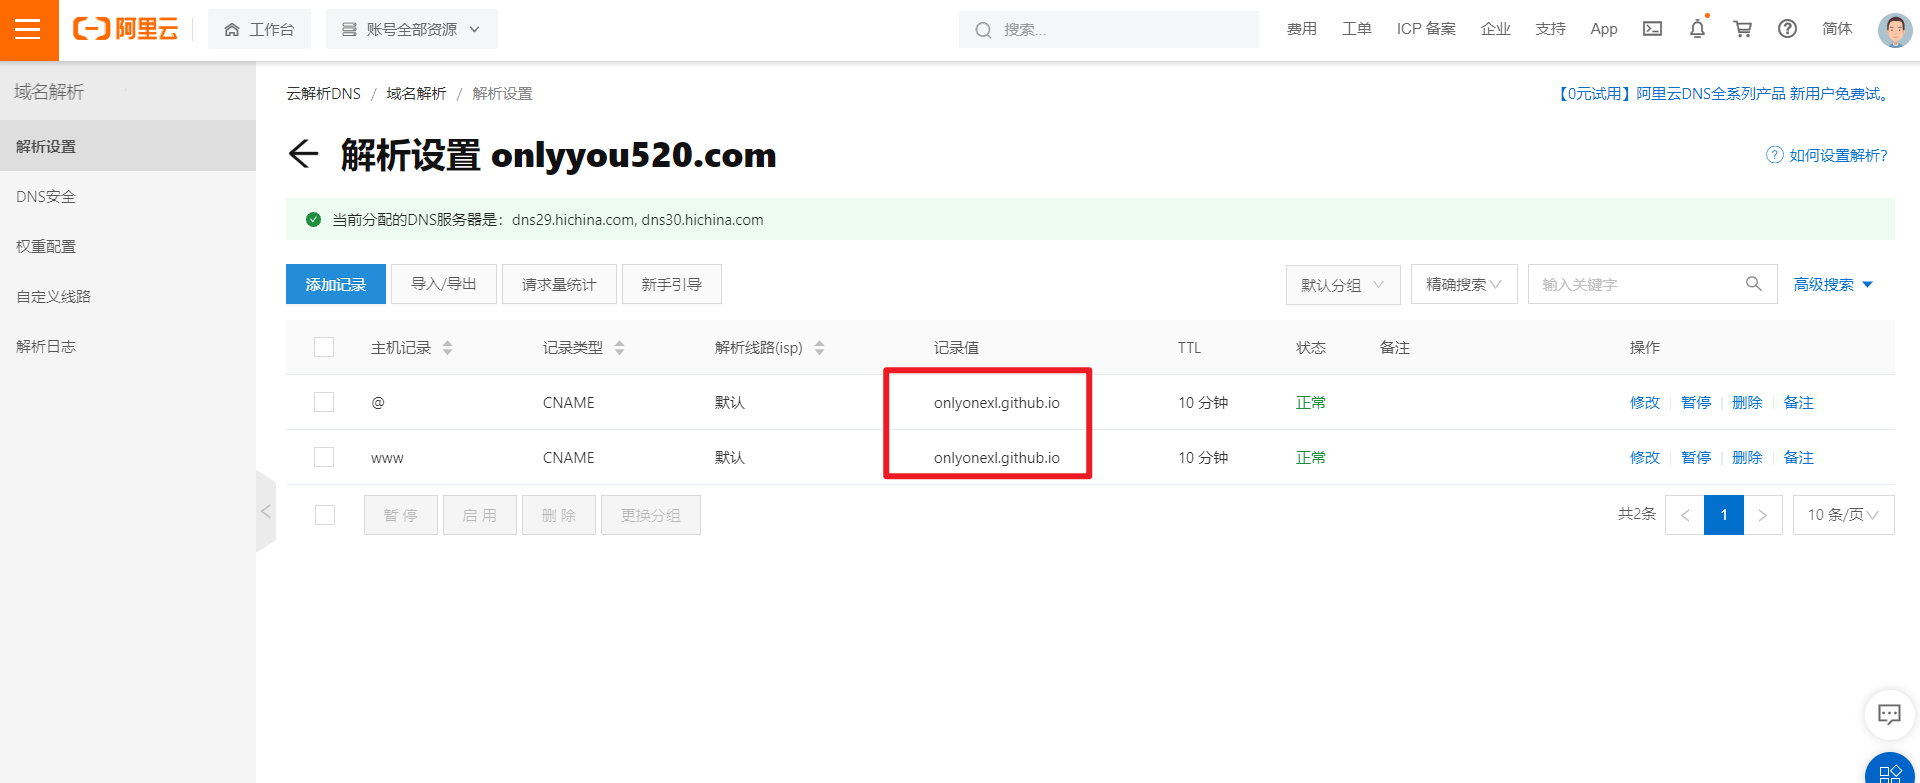
- 配置域名解析
来到阿里云域名控制台,配置域名解析:
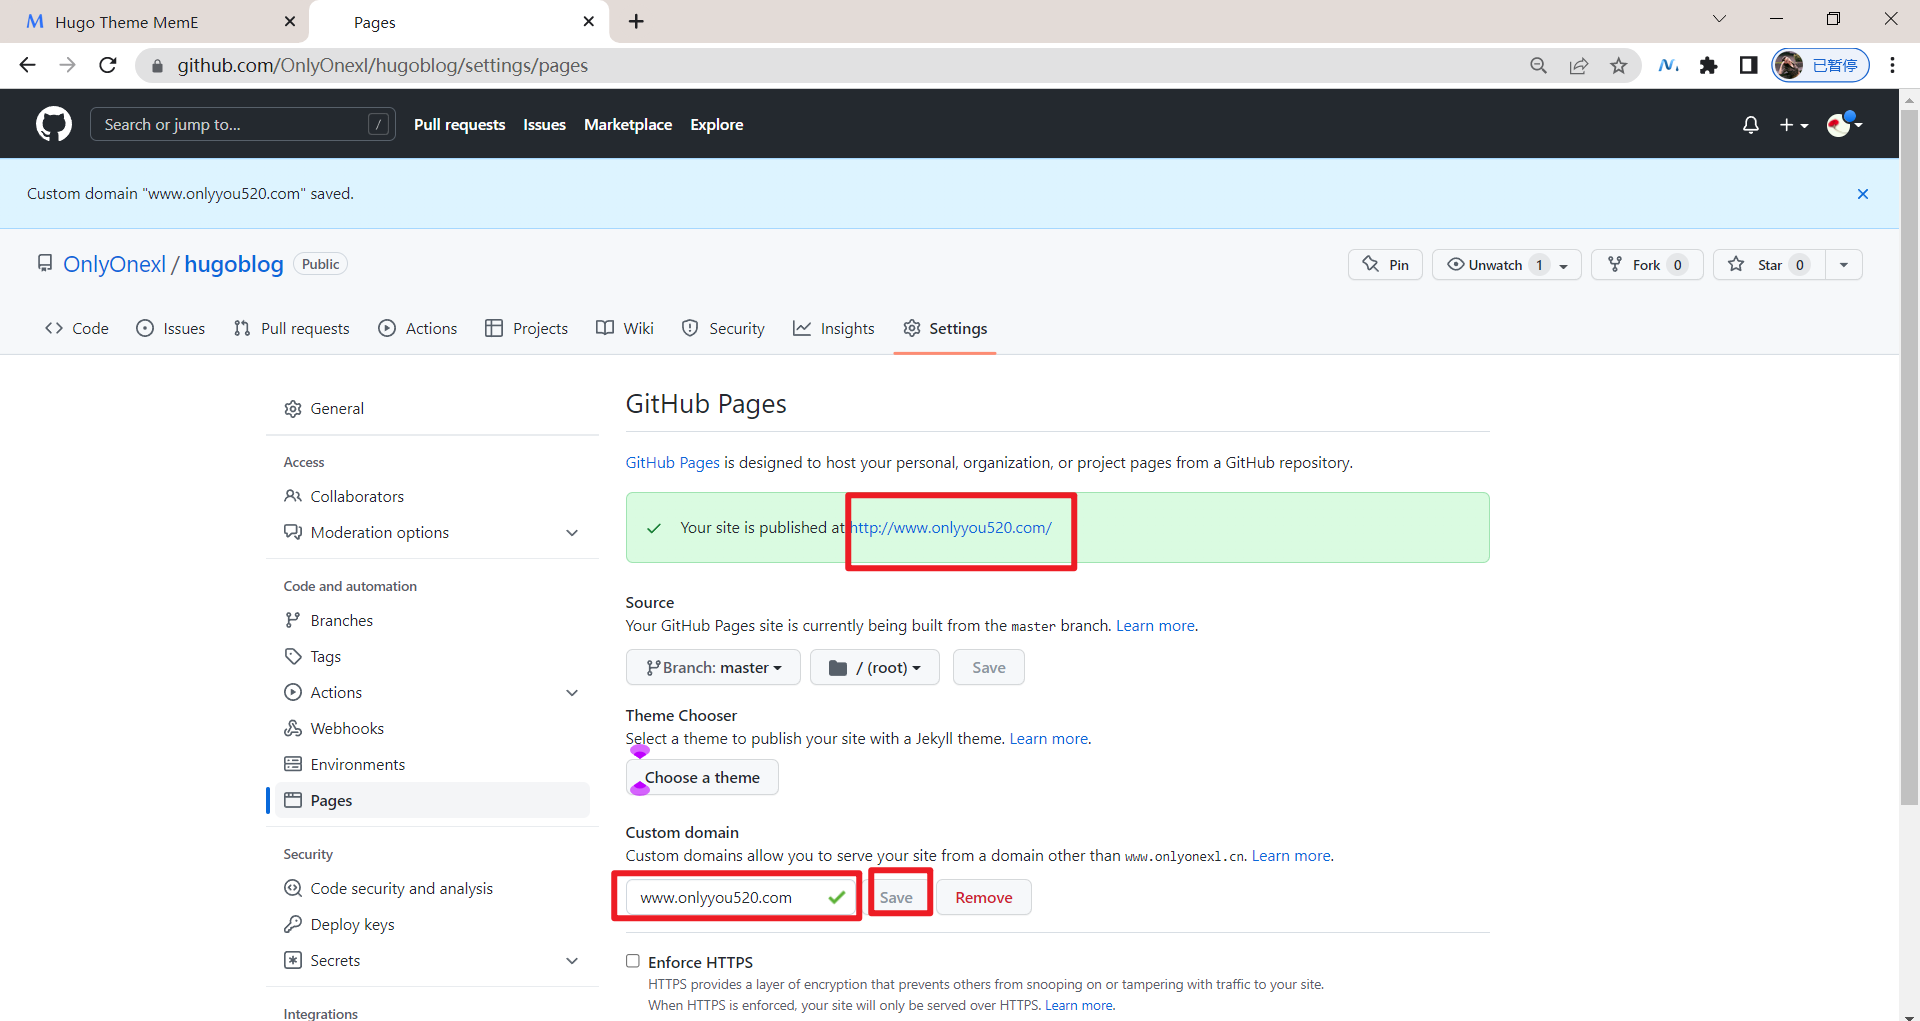
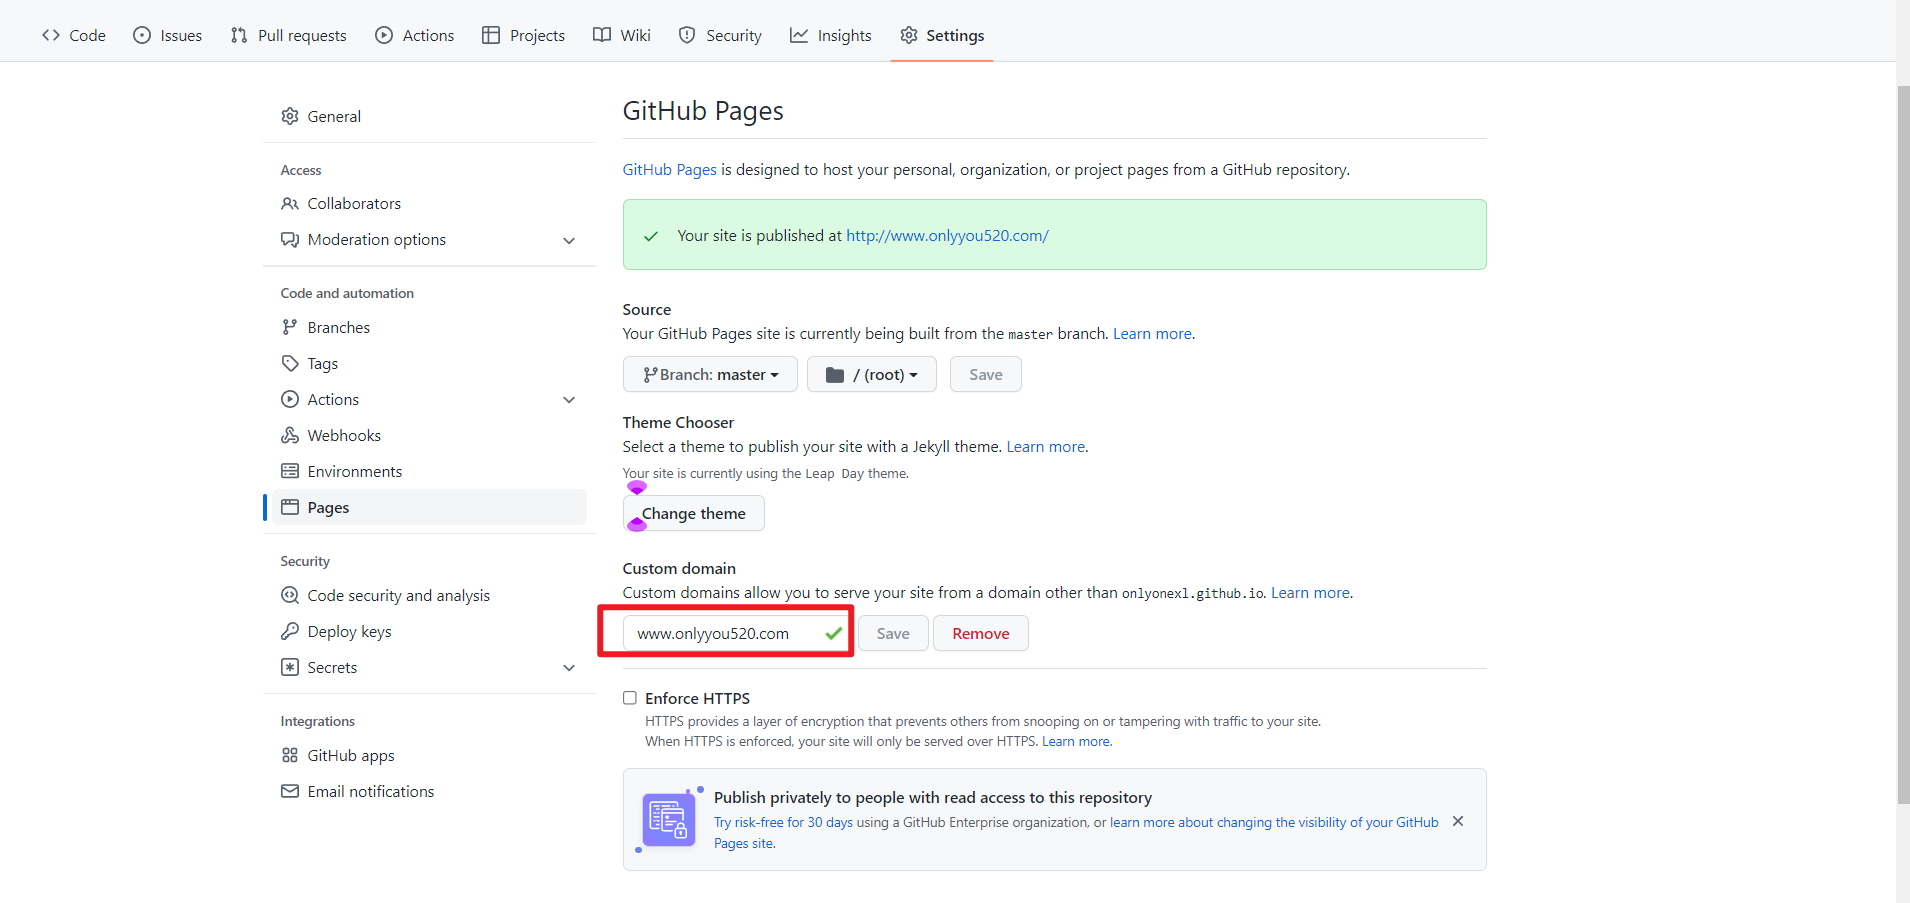
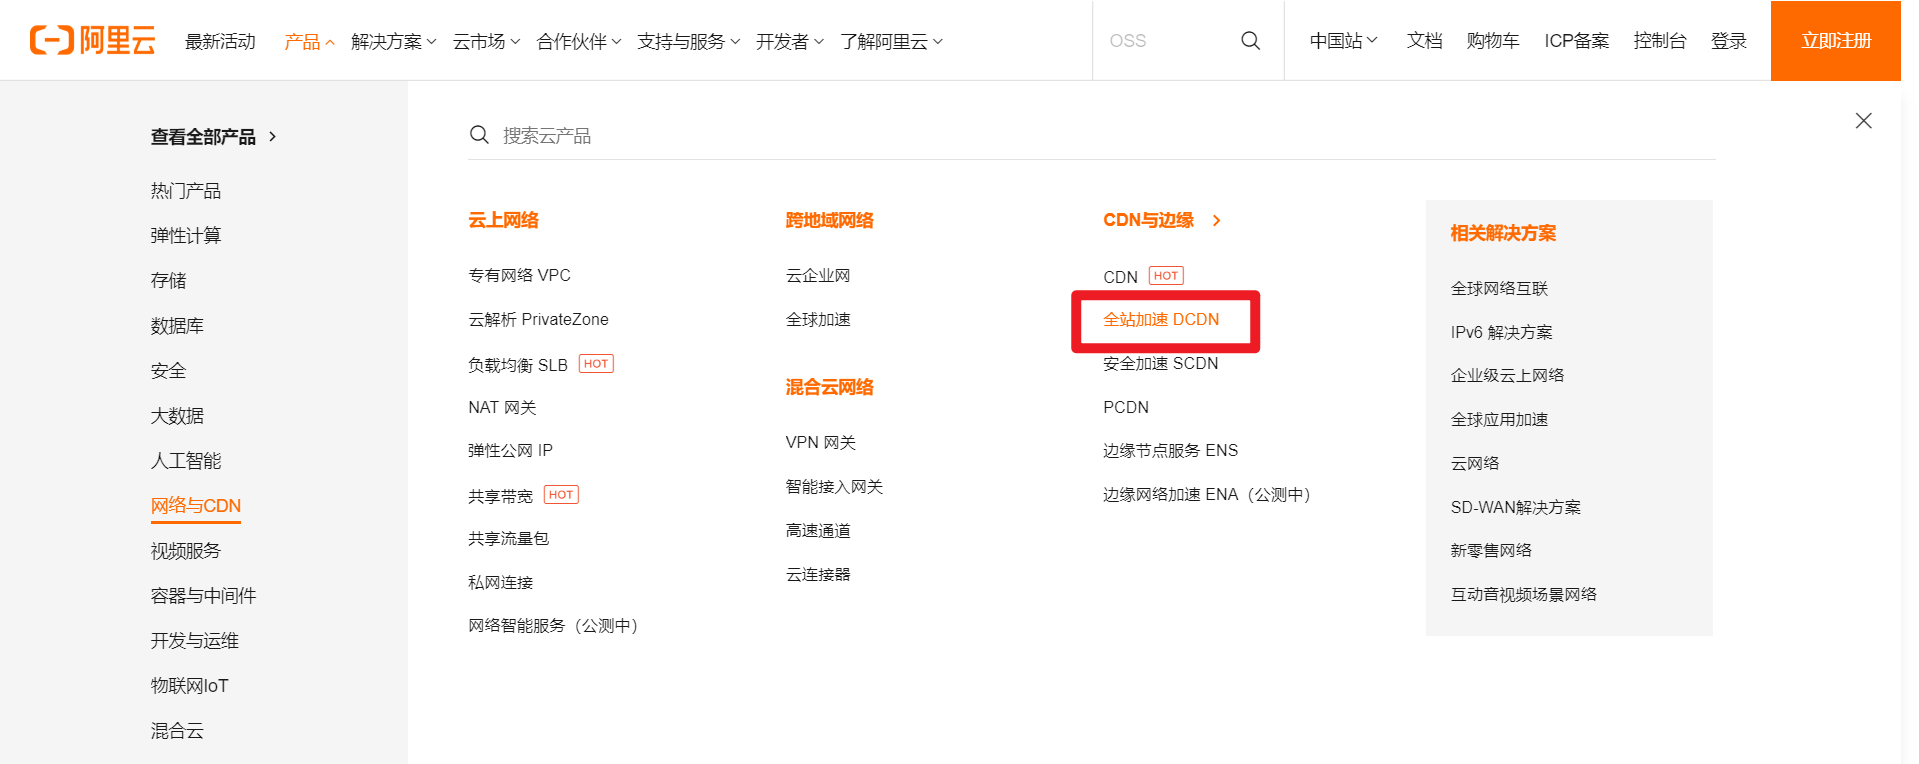
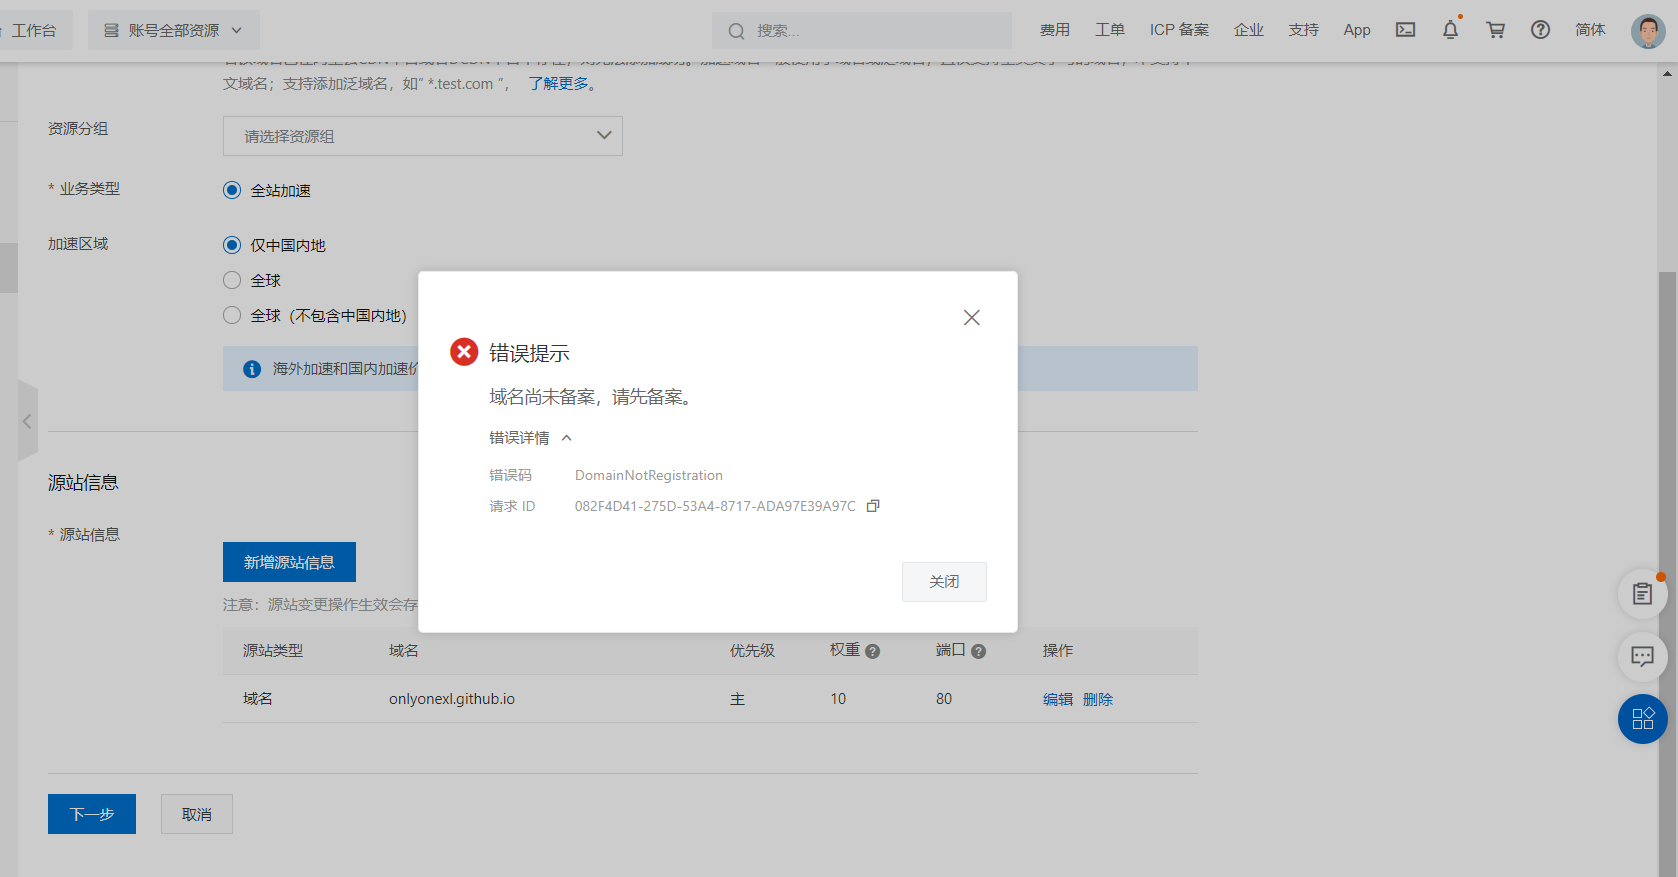
- 配置GitHub Pages
- 验证
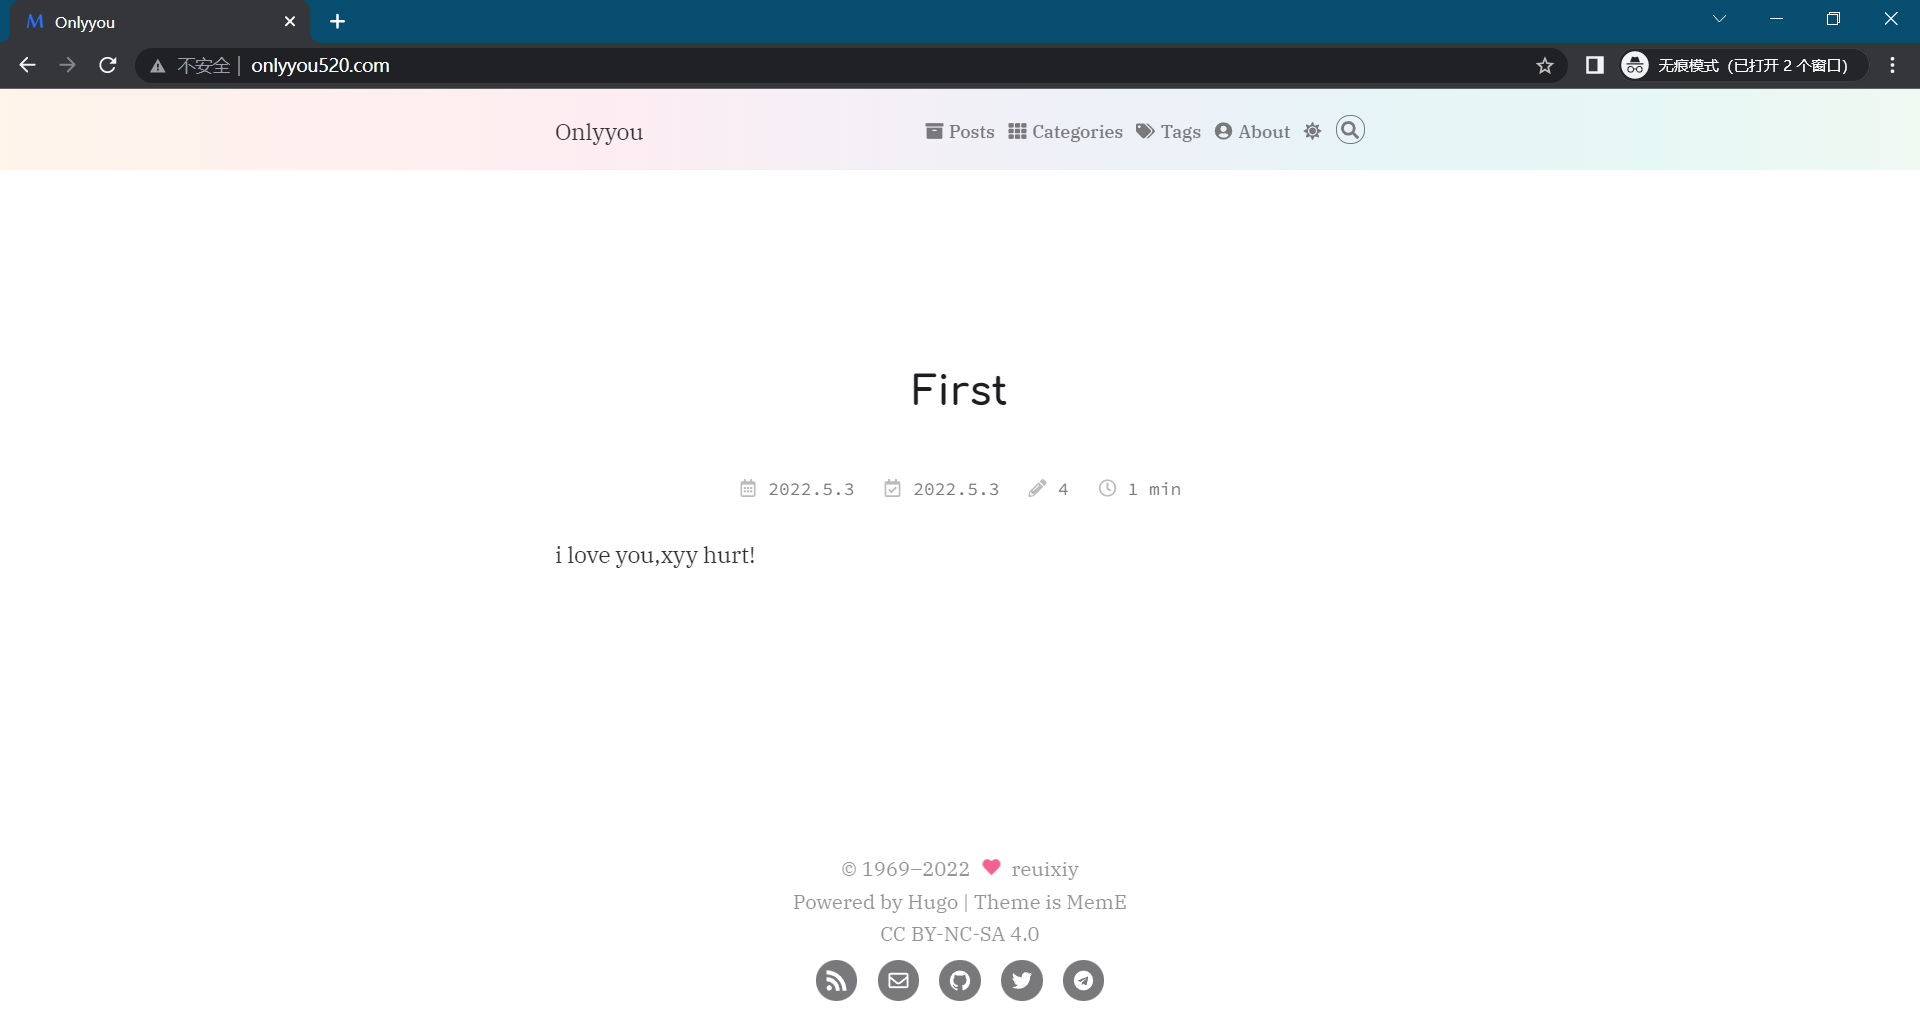
公网访问域名:http://www.onlyyou520.com/
大功告成,接下来就可以开心写自己博客了!😘