00:00:00
centos7部署php8.2
实战-如何在centos7上部署php8.2-2025.9.9(配置成功)
目录
[toc]
版权
经ai修改而成。
环境
- cesntos7 (centos7.x都行,本次centos7.9.2009)
- php8.2
- nginx默认(本次nginx/1.26.1)
说明
在 CentOS 7 上部署 PHP 8.2 需要通过第三方源实现,因为系统默认仓库中的 PHP 版本较低。以下是详细的部署步骤:
1. 依赖安装
安装必要的依赖包:
bash
# 安装必要依赖
sudo yum install -y epel-release yum-utils2. 添加 Remi 源(提供最新 PHP 版本)
Remi 源是一个常用的第三方仓库,提供最新的 PHP 版本:
bash
# 安装Remi源
sudo rpm -Uvh https://rpms.remirepo.net/enterprise/remi-release-7.rpm

# 启用Remi PHP 8.2模块
sudo yum-config-manager --enable remi-php823. 安装 PHP 8.2 及常用扩展
安装 PHP 8.2 核心包及常用扩展(根据需求选择):
bash
sudo yum install -y php \
    php-cli \
    php-fpm \
    php-mysqlnd \
    php-zip \
    php-devel \
    php-gd \
    php-mcrypt \
    php-mbstring \
    php-curl \
    php-xml \
    php-pear \
    php-bcmath \
    php-json \
php-redis4. 验证 PHP 版本
安装完成后,验证 PHP 版本:
bash
php -v成功安装会显示类似以下信息:
plaintext
PHP 8.2.x (cli) (built: ...) ( NTS )
Copyright (c) The PHP Group
Zend Engine v4.2.x, Copyright (c) Zend Technologies5. 配置并启动 PHP-FPM
如果需要使用 PHP-FPM(通常配合 Nginx 使用):
bash
# 启动PHP-FPM服务
sudo systemctl start php-fpm

# 设置开机自启
sudo systemctl enable php-fpm

# 检查服务状态
sudo systemctl status php-fpm6. 配置防火墙(如需)
如果需要通过网络访问 PHP 应用,开放相应端口:
bash
# 开放80端口(HTTP)
sudo firewall-cmd --zone=public --add-port=80/tcp --permanent

# 重新加载防火墙配置
sudo firewall-cmd --reload7. 配置 PHP(可选)
PHP 的主要配置文件位于/etc/php.ini,可以根据需要修改:
bash
# 编辑配置文件
sudo vi /etc/php.ini

# 常用配置项(根据需求调整):
memory_limit = 256M
upload_max_filesize = 64M
post_max_size = 64M
max_execution_time = 60修改后需要重启 PHP-FPM 使配置生效:
bash
sudo systemctl restart php-fpm完成以上步骤后,PHP 8.2 就成功部署在 CentOS 7 系统上了。如果需要配合 Web 服务器(如 Nginx 或 Apache),还需要进行相应的服务器配置。
8.配合nginx
📌http配置:
cat /etc/nginx/conf.d/imgapi.onedayxyy.cn.conf
bash
server {
    listen 80;
    server_name imgapi.onedayxyy.cn;
    root /var/www/html;
    index index.php index.html;

    location ~ \.php$ {
        fastcgi_pass 127.0.0.1:9000;
        fastcgi_index index.php;
        fastcgi_param SCRIPT_FILENAME $document_root$fastcgi_script_name;
        include fastcgi_params;
    }
}
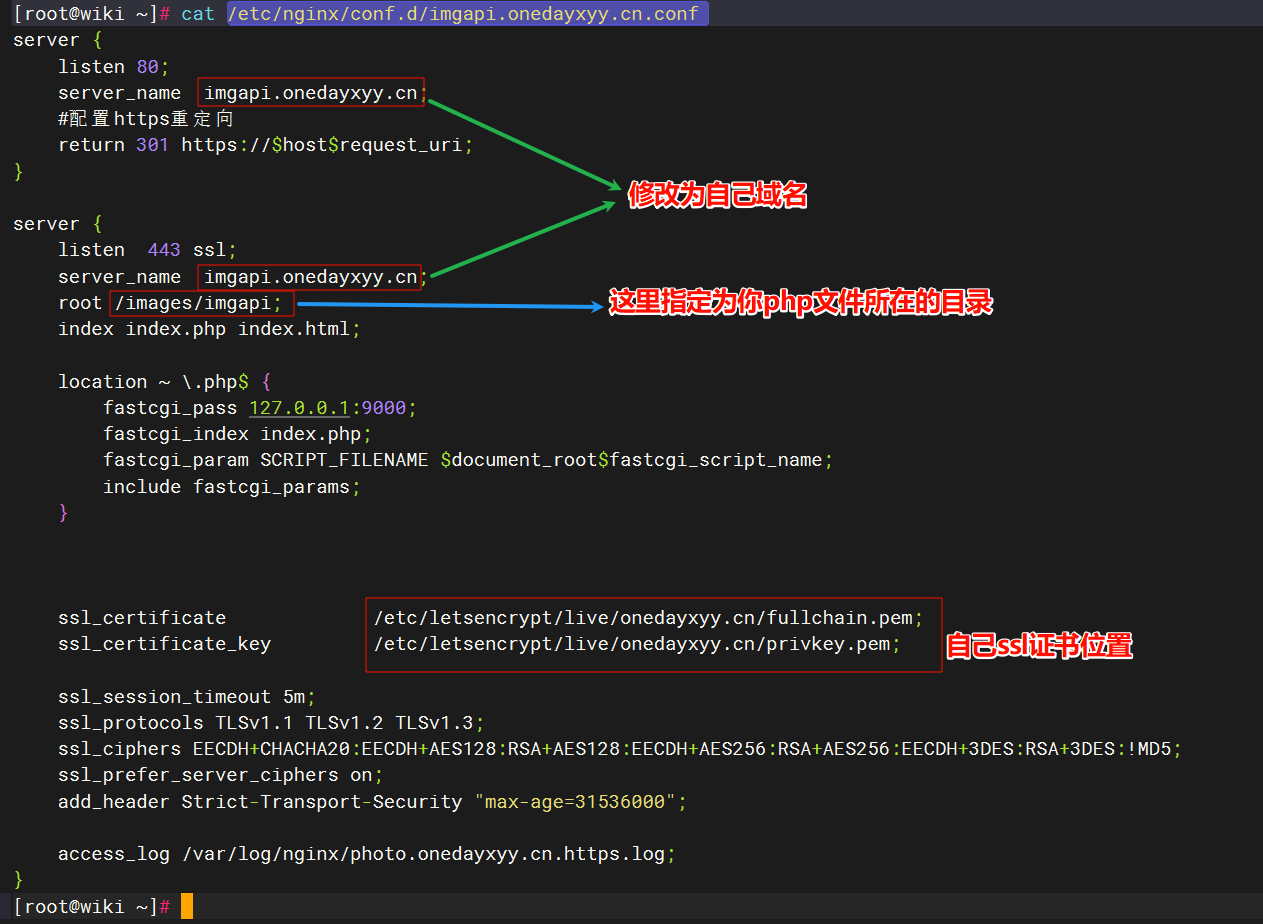
imgapi.onedayxyy.cn这里修改为自己的域名即可。
📌https配置:
cat /etc/nginx/conf.d/imgapi.onedayxyy.cn.conf
bash
server {
    listen 80;
    server_name  imgapi.onedayxyy.cn;
    #配置https重定向
    return 301 https://$host$request_uri;
}

server {
    listen  443 ssl;
    server_name  imgapi.onedayxyy.cn;
    root /images/imgapi;
    index index.php index.html;

    location ~ \.php$ {
        fastcgi_pass 127.0.0.1:9000;
        fastcgi_index index.php;
        fastcgi_param SCRIPT_FILENAME $document_root$fastcgi_script_name;
        include fastcgi_params;
    }


    ssl_certificate             /etc/letsencrypt/live/onedayxyy.cn/fullchain.pem;
    ssl_certificate_key         /etc/letsencrypt/live/onedayxyy.cn/privkey.pem;

    ssl_session_timeout 5m;
    ssl_protocols TLSv1.1 TLSv1.2 TLSv1.3;
    ssl_ciphers EECDH+CHACHA20:EECDH+AES128:RSA+AES128:EECDH+AES256:RSA+AES256:EECDH+3DES:RSA+3DES:!MD5;
    ssl_prefer_server_ciphers on;
    add_header Strict-Transport-Security "max-age=31536000";

    access_log /var/log/nginx/photo.onedayxyy.cn.https.log;
}
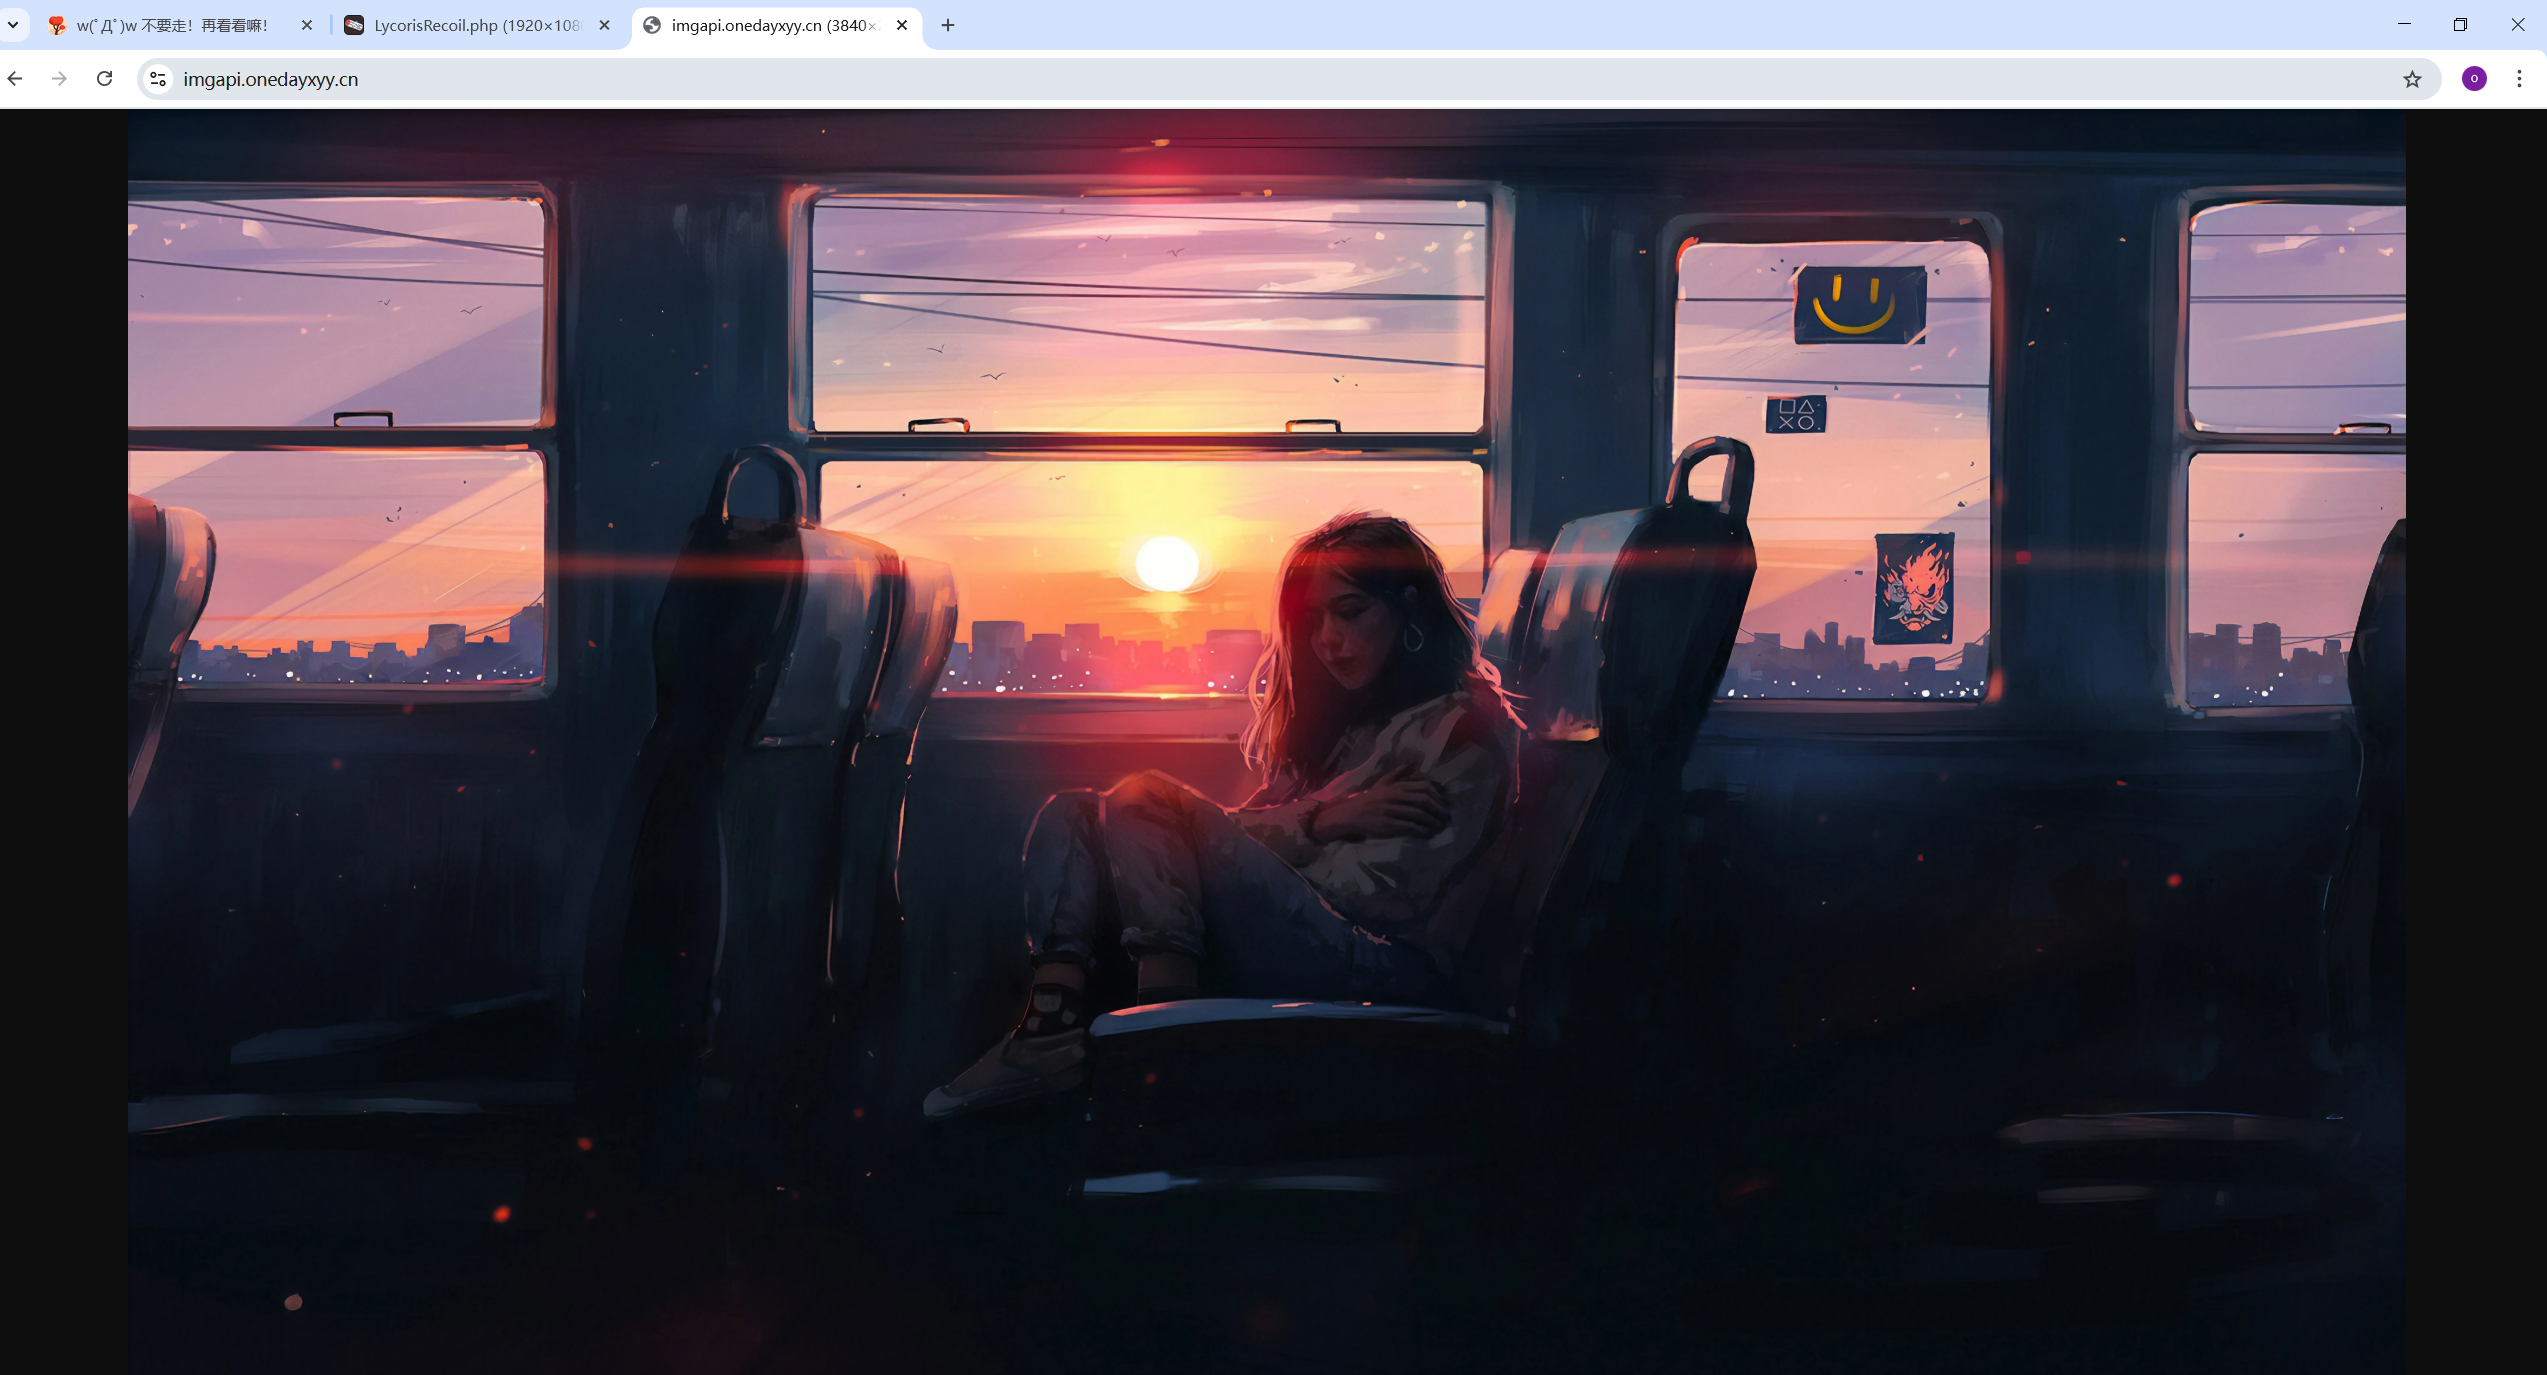
9.测试
访问域名测试效果:
结束。
关于我
我的博客主旨:
- 排版美观,语言精炼;
- 文档即手册,步骤明细,拒绝埋坑,提供源码;
- 本人实战文档都是亲测成功的,各位小伙伴在实际操作过程中如有什么疑问,可随时联系本人帮您解决问题,让我们一起进步!
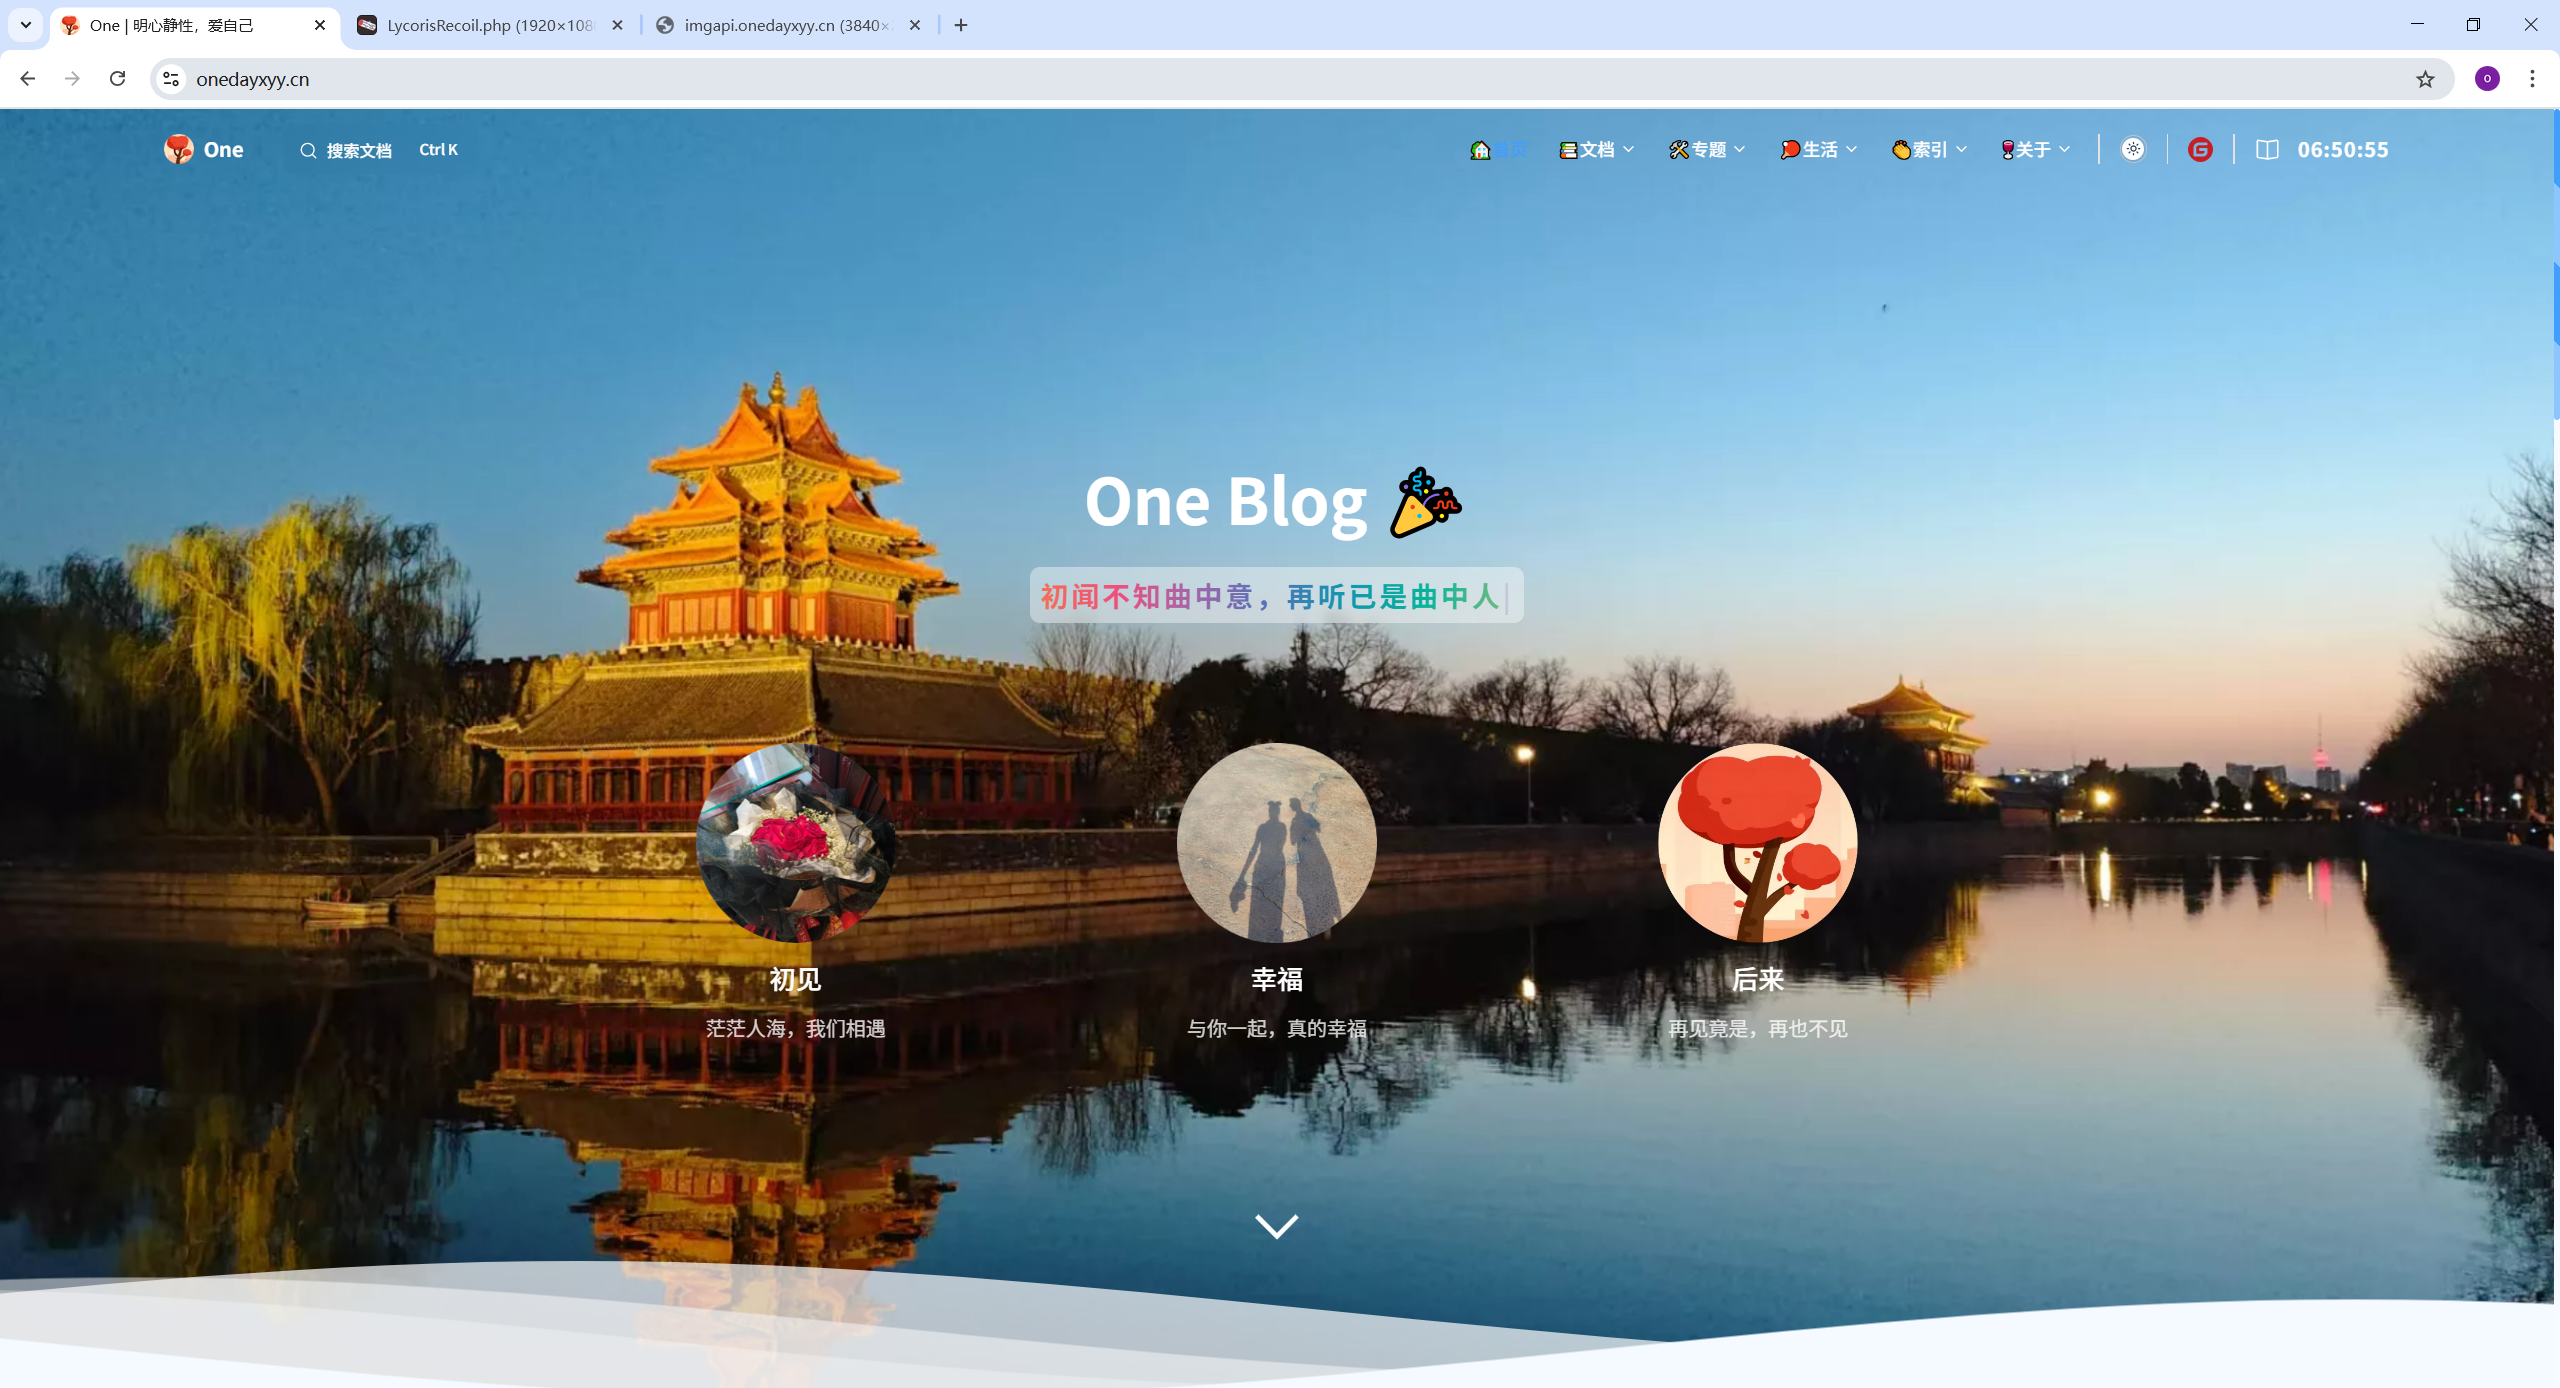
🍀 个人网站
🍀 微信二维码
x2675263825 (舍得), qq:2675263825。

🍀 微信公众号
《云原生架构师实战》

🍀 csdn
https://blog.csdn.net/weixin_39246554?spm=1010.2135.3001.5421
🍀 知乎
https://www.zhihu.com/people/foryouone
最后
如果你还有疑惑,可以去我的网站查看更多内容或者联系我帮忙查看。
如果你有更好的方式,评论区留言告诉我。谢谢!
好了,本次就到这里了,感谢大家阅读,最后祝大家生活快乐,每天都过的有意义哦,我们下期见!