
快捷菜单
常用功能一站直达
更多功能请点顶栏「快捷菜单」

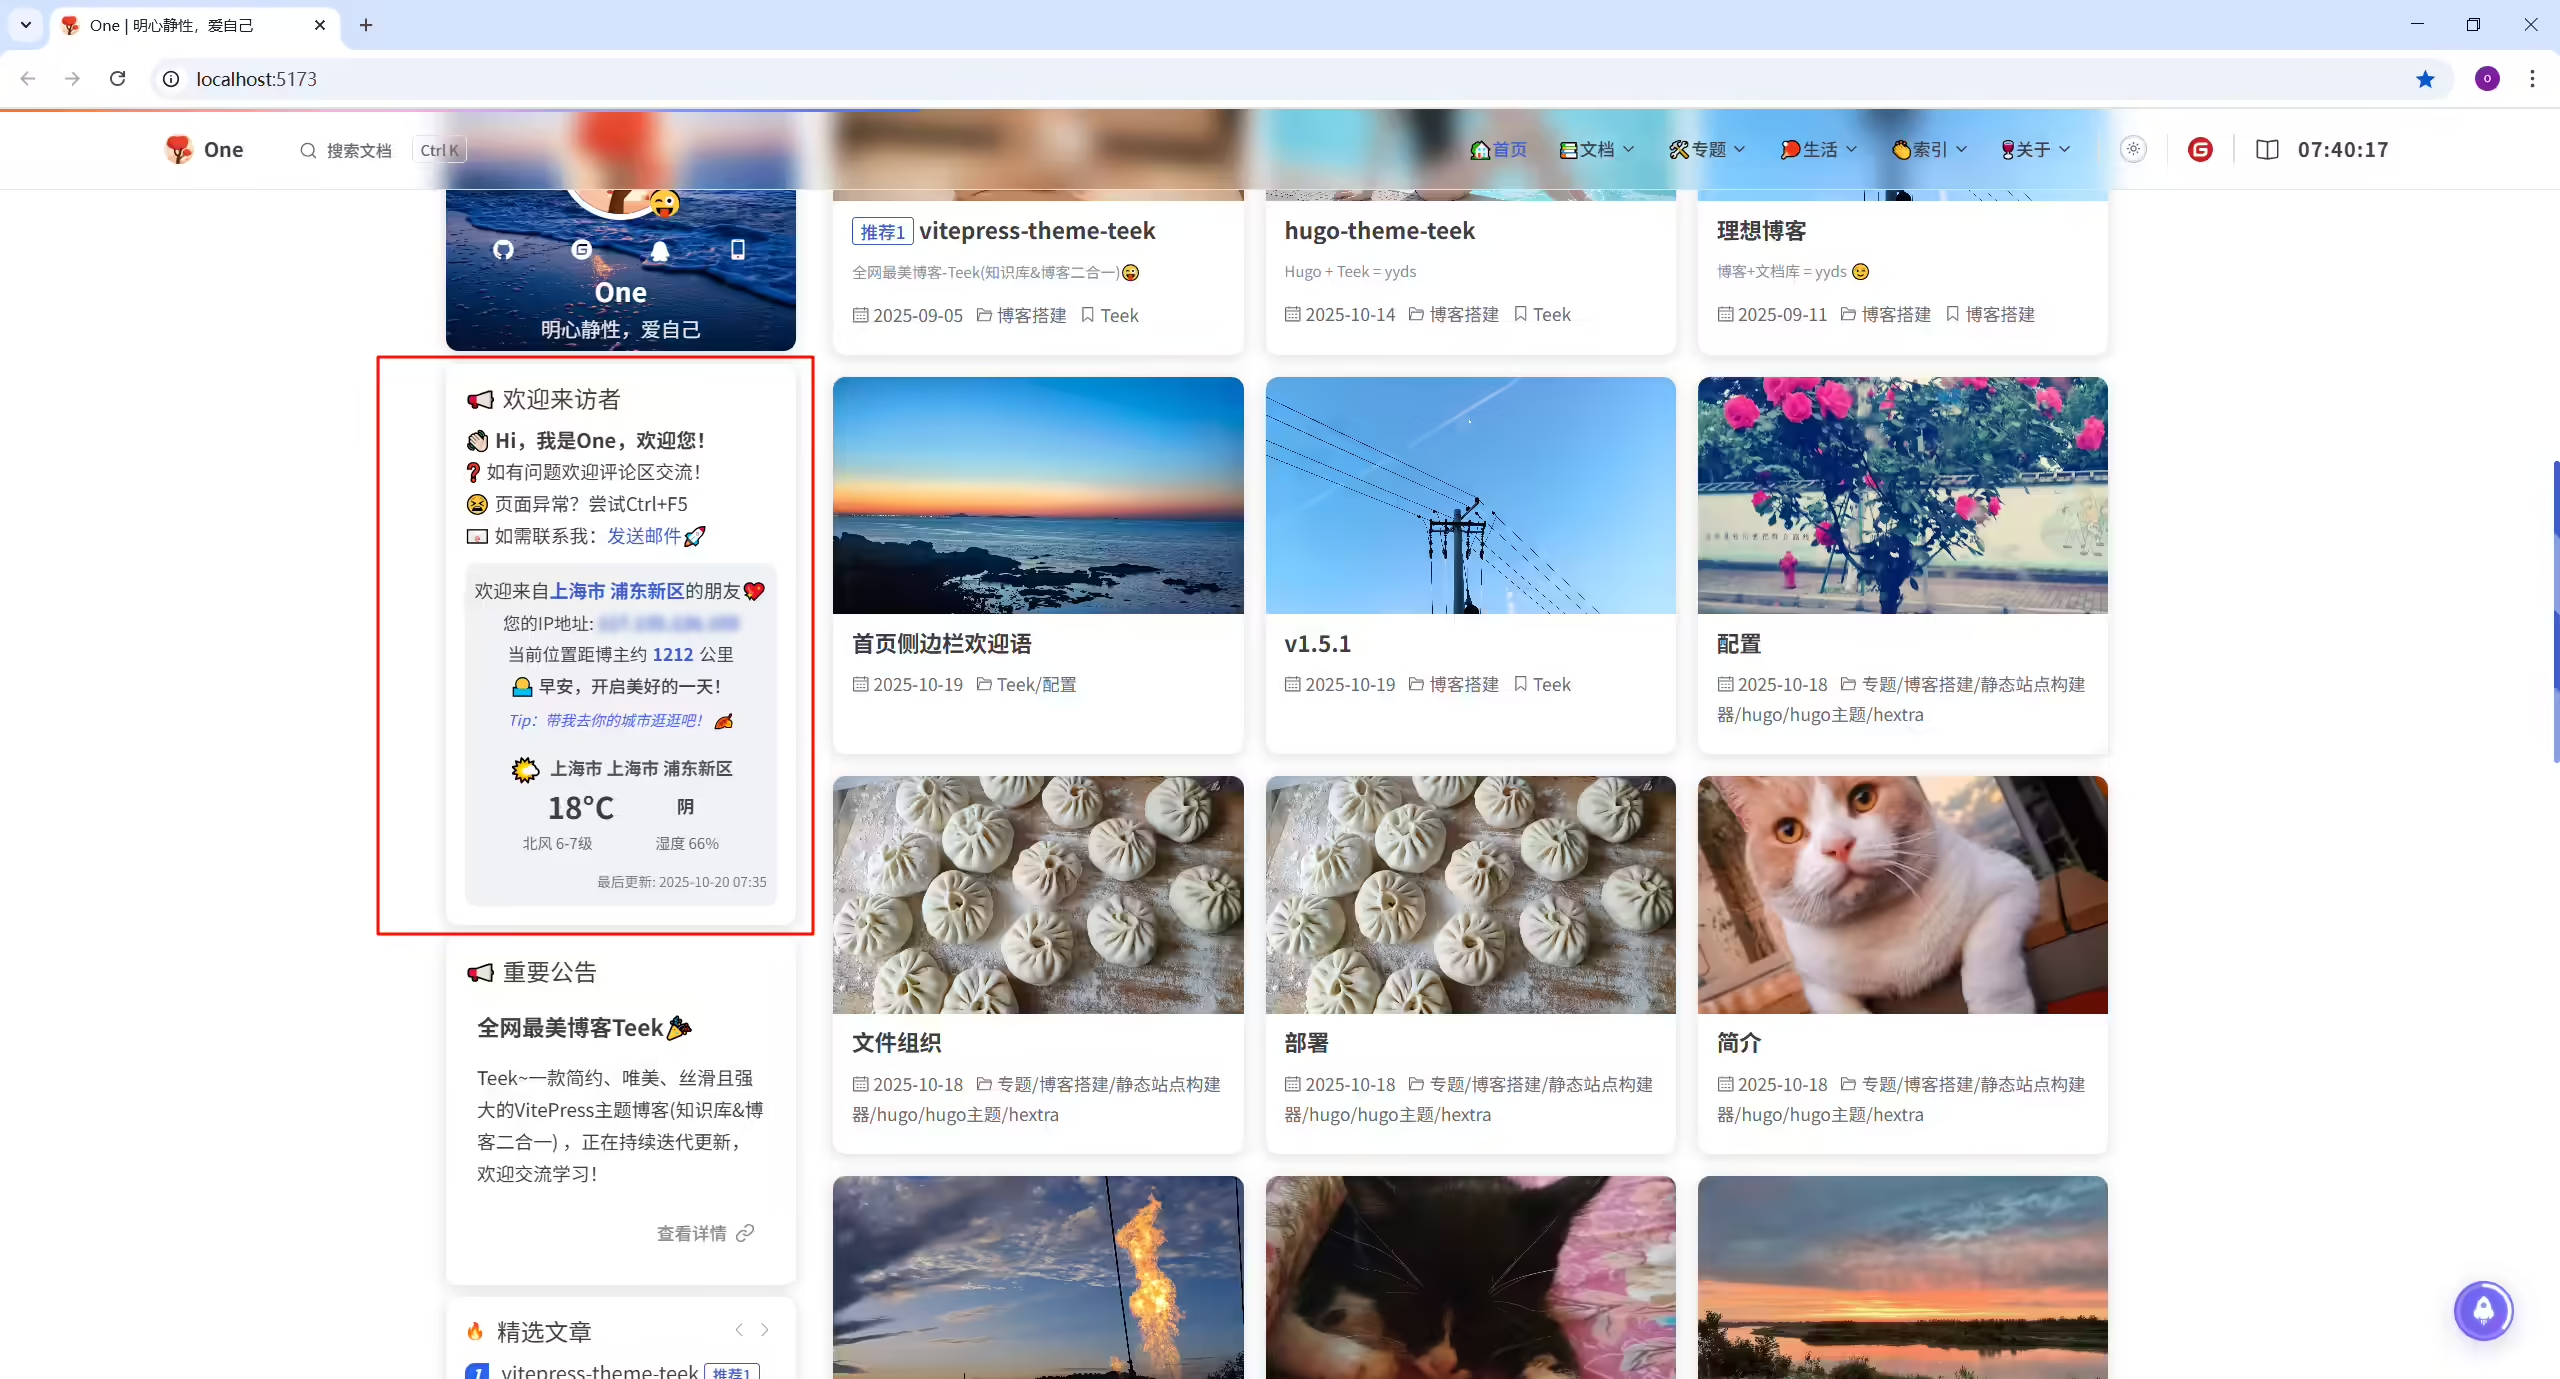

以下是 3个适合博客自建的开源项目,覆盖「IP地理位置查询+天气显示+动态欢迎语」核心需求,支持私有化部署,部署难度从低到高,适配不同技术基础的用户:
Country.mmdb)。1git clone https://github.com/metowolf/meteo-api.git && cd meteo-apidocker-compose.yml,填入关键参数: 1version: '3'
2services:
3 meteo-api:
4 image: metowolf/meteo-api
5 ports:
6 - "3000:3000" # 暴露3000端口,可自定义
7 environment:
8 - GEOIP_PATH=/app/GeoIP2-CN.mmdb # IP库路径
9 - AMAP_KEY=你的高德API密钥 # 国内首选
10 - DEFAULT_LANG=zh-CN # 中文返回
11 volumes:
12 - ./GeoIP2-CN.mmdb:/app/GeoIP2-CN.mmdb # 映射本地IP库文件
13 restart: always1docker-compose up -dhttp://你的服务器IP:3000/api/weather?ip=auto,返回示例:1{
2 "city": "北京市",
3 "weather": "晴",
4 "temp": 22,
5 "wind": "东北风3级",
6 "date": "2025-11-13",
7 "welcome": "欢迎来自北京市的朋友,今天晴,气温22℃,祝你心情愉快~"
8}footer.ejs 或 sidebar.php)添加 JS 代码,自动渲染欢迎语: 1<div id="blog-welcome" style="padding: 10px; background: #f5f5f5; border-radius: 8px;"></div>
2<script>
3 // 调用自建API
4 fetch('http://你的服务器IP:3000/api/weather?ip=auto')
5 .then(res => res.json())
6 .then(data => {
7 document.getElementById('blog-welcome').innerText = data.welcome;
8 // 可自定义样式,比如根据天气显示不同图标
9 })
10 .catch(err => console.log('加载失败:', err));
11</script>适合想「自主控制每个模块」的用户,拆分「IP定位服务+天气代理+欢迎语组件」,按需组合。
1docker run -d -p 8080:8080 -v ./GeoIP2-CN.mmdb:/data/GeoIP2-CN.mmdb tomasen/geoip-api-server -db /data/GeoIP2-CN.mmdbhttp://IP:8080/json/223.5.5.5(返回「杭州市」等信息)。 1# weather-proxy.py
2from flask import Flask, request
3import requests
4
5app = Flask(__name__)
6AMAP_KEY = "你的高德API密钥"
7
8@app.route('/api/weather')
9def get_weather():
10 city = request.args.get('city') # 接收前端传的城市名
11 url = f"https://restapi.amap.com/v3/weather/weatherInfo?city={city}&key={AMAP_KEY}&extensions=base"
12 res = requests.get(url).json()
13 return {
14 "weather": res['lives'][0]['weather'],
15 "temp": res['lives'][0]['temperature'],
16 "wind": res['lives'][0]['winddirection'] + res['lives'][0]['windpower'] + '级'
17 }
18
19if __name__ == '__main__':
20 app.run(host='0.0.0.0', port=8081)nohup python3 weather-proxy.py & 后台运行)。 1<div id="blog-welcome"></div>
2<script>
3 // 步骤1:获取IP定位城市
4 fetch('http://你的服务器IP:8080/json/auto')
5 .then(res => res.json())
6 .then(ipData => {
7 const city = ipData.city;
8 // 步骤2:根据城市获取天气
9 return fetch(`http://你的服务器IP:8081/api/weather?city=${encodeURIComponent(city)}`);
10 })
11 .then(res => res.json())
12 .then(weatherData => {
13 // 步骤3:渲染欢迎语
14 const welcome = `Hi~ 来自${city}的访客,今天${weatherData.weather},气温${weatherData.temp}℃,${weatherData.wind}~`;
15 document.getElementById('blog-welcome').innerText = welcome;
16 });
17</script>如果没有云服务器,可用 Cloudflare Workers 免费部署(全球CDN,国内访问尚可),无需服务器成本。
AMAP_KEY): 1addEventListener('fetch', event => {
2 event.respondWith(handleRequest(event.request));
3});
4
5async function handleRequest(request) {
6 // 1. Cloudflare 内置IP定位
7 const ip = request.headers.get('CF-Connecting-IP');
8 const city = request.cf?.city || '未知城市';
9
10 // 2. 调用高德天气API
11 const AMAP_KEY = '你的高德API密钥';
12 const weatherRes = await fetch(`https://restapi.amap.com/v3/weather/weatherInfo?city=${encodeURIComponent(city)}&key=${AMAP_KEY}&extensions=base`);
13 const weatherData = await weatherRes.json();
14 const weather = weatherData.lives?.[0]?.weather || '未知';
15 const temp = weatherData.lives?.[0]?.temperature || '未知';
16
17 // 3. 返回欢迎语数据
18 return new Response(JSON.stringify({
19 welcome: `欢迎来自${city}的朋友,今天${weather},气温${temp}℃~`
20 }), {
21 headers: { 'Content-Type': 'application/json', 'Access-Control-Allow-Origin': '*' }
22 });
23}xxx.workers.dev);0 0 * * 0 wget https://github.com/Hackl0us/GeoIP2-CN/releases/latest/download/GeoIP2-CN.mmdb -O /path/GeoIP2-CN.mmdb);这三个方案均为开源自建,完全可控,可根据自己的技术基础和服务器资源选择~
精选 · 友链 · 更多

One的公众号
爱折腾博客的小白
