
快捷菜单
常用功能一站直达
更多功能请点顶栏「快捷菜单」
手把手部署hugo-teek博客到公网教程(无坑版)
使用eo边缘函数来部署自己的hugo-teek博客到公网。(0服务器方案)😜

[toc]
告警
Hugo-teek 目前正处于余温作者开发配置中心阶段,可能会频繁地进行更新。且一键web更新还未开发完成,因此,强烈建议新进群的小伙伴不要去修改博客一些自定义的信息,你需要做的就是,把hugo-teek博客部署起来,然后把自己的md文档放到hugo-teek-site\content\docs\40.专题路径。然后发布到自己博客就好。
等后续一键web更新完全开发完成后,我们就可以在配置中心配置下自己的用户信息了,后续有新版出现时,我们一键web更新就可以升级到最新版。
目前的hugo-teek做个人博客/文档库完全是没问题的,但是想更加丝滑体验这款强大的博客,大家再耐心等待下,等我们伟大的余温群主王者归来。😜
1#自己私有库(存放hugo-teek源码及md核心文档)
2https://cnb.cool/onedayxyy/hugo-teek-private
3
4#自己公开库(存放hugo-teek博客构建好的公开dist产物)
5https://cnb.cool/onedayxyy/hugo-teek-public-dist
6
7##无需云服务器我们来到自己的d盘,然后拉取项目:
1cd /d/
2git clone https://cnb.cool/yuwen-gueen/hugo-teeker-theme.git
3cd hugo-teeker-theme
📢📢📢
我们再配置下如下`.gitignore文件`内容:
这里我们再编辑下.gitignore文件下:(后期项目稳定了就不需要再做这里的配置,当前项目处于频繁迭代期,作者本地会有一些测试文件,因此这里做了一定的配置。小伙伴一定要按我这里做下配置,否则后期的docs下目录可能会被git忽略。)
编辑.gitignore文件:
(1)注释第3行内容

(2)注释59~67行 和docs相关的 内容

🟢 双击运行
进入到bin\windows目录,双击运行start.bat脚本:


🟢 访问测试
在浏览器输入http://localhost:8080/ 验证效果:

🟢 我们再将本地项目推送到自己的cnb仓库
📢📢📢
具体步骤:
(1)创建私有库(存放hugo-teek源码及md核心文档)
来到自己的CNb主页,创建一个私有仓库,名称叫做hugo-teek-private;
把上面拉取的代码,直接推送到这个私有库:
再推送之前,先把我们本地的项目名称重命名为hugo-teek-private,然后推送;
(2)创建公开库(存放hugo-teek博客构建好的公开dist产物)
hugo-teek-public-dist即可,其余无需操作(注意📢:我们只需要创建好一个空仓库就行,后续会自己推送dist产物上去的)。(3)我们还需要编辑下项目下.cnb.yml文件内容:(这里将用户cnb一键流水线发布博客使用。)
以下文件我们只需要更改如下一处位置即可:(其余无需配置),将这里修改为自己的 公开库地址。

.cnb.yml文件内容:
 1master:
 2  push:
 3    - runner:
 4        cpus: 64
 5
 6      # imports:
 7      #   - https://cnb.cool/onedayxyy/secret/-/blob/main/envs.yml
 8
 9      docker:
10        image: docker.cnb.cool/yuwen-gueen/docker-images-chrom/hugo-teek-blog:latest
11
12      env:
13        # 公开产物仓库 (修改位置一)
14        TARGET_REPO: "https://cnb.cool/onedayxyy/hugo-teek-public-dist.git"
15        # 产物分支
16        DIST_BRANCH: dist
17
18      stages:
19        # ------------------------------
20        # 1️⃣ 记录开始时间
21        # ------------------------------
22        - name: set env
23          script: echo -n $(date +%s)
24          exports:
25            info: CUSTOM_ENV_START_TIME
26
27        # ------------------------------
28        # 4️⃣ 构建 Hugo
29        # ------------------------------
30        - name: build
31          script: |
32            make build-docker
33
34        # ------------------------------
35        # 5️⃣ 部署到 public/dist
36        # ------------------------------
37        - name: deploy
38          script: |
39            REPO_URL=${TARGET_REPO}
40            DEPLOY_DIR="/workspace/deploy"
41            mkdir -p ${DEPLOY_DIR}
42            cd ${DEPLOY_DIR}
43            git init -b ${DIST_BRANCH} >/dev/null 2>&1
44            git remote add origin ${REPO_URL}
45            cp -al ../hugo-teek-site/public/. . >/dev/null 2>&1
46            git add -A >/dev/null 2>&1
47            git diff --cached --quiet || git commit -m "d:$(date +%s)" --no-gpg-sign >/dev/null 2>&1
48            git push --force --quiet origin ${DIST_BRANCH}
49
50        # ------------------------------
51        # 6️⃣ 计算耗时
52        # ------------------------------
53        - name: ⏱️ 计算耗时
54          script: |
55            end_time=$(date +%s)
56            duration=$((end_time - $CUSTOM_ENV_START_TIME))
57            minutes=$((duration / 60))
58            seconds=$((duration % 60))
59            echo -n "${minutes}分${seconds}秒"
60          exports:
61            info: CUSTOM_ENV_BUILD_TIME
62
63        # # ------------------------------
64        # # 7️⃣ 钉钉通知
65        # # ------------------------------
66        # - name: 钉钉通知
67        #   image: docker.cnb.cool/yuwen-gueen/docker-images-chrom/tencentcom-dingtalk-bot-msg:latest_amd64
68        #   settings:
69        #     content: "「Hugo-Teek Blog」发布完成,耗时: ${CUSTOM_ENV_BUILD_TIME}"
70        #     c_type: "text"
71        #     secret: $SECRET
72        #     webhook: $WEBHOOK
73        #     isAtAll: false
74        #     debug: false
75
76include:
77 - .cnb/vscode.yml以上,我们的hugo-teek博客已经下载并部署好了,那么该如何新增自己的md文档呢?
把自己的md文档放到hugo-teek-site\content\docs\40.专题路径下就好(无论是目录或者md文档都行),就这么简单。
我的截图如下:

待余温作者把hugo-teek的配置中心配置完成后,我们就可以本地运行图形化来配置博客选项了,非常简单。我们耐心等待吧。😉
以上,我们的hugo-teek博客是可以在本地快乐地运行了,但是如何把这个博客部署到公网,别人也可以访问呢?请看下文。
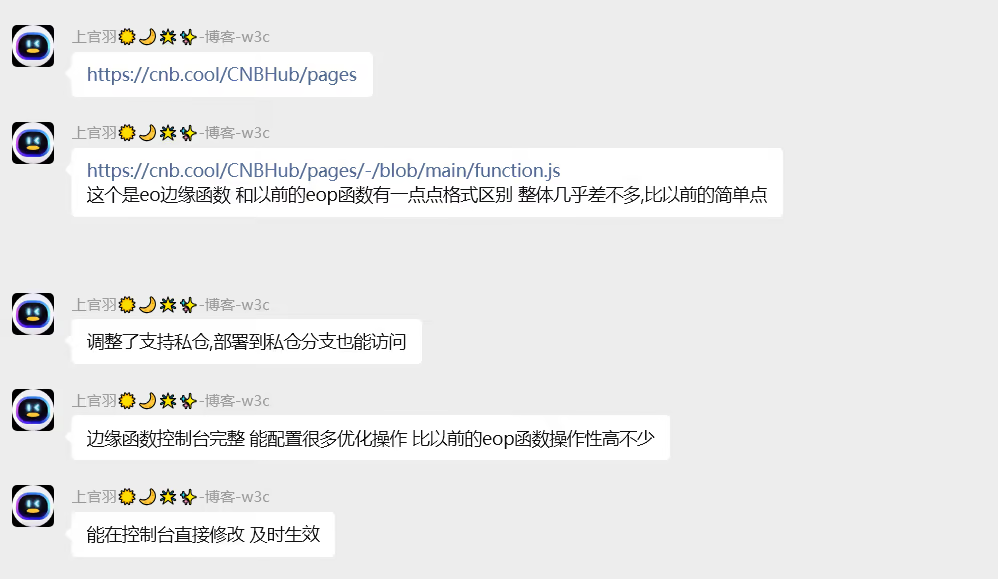
本次我们使用eo边缘函数来部署自己的hugo-teek博客到公网。(0服务器方案)😜


 1addEventListener('fetch', event => {
 2  event.respondWith(handleRequest(event.request))
 3})
 4
 5const BASE = 'https://cnb.cool/onedayxyy/hugo-teek-public-dist/-/git/raw/dist'
 6
 7async function handleRequest(request) {
 8  const url = new URL(request.url)
 9  let uri = url.pathname
10
11  // 去掉开头的 /
12  if (uri.startsWith('/')) uri = uri.slice(1)
13
14  if (!uri || uri === '') {
15    uri = 'index.html'
16  }
17
18  if (uri.endsWith('/')) {
19    uri = uri + 'index.html'
20  }
21
22  let target = `${BASE}/${uri}`
23
24  let resp = await fetch(target, {
25    headers: {
26      'User-Agent': 'curl/8.0.0',
27      'Accept': '*/*',
28      'Accept-Encoding': 'identity'
29    }
30  })
31
32  // fallback:目录尝试 index.html
33  if (!resp.ok) {
34    if (!isFile(uri)) {
35      target = `${BASE}/${uri}/index.html`
36      resp = await fetch(target, {
37        headers: {
38          'User-Agent': 'curl/8.0.0',
39          'Accept': '*/*',
40          'Accept-Encoding': 'identity'
41        }
42      })
43    }
44  }
45
46  if (!resp.ok || !resp.body) {
47    return new Response('Page Not Found', {
48      status: 404,
49      headers: {
50        'Content-Type': 'text/html; charset=utf-8'
51      }
52    })
53  }
54
55  return new Response(resp.body, {
56    status: resp.status,
57    headers: {
58      'Content-Type': getContentType(uri) || resp.headers.get('content-type'),
59      'Cache-Control': 'public, max-age=3600'
60    }
61  })
62}
63
64function isFile(path) {
65  return /\.[^\/]+$/.test(path)
66}
67
68function getContentType(uri) {
69  const map = {
70    html: 'text/html',
71    css: 'text/css',
72    js: 'application/javascript',
73    json: 'application/json',
74    png: 'image/png',
75    jpg: 'image/jpeg',
76    jpeg: 'image/jpeg',
77    svg: 'image/svg+xml',
78    webp: 'image/webp',
79    avif: 'image/avif'
80  }
81  const ext = uri.split('.').pop()
82  return map[ext]
83}将这里的const BASE路径替换为你自己的内容:(其它不用改变)
https://cnb.cool/onedayxyy/hugo-teek-public-dist/-/git/raw/dist
https://cnb.cool/onedayxyy/hugo-teek-public-dist 为你hugo-teek构建产物dist的仓库地址,分支为
dist。

记录下本次的函数地址:(后面添加域名管理时要用到)
hugo-teek-private-edge-foun-zone-3dsj112iir36-1253868517.eo-edgefunctions.com
在这里新增一条触发规则:

这里做好eo的域名配置:

hugo-teek-private-edge-foun-zone-3dsj112iir36-1253868517.eo-edgefunctions.com


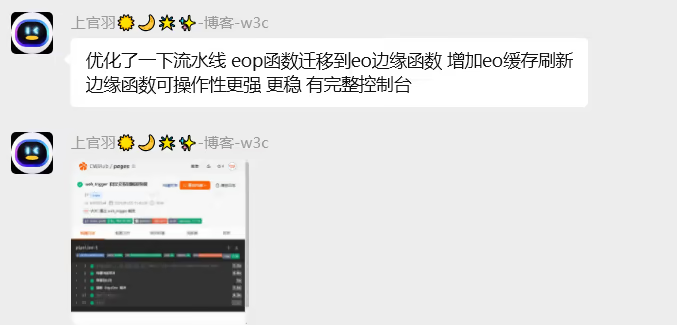
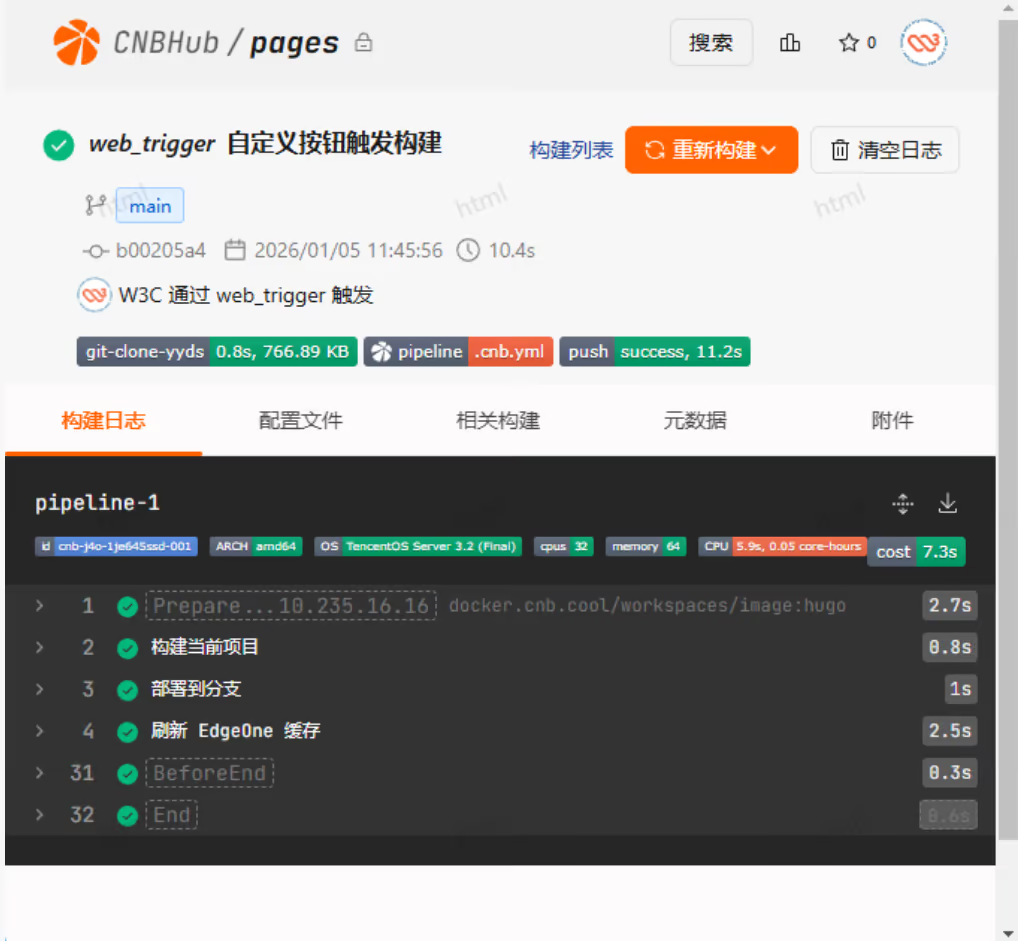
- eo 边缘函数 比 eop函数 性能强悍的多!!!
- so,那还在等什么,走起。
eop在那个仓库面前 就显得毫无价值。
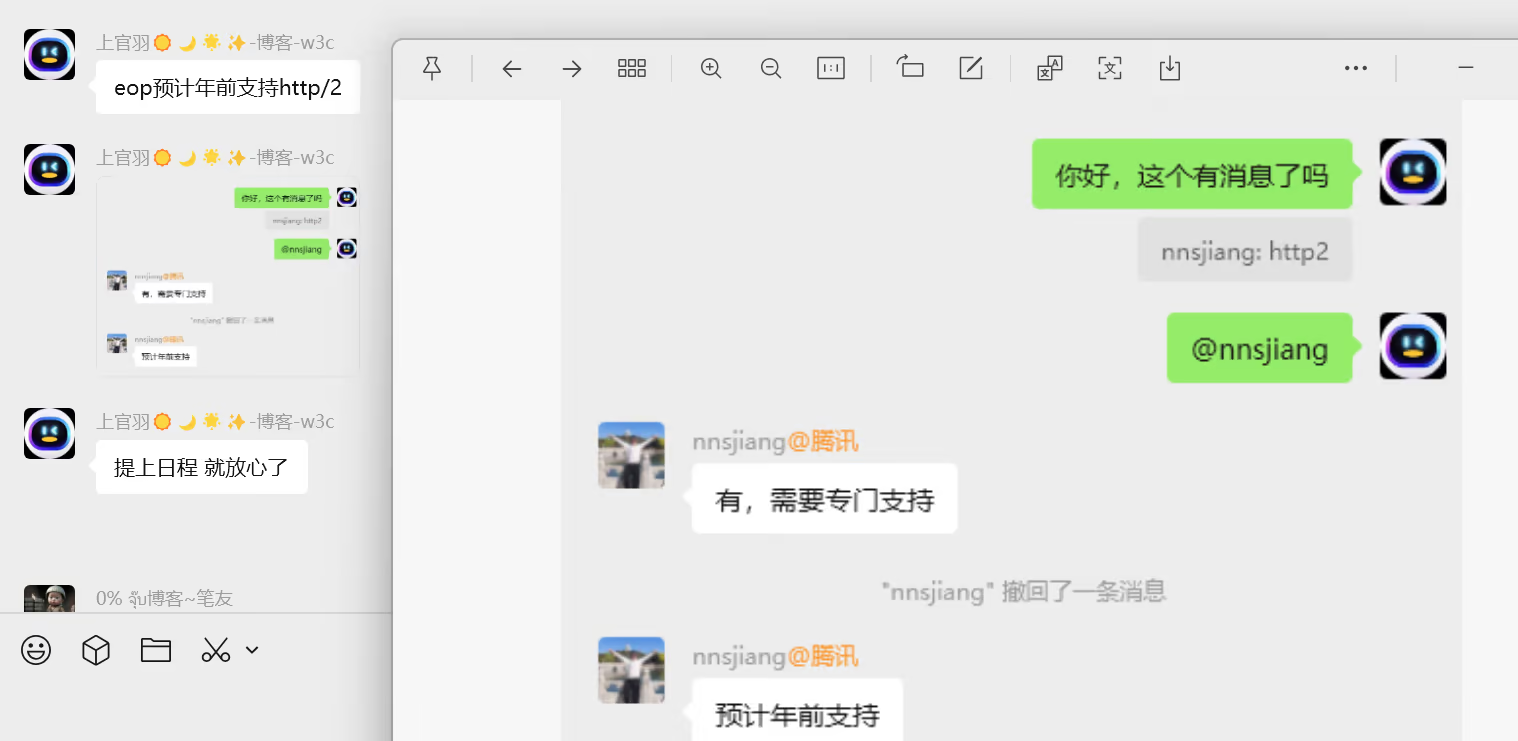
本次使用的这个js函数是余温大佬发的。
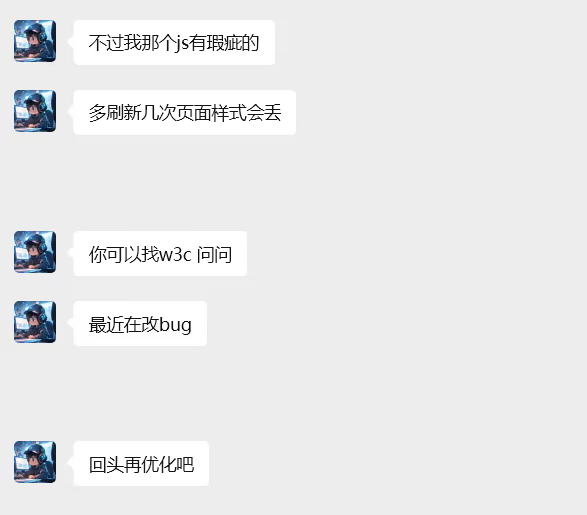
结束。
日历 · 精选 · 友链 · 更多
如果内容对你有帮助,欢迎请我喝杯咖啡 ☕



One的公众号
爱折腾博客的小白